Winter Reminder
By Amy Dunnett
/ 5th November 2022
As we head into the winter months, please find below a general reminder of illnesses in school. Due to the...
Read More


What Happens To Flour When We Make Salt Dough?
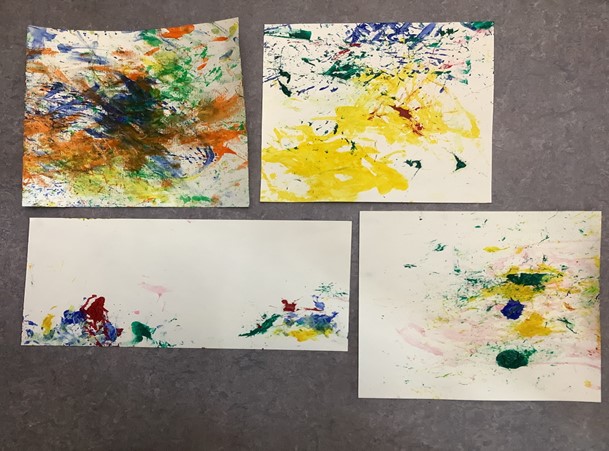
This week we are continuing to use flour in our artwork by making salt dough and using it to get creative! As always remember that the process is the main focus rather than the finished artwork.
Remember to warm up your hands and eyes beforehand using some of the exercises we’ve practised before! This activity has been split into three levels focusing of different skills and levels of ability. Choose the one that is right for your learner but feel free the experiment and explore! Salt dough is a fairly crude material so make your work quite chunky don’t expect it to hold fine details or stay intact if it is very thin!
To make your salt dough, you will need:
Mix the flour, salt and water in a bowl. If your mixture is too dry, you can add a bit more water or if it’s too sticky, add a bit more flour. Use your hands to knead and roll the dough until it is smooth. The salt dough will keep for several days if it is wrapped in cling film or placed in a sealed bag.
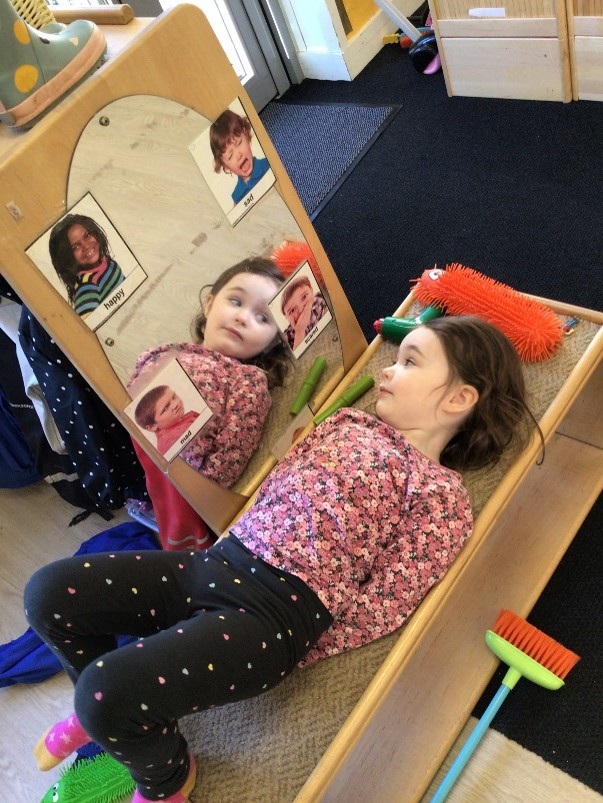
Stage 1: At this stage we are looking for the pupils to show a simple response or reaction as they explore the salt dough used in this week’s flour art. With hand over hand support from an adult, explore the texture and consistency of the salt dough. Can you squash and squeeze it? Can you roll it or pinch it? Try to use your fingers and hands to make prints in the salt dough or even add some food colouring for a more colourful experience.
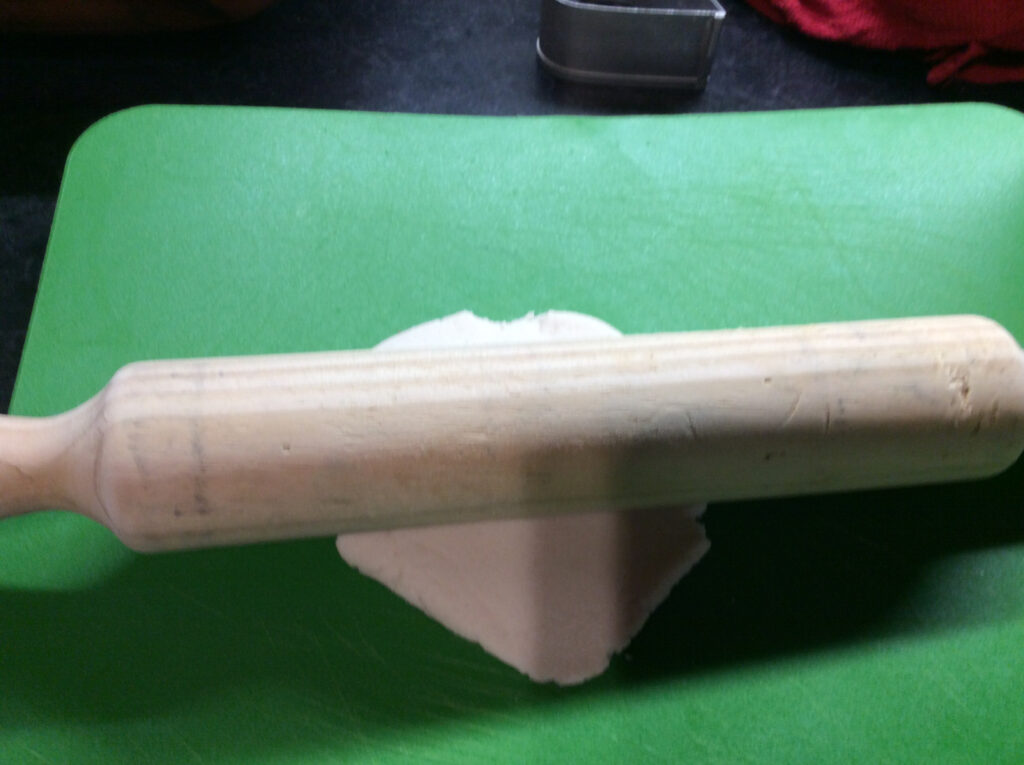
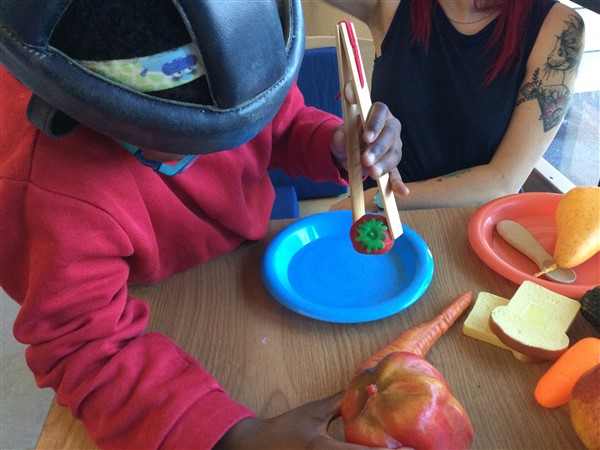
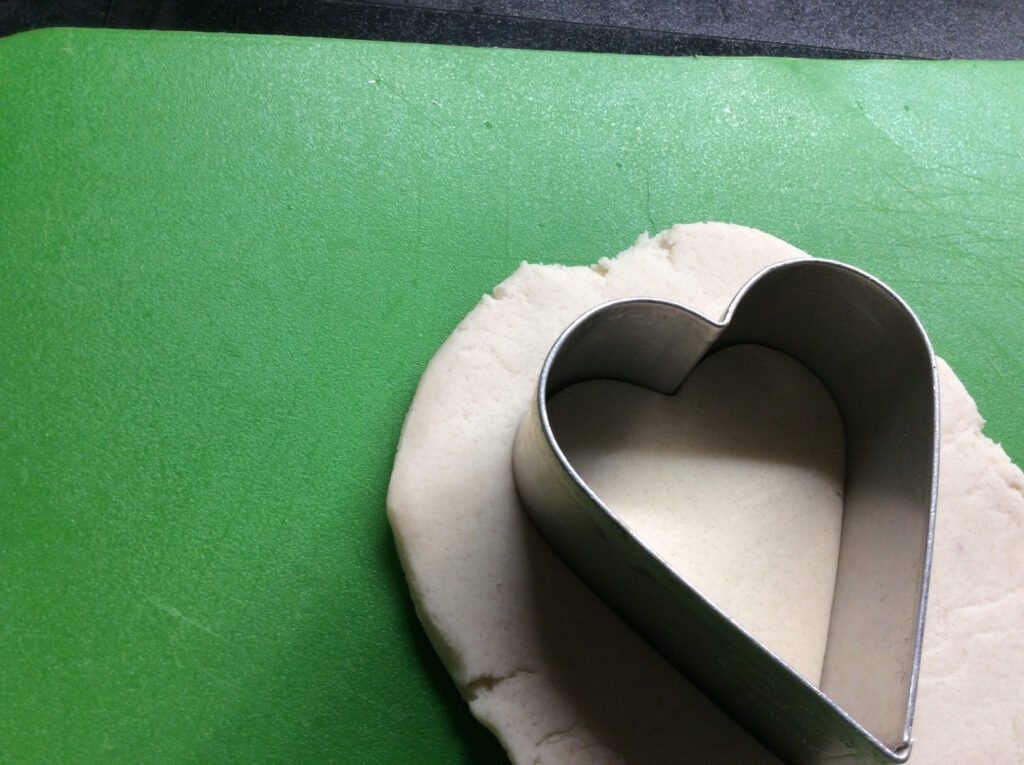
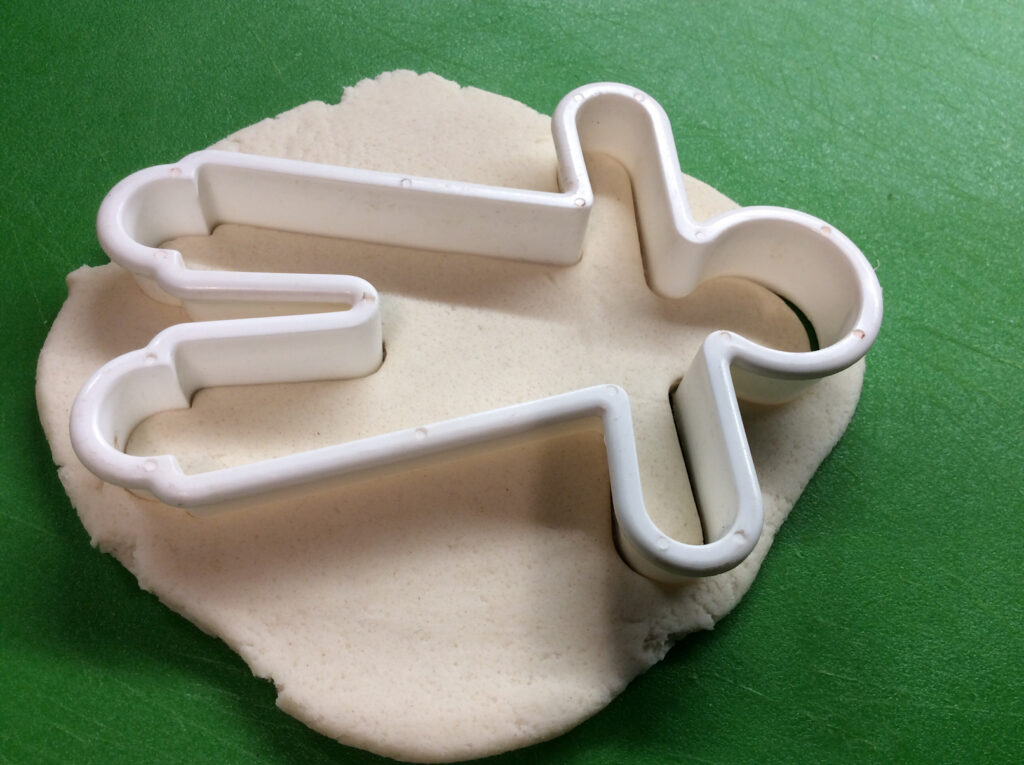
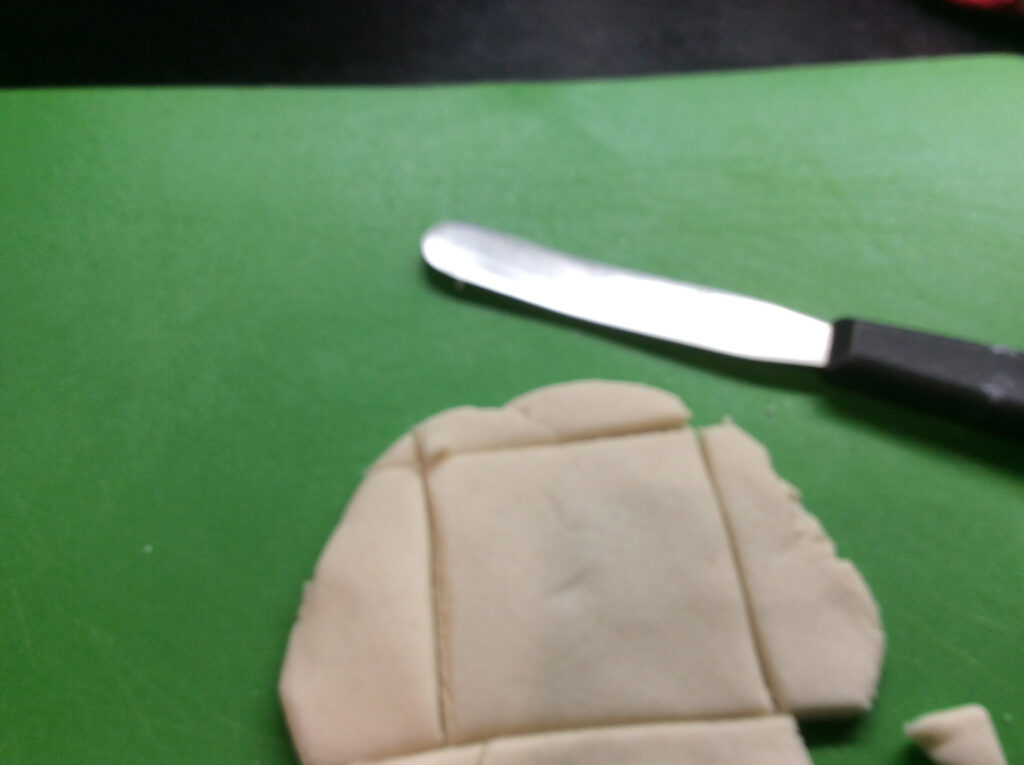
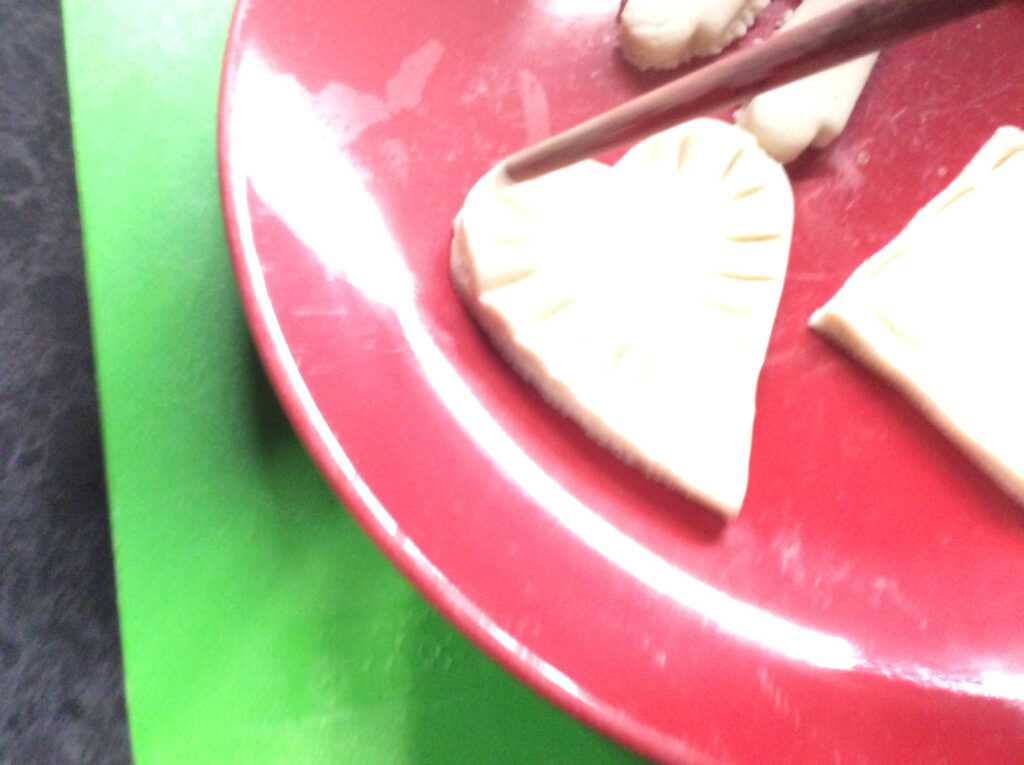
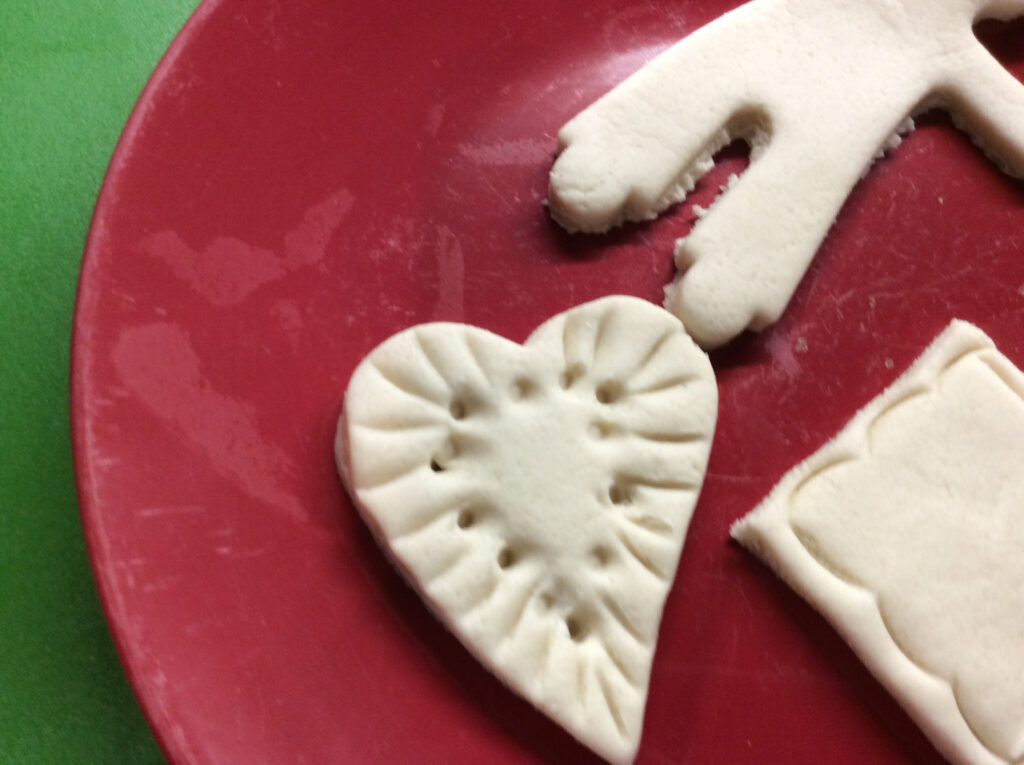
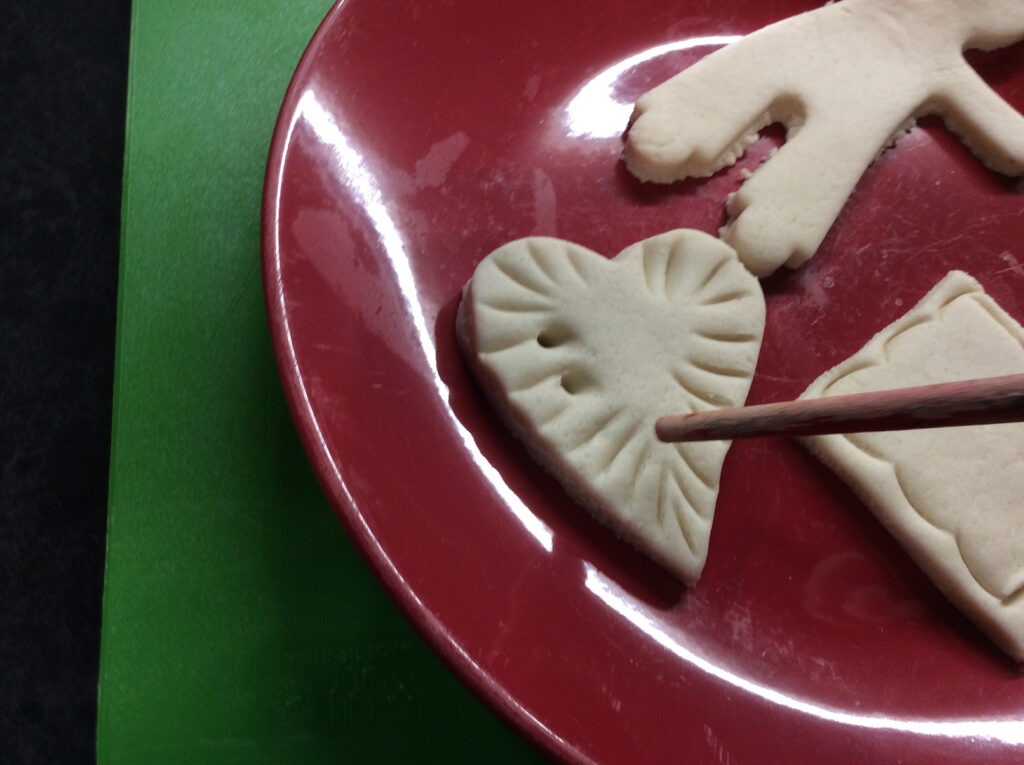
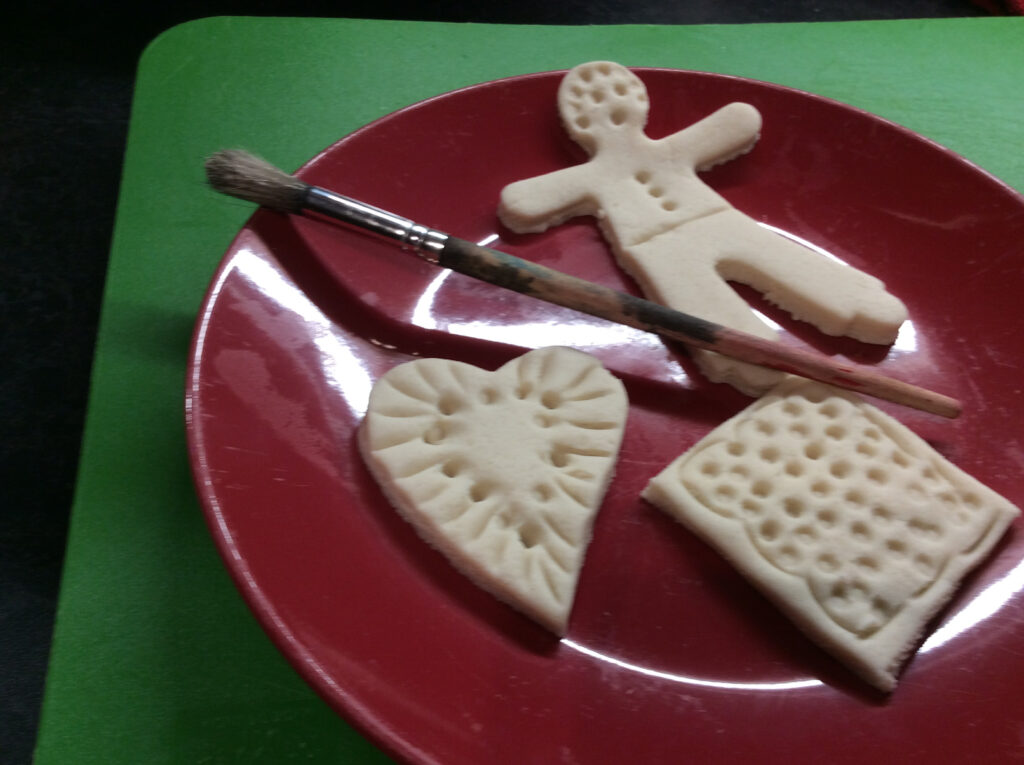
Stage 2: With appropriate support, use your hands to manipulate the salt dough. Can you roll out the dough and cut out different shapes using either cutters or a knife? Can you use different objects to make impressions in the salt dough? Be as creative as you like but you could try forks, spoons, or sticks. You could also add some food colouring to you salt dough to really make your artwork stand out!
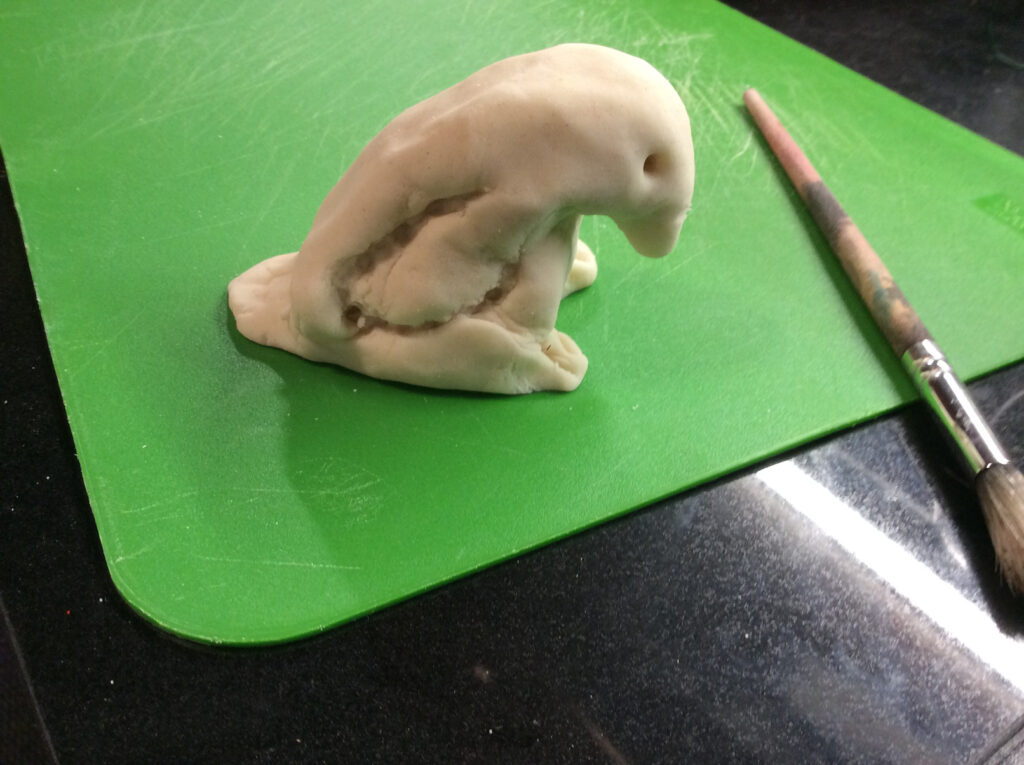
Stage 3: For this stage you will explore how to use the salt dough to create a 3 dimensional model. Can you use your hands or maybe even different tools to mould to salt dough? You could try making a bowl based on things you see in nature, such as a leaf or maybe even a model of an animal. Get creative and use your imagination. Once your model is finished, leave it to dry for several days or put into a very low oven to harden.
Extension: You can also use flour to make papier mache models. To create your papier mache model you will need:
Make a basic frame for your model using garden wire or cardboard.
Mix the flour and warm water in a large mixing bowl until well combined. Add extra tap water a little at a time to loosen. You want a smooth, batter-like paste with no lumps. You can sift the flour first for a smoother finish.
Cover your work area in more old newspaper. Dip the paper strips in the paste, wipe off the excess on the side of the bowl and stick onto your frame. Use a paintbrush to smooth down the paper and remove any air bubbles or excess paste. Repeat to cover and leave to dry before adding further layers.
Once you are happy with your model, you can decorate it using any media you like!
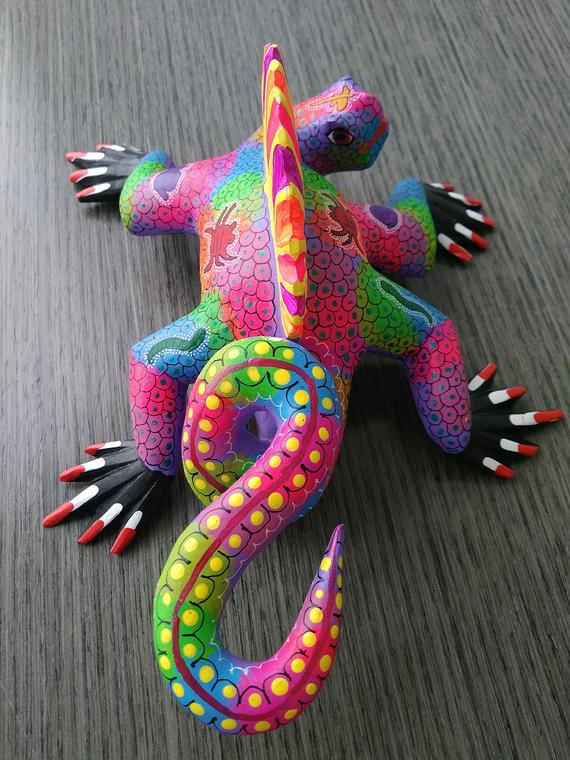
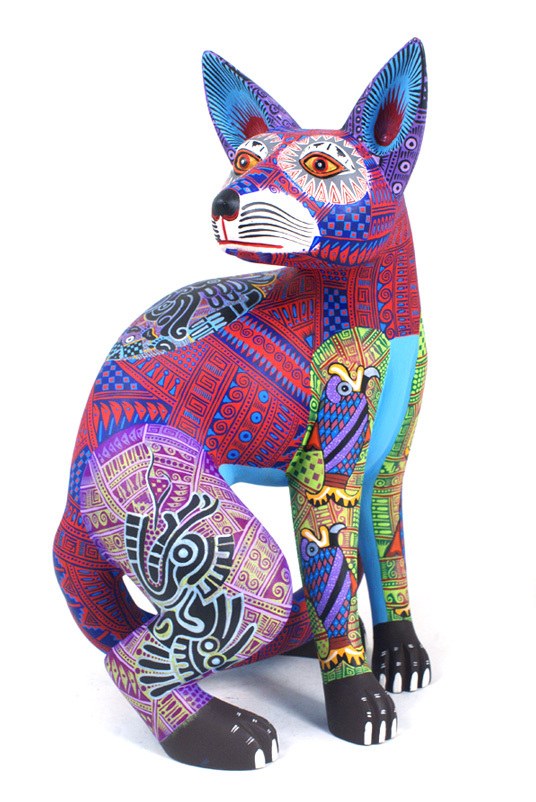
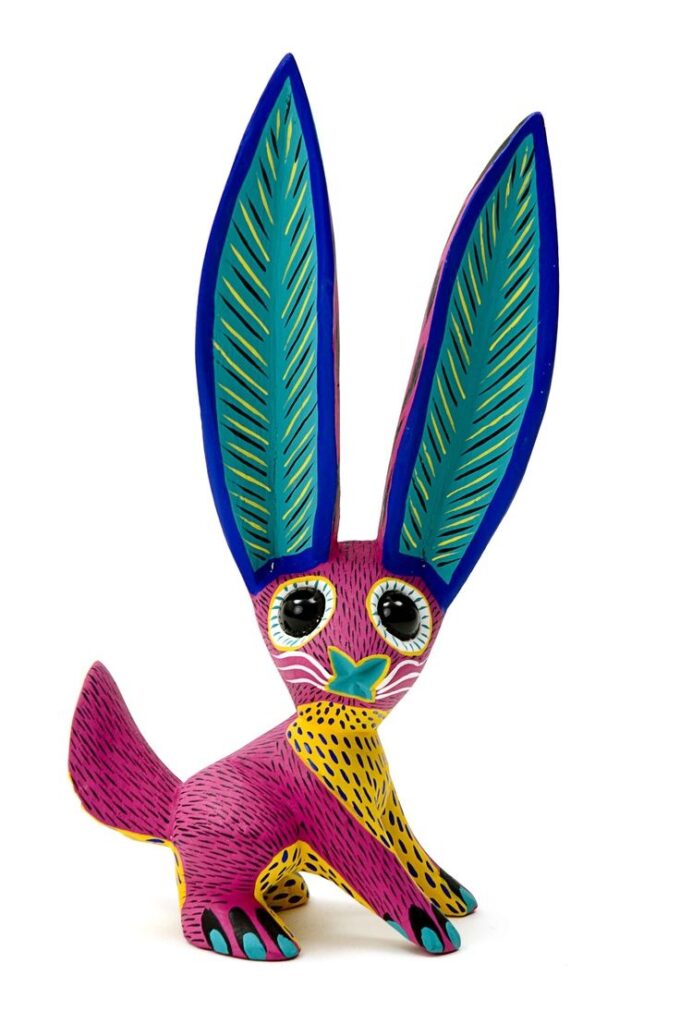
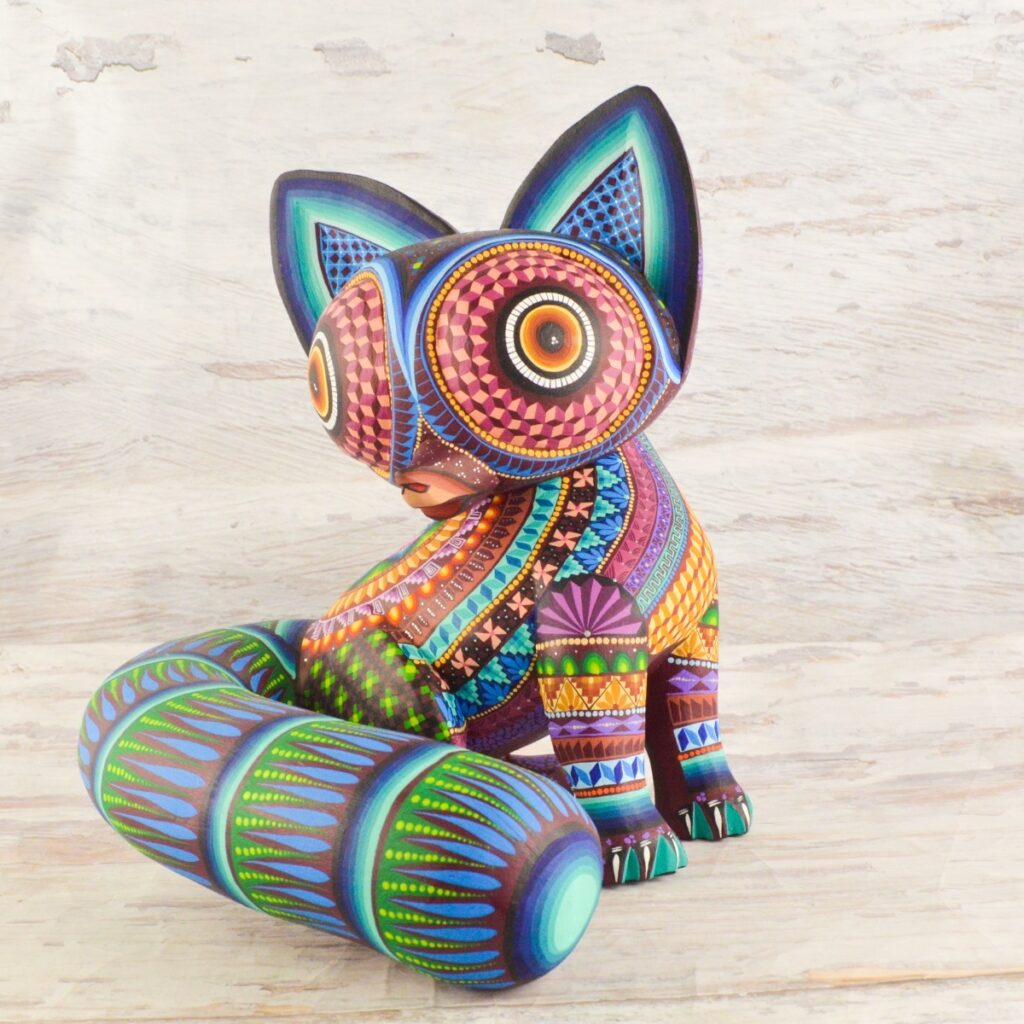
If you are looking for some inspiration, you can look up images of Alebrijes on the internet. Alebrijes are brightly coloured Mexican folk art sculptures of fantasy or mythical creatures. The first alebrijes, along with invention of the term, originated in Mexico City with the artist Pedro Linares. Linares often said that in the 1930s, he fell very ill, and while he was in bed, unconscious, he dreamt of a strange place resembling a forest. There, he saw trees, animals, rocks, clouds that suddenly turned into something strange, some kind of animals, but, unknown animals. He saw a donkey with butterfly wings, a rooster with bull horns, a lion with an eagle head, and all of them were shouting one word, “¡Alebrijes!, ¡Alebrijes!”. Once he recovered he began recreating models of the creatures he saw.

Please feel free to share any photos or videos via your child’s teacher, through Google Classroom, or email Amy Dunnett (Principal Teacher Primary) adunnett@aberdeencity.gov.uk.