Winter Reminder
By Amy Dunnett
/ 5th November 2022
As we head into the winter months, please find below a general reminder of illnesses in school. Due to the...
Read More


This week we have two new art activities for you to try.
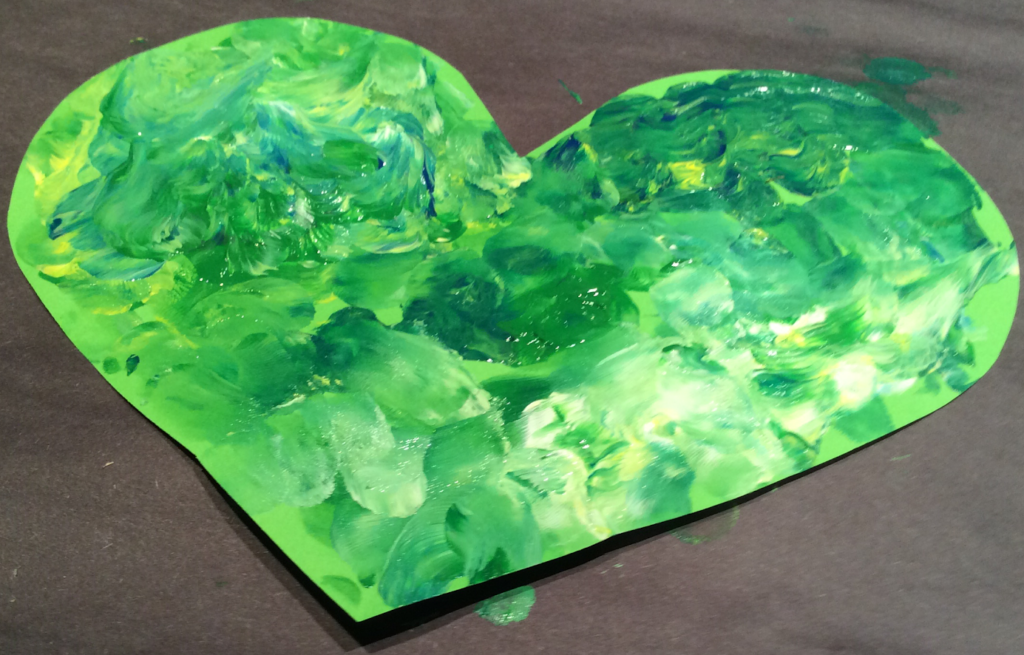
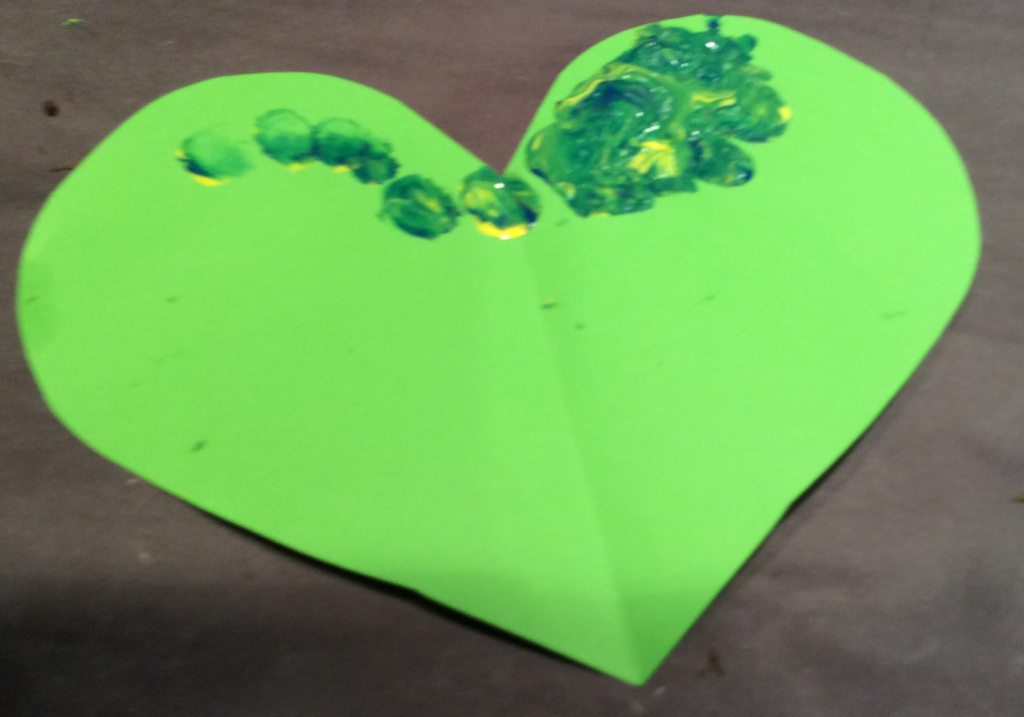
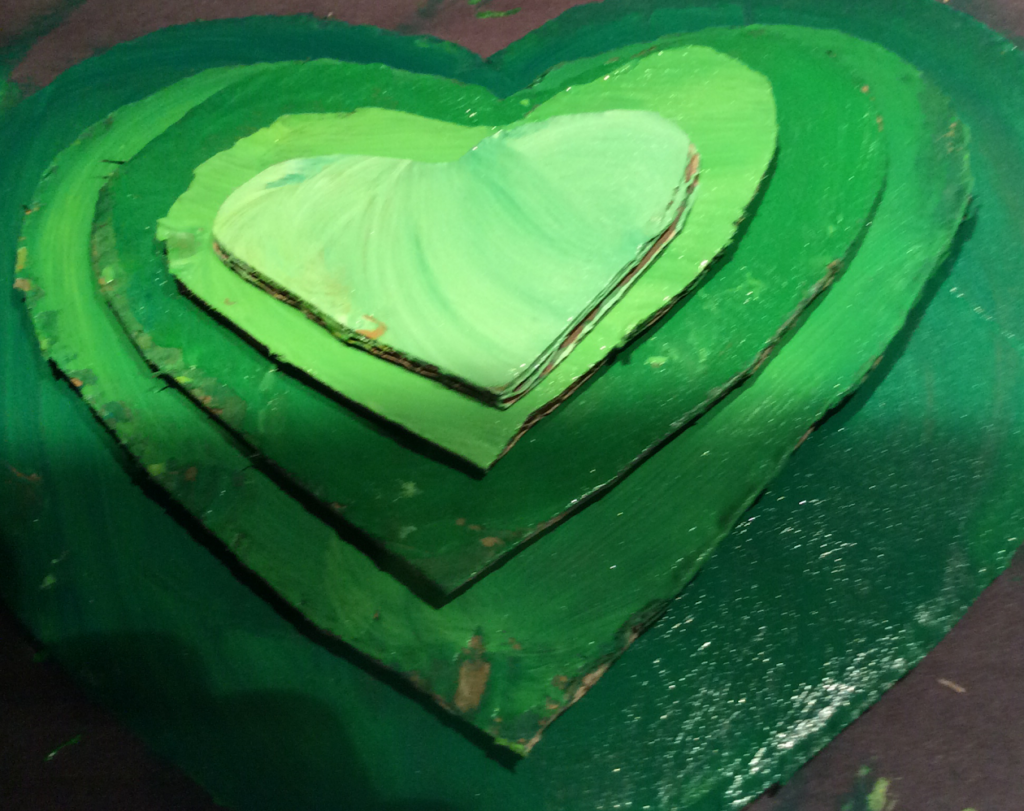
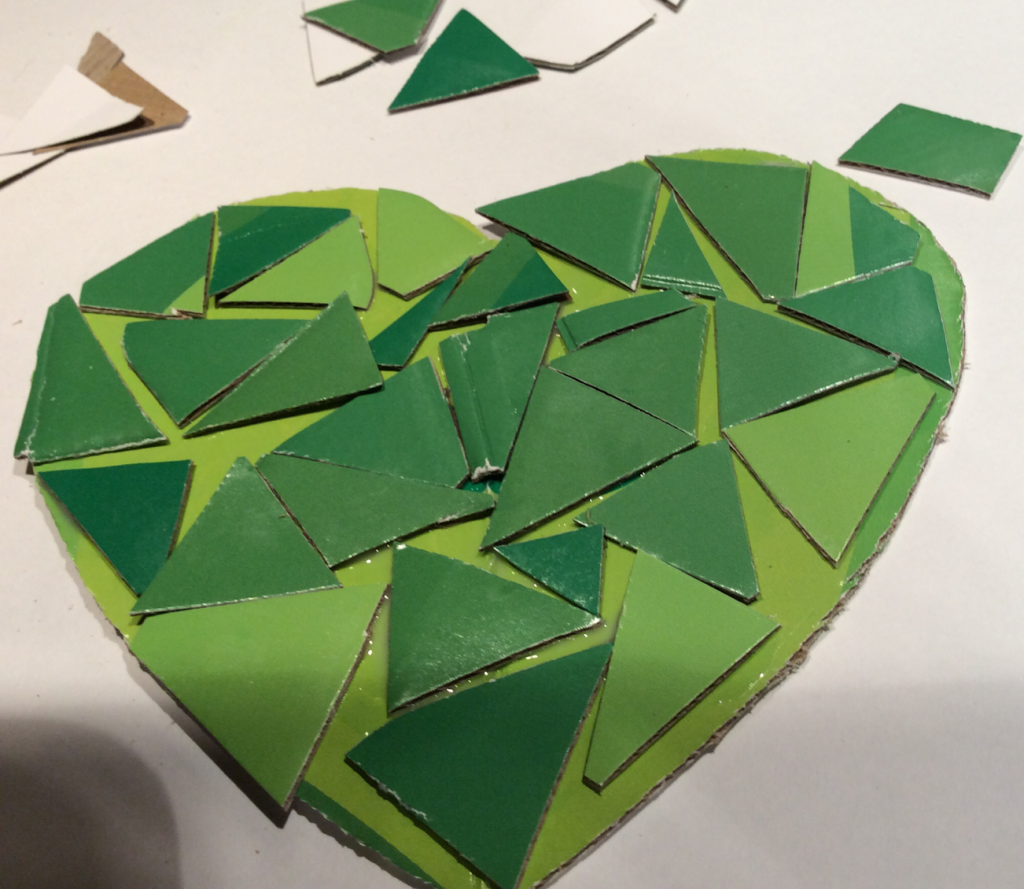
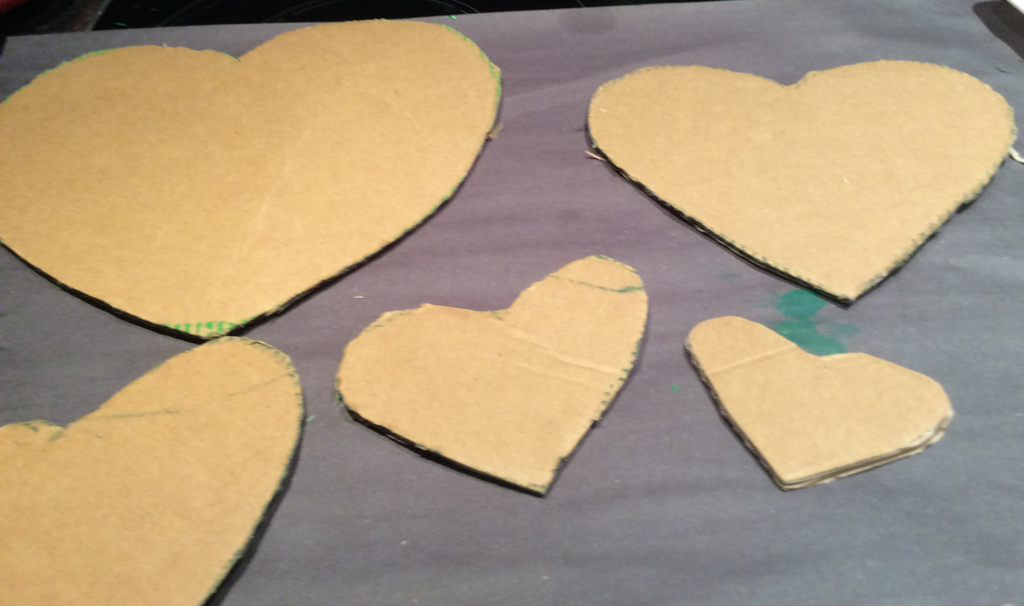
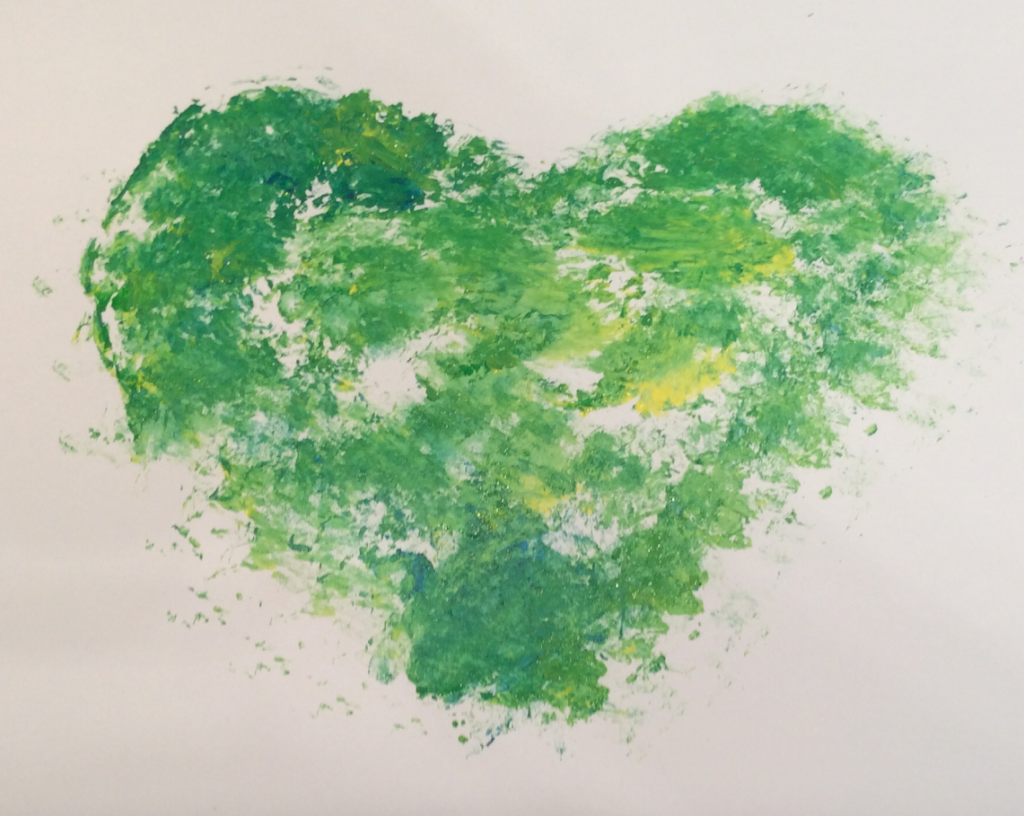
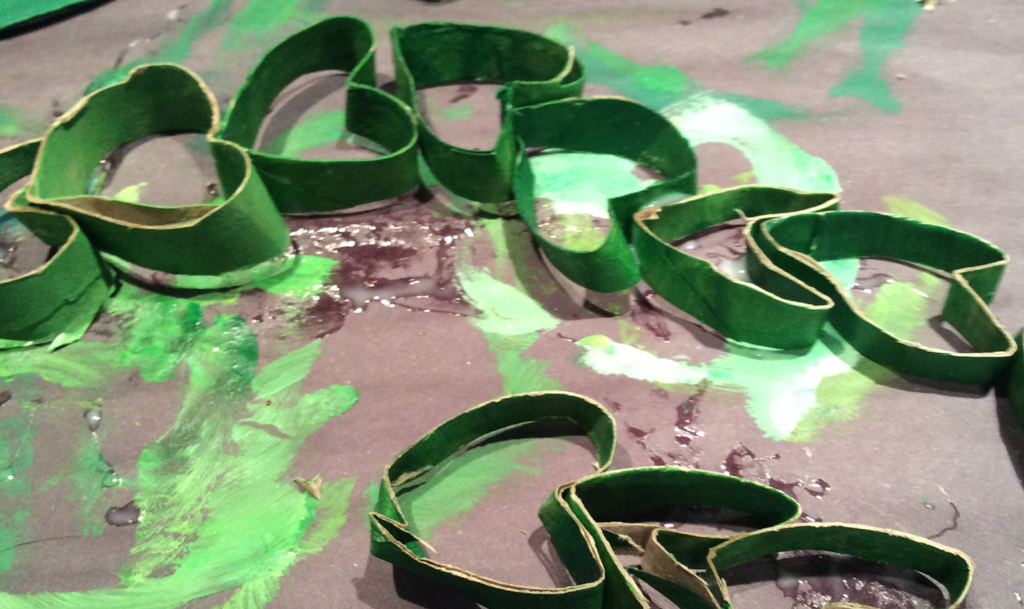
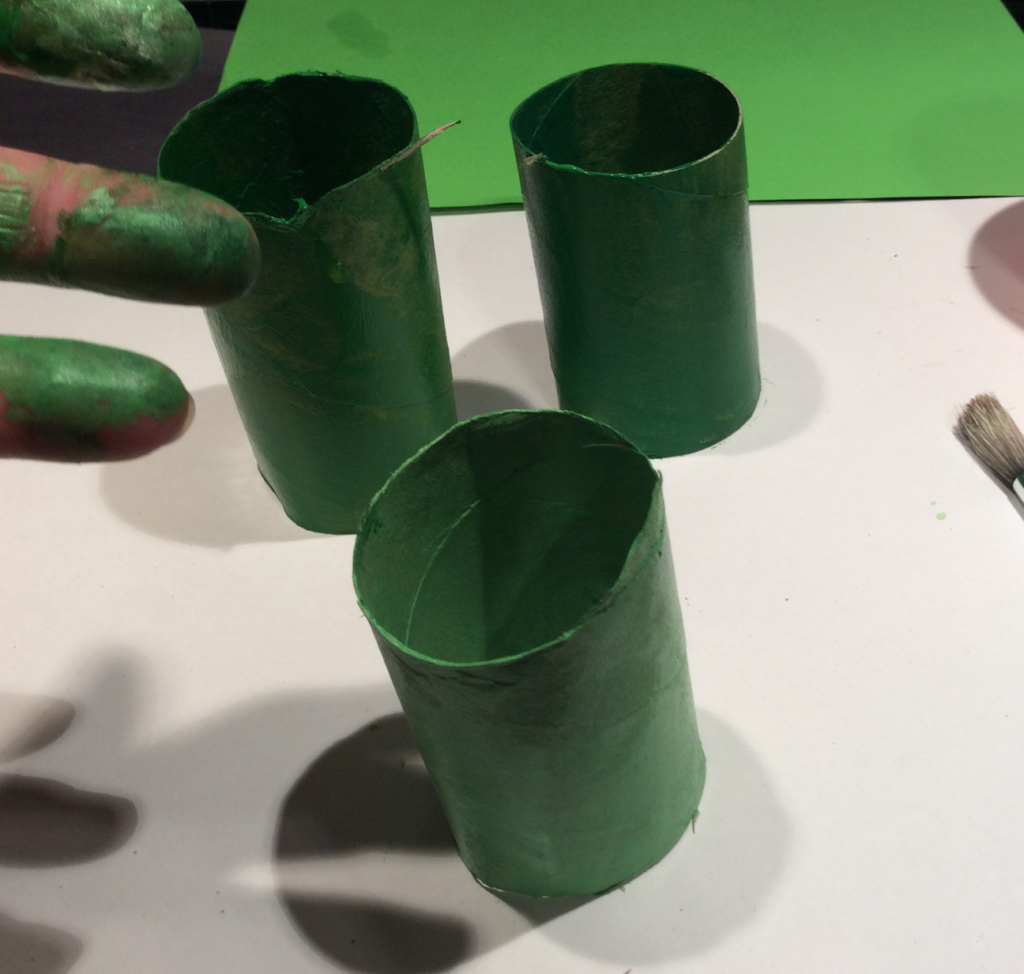
Activity 1: Climate Coalition Show The Love
You might remember that last year we made green hearts with recycled materials instead of the usual red valentines hearts! They looked so good that they were going to be exhibited at a big event in the Shaftesbury Theatre in London! Then………lockdown😒
There have been lots of disappointments for us recently with our artwork. But undeterred we keep showing the love! The green hearts are to show the love for our planet and I will be interested to see what you come up with! I don’t know what you have to work with but I know you will have some great ideas.
Have a look at showthelove.org.uk for some more ideas and inspiration but here are a few ideas to get you started.
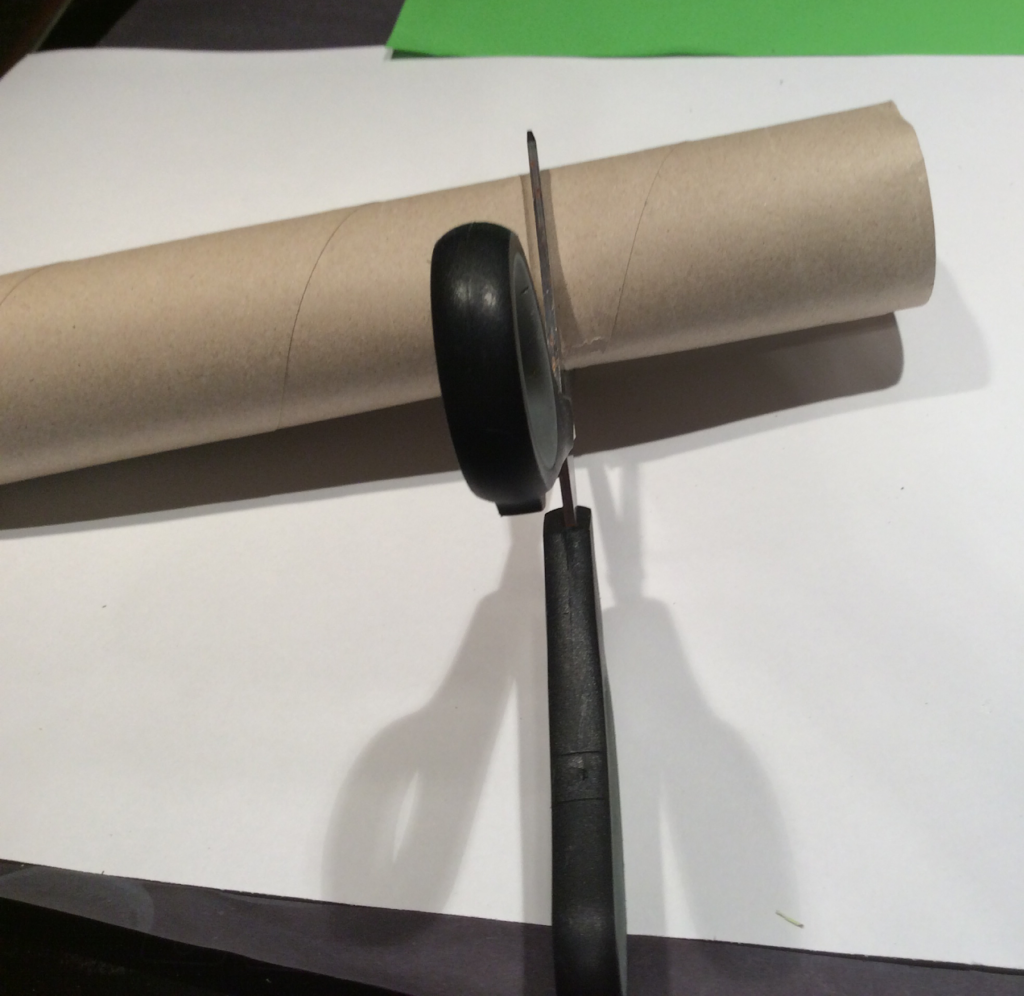
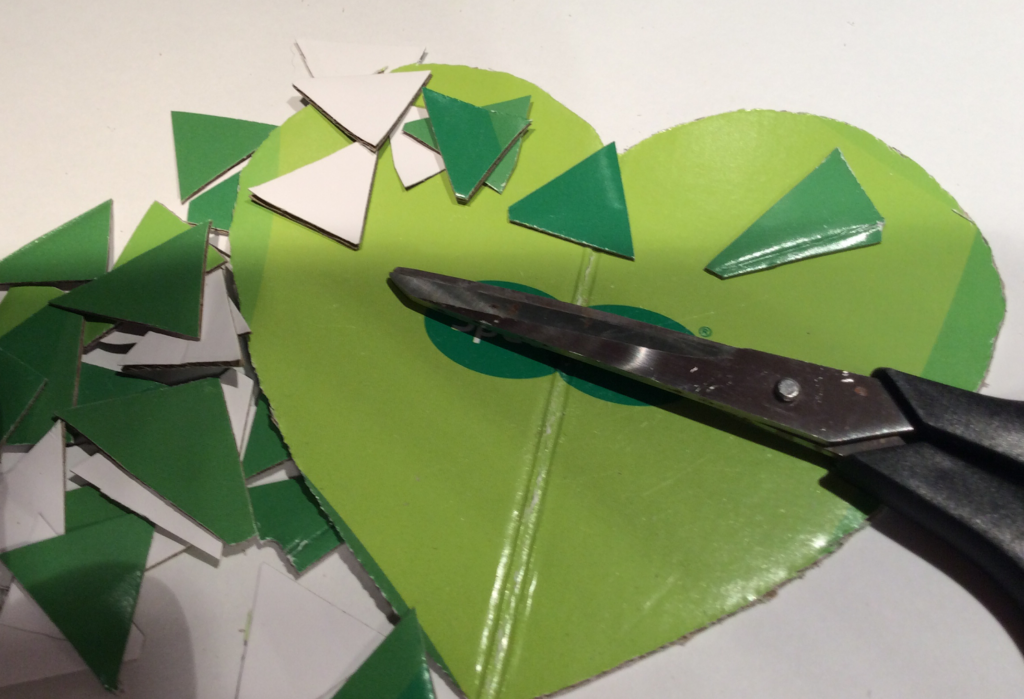
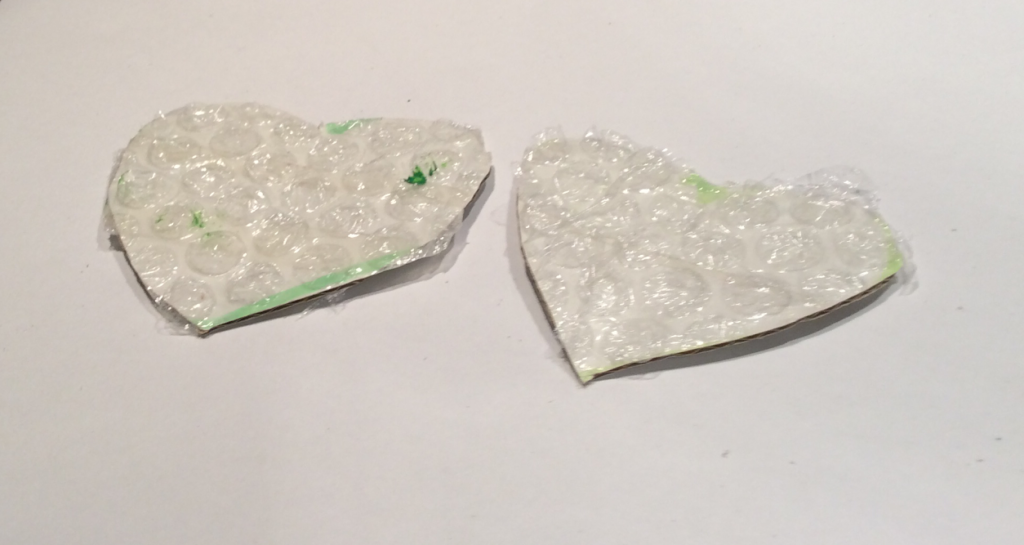
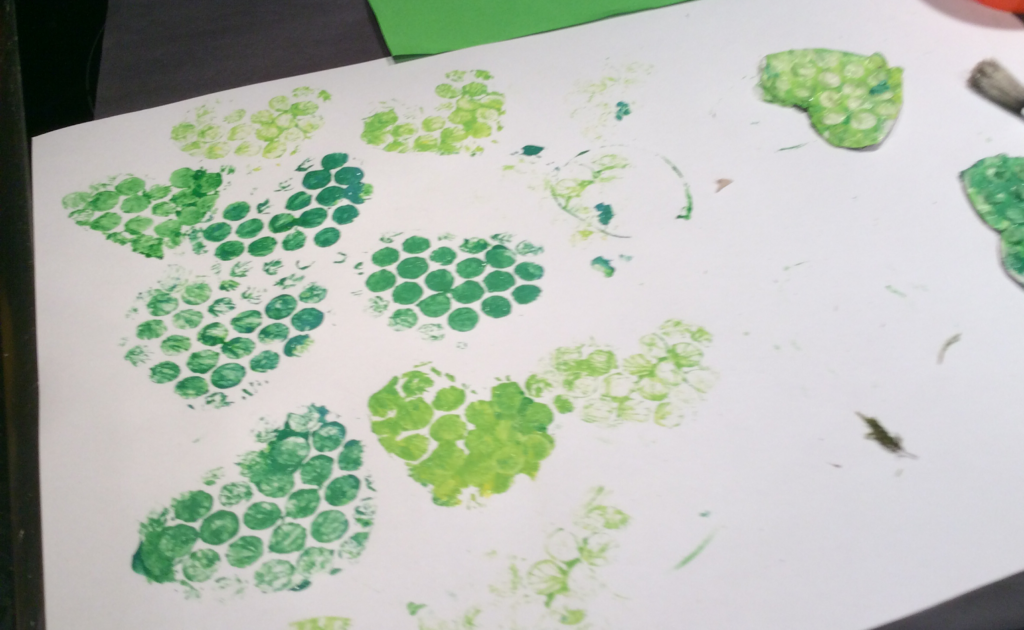
Experiment with card, collage and paint.

Make some green rice crispy hearts:
You will need – 150g rice crispies, 100g unsalted butter, 100g marshmallows, Green food colouring (or blue and yellow mixed!), a Heart shaped cookie cutter.
Directions – Melt the butter and marshmallows in a pan over a low heat. Add the food colouring and stir. Add crispies and stir. On a greased and lined baking tray shape the mixture into hearts using a cookie cutter or your fingers. Yum !
Make an Andy Goldsworthy inspired sculpture with green leaves.
Take some photos of frozen grass.
Make some green salt dough make a heart.
Blend some newspaper with food colouring. Add some seeds and make a flower bomb!
Look at green foods.
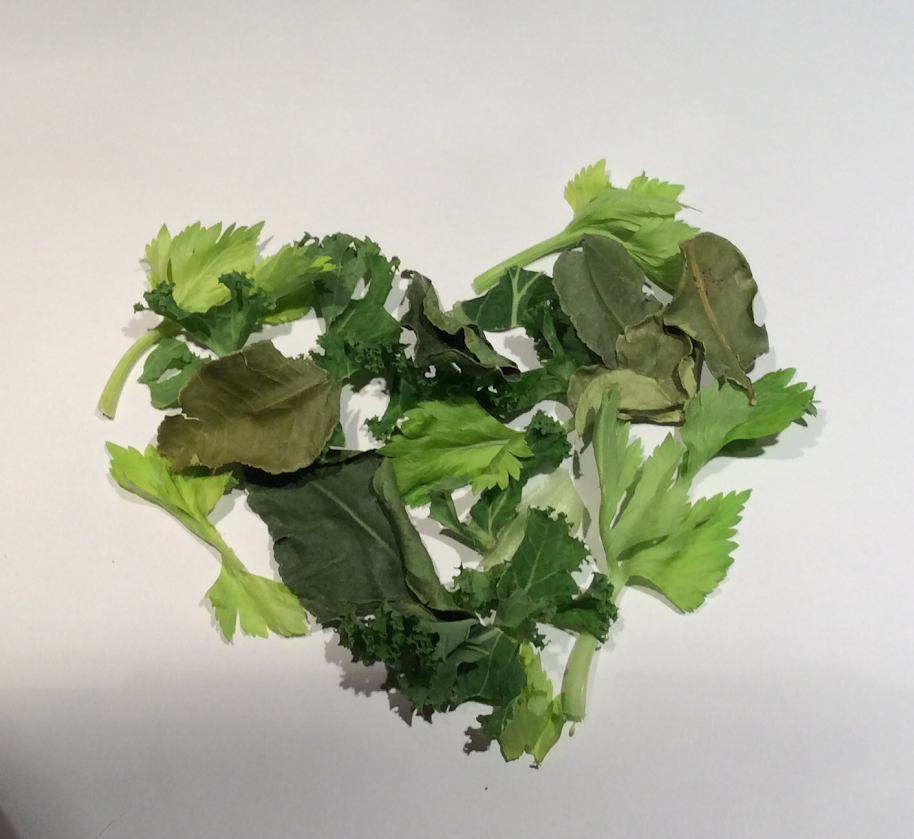
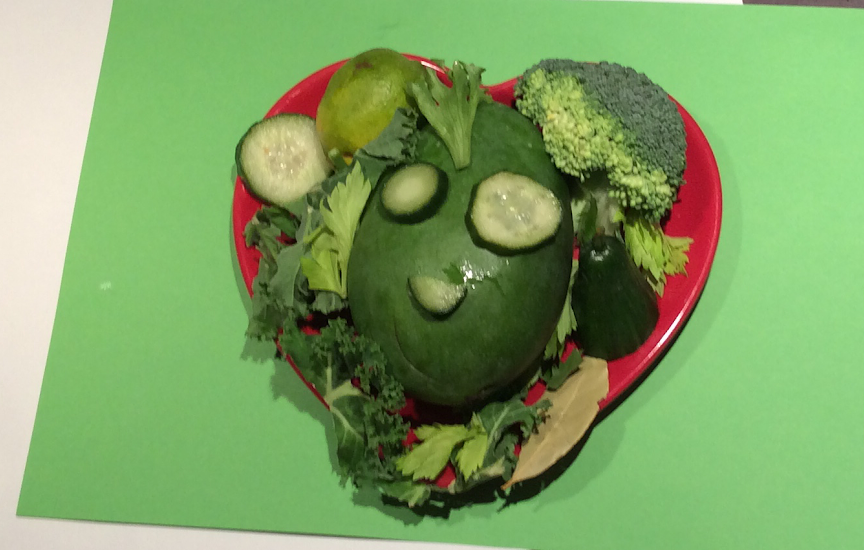
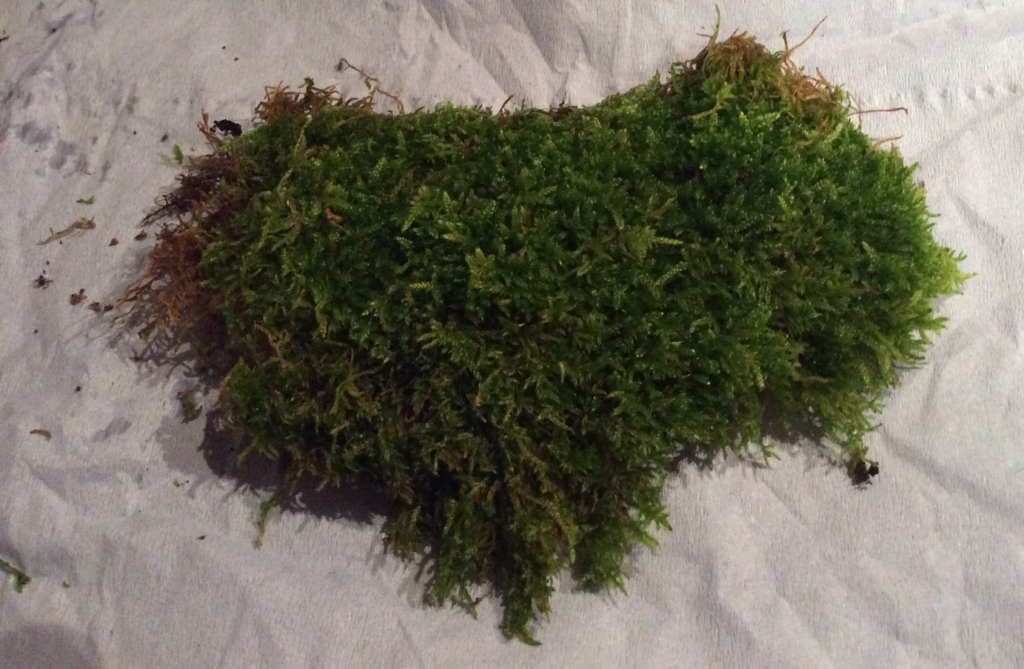
What is still green outside? You could try making a heart out of moss or lichen.
Take some photos ! Send some pictures of your work and we can forward them to the climate coalition so they can see how creative the Orchard Brae pupils are!
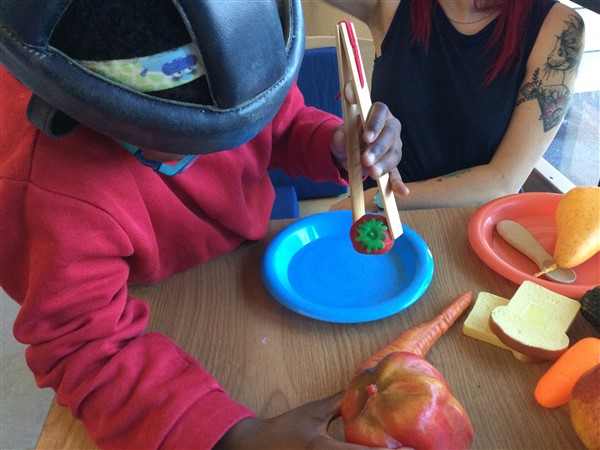
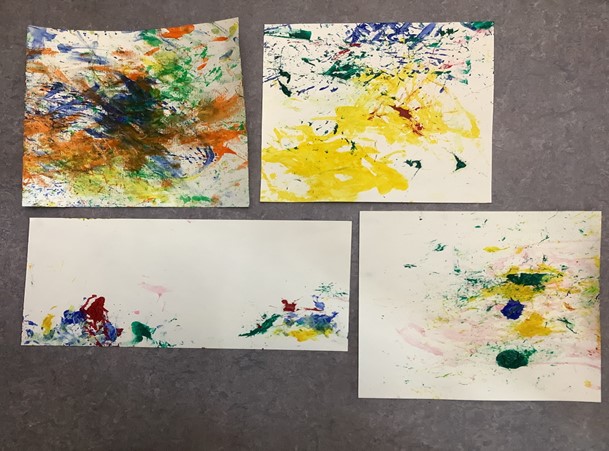
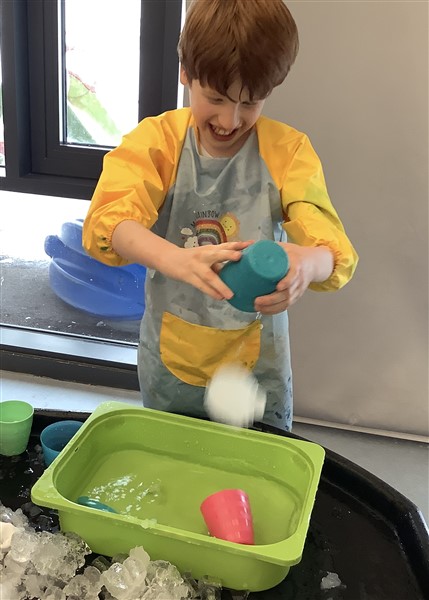
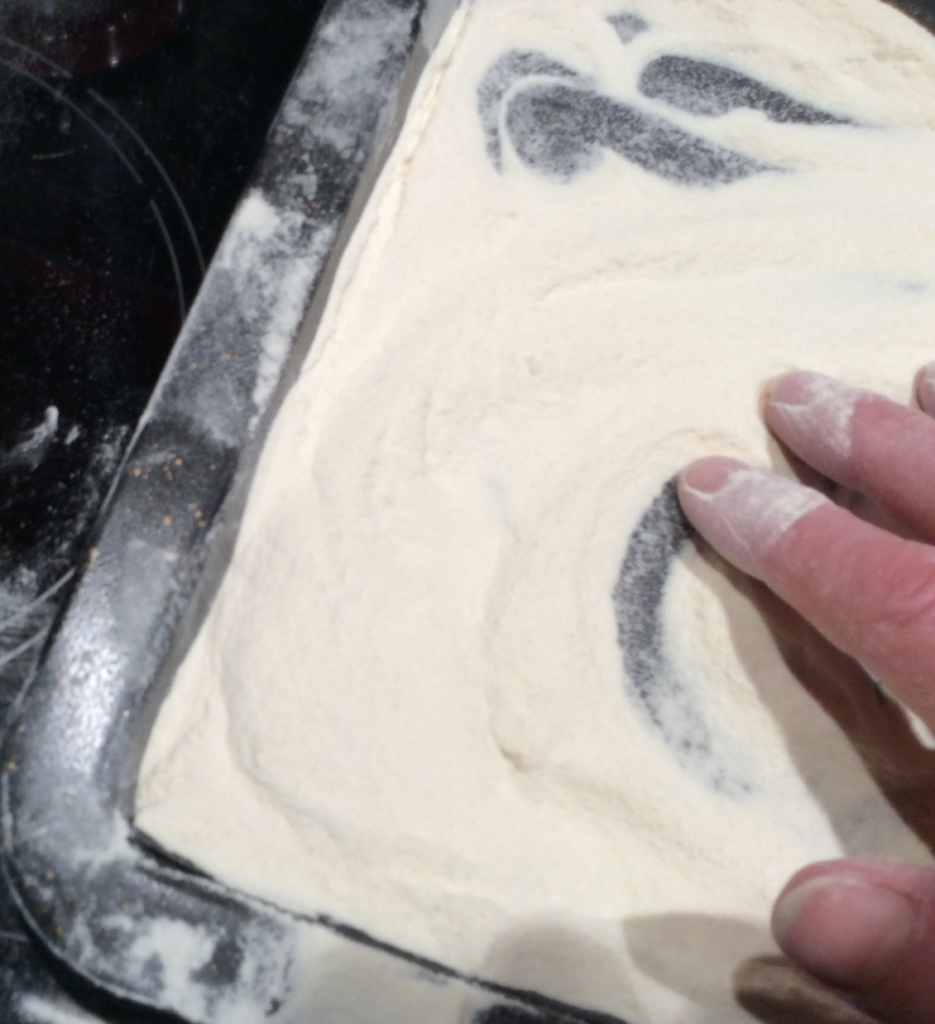
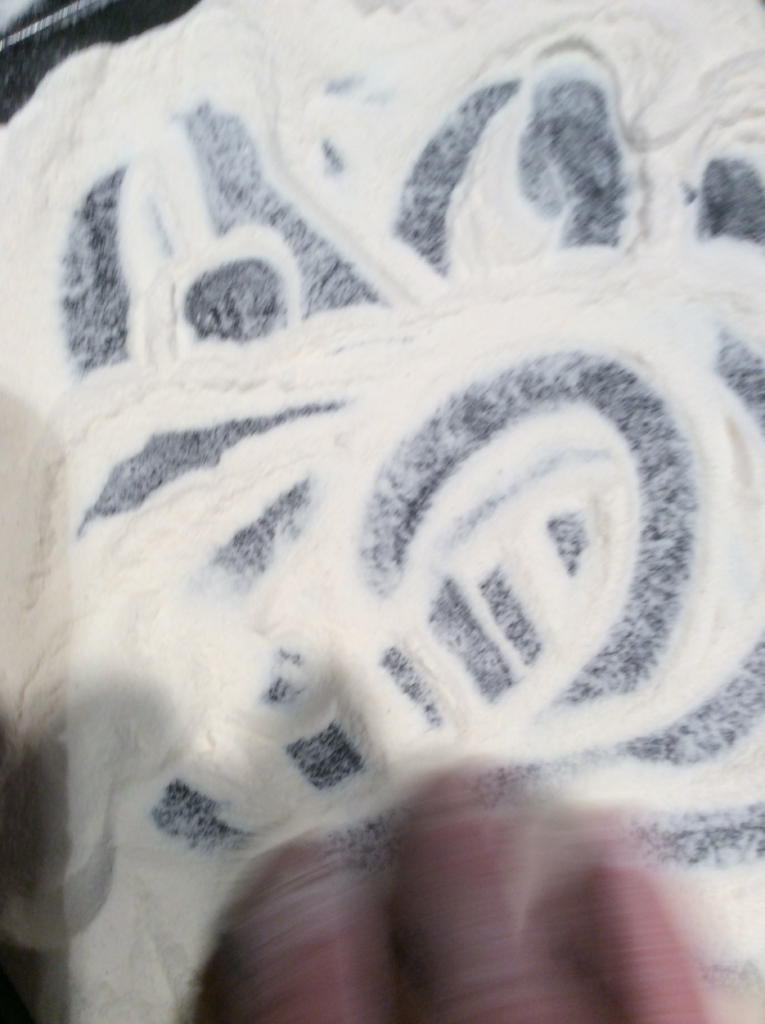
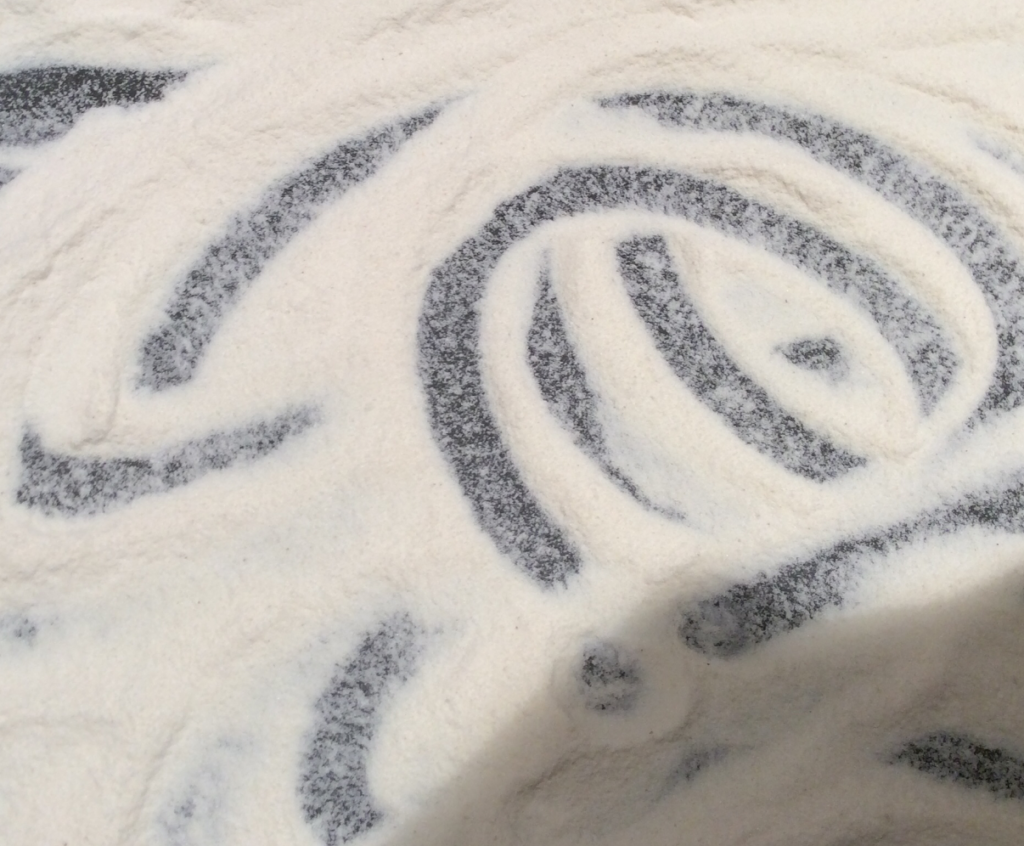
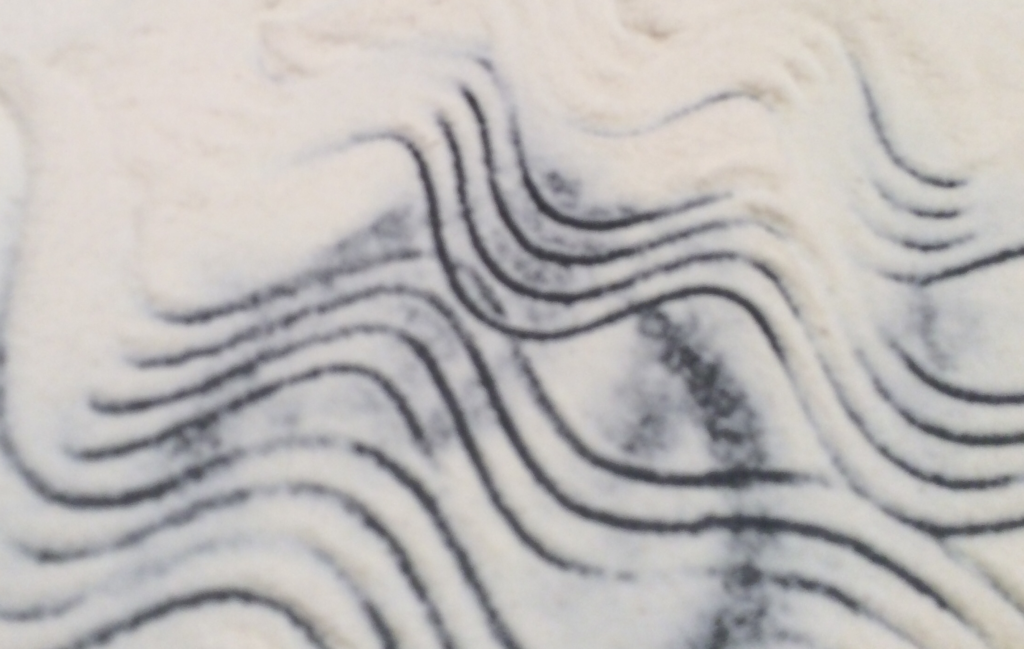
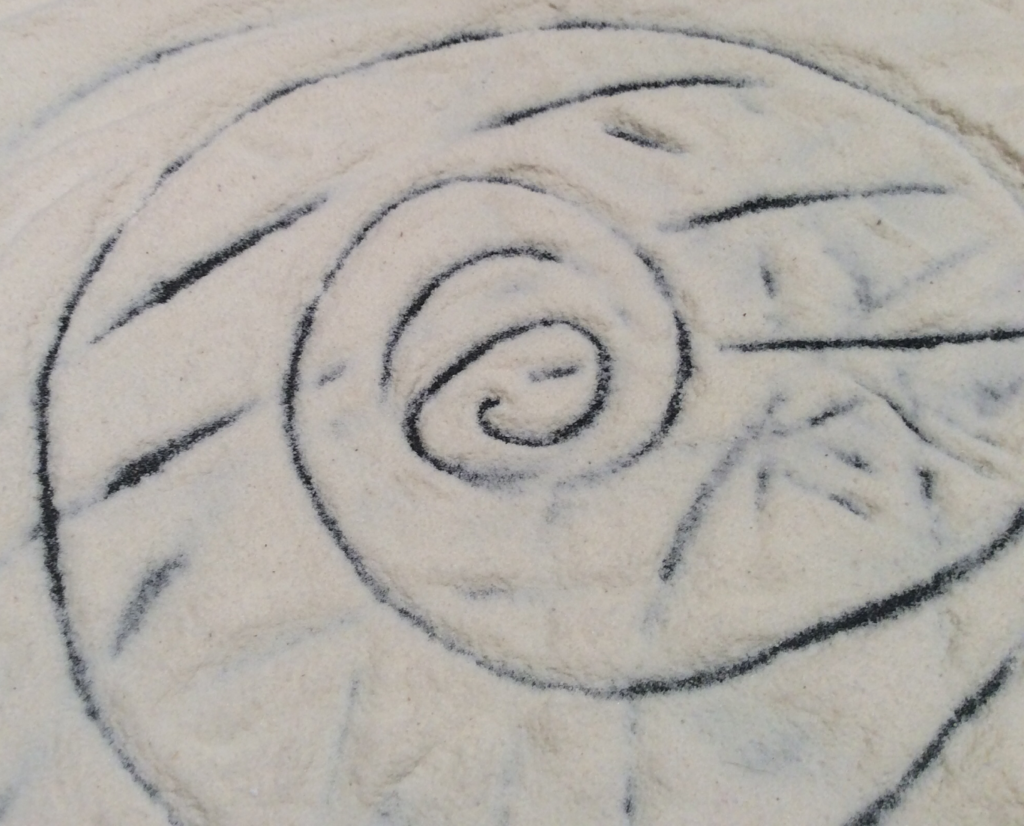
Activity 2: Flour Art
This is a transient piece of art using flour and it can also be seen as a sensory therapeutic activity.
As always, the process is the main focus rather than the outcome but I’d be glad to see any photos from school or home!
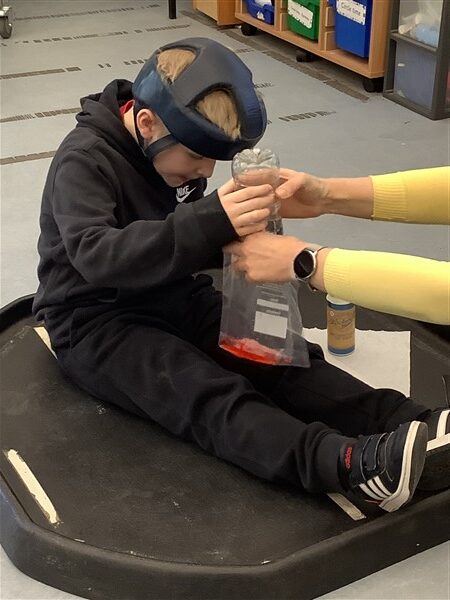
Remember to warm up hands and eyes beforehand using some of the exercises we’ve practised before! This activity has been split into three levels focusing of different skills and levels of ability. Choose the one that is right for your learner but feel free the experiment and explore!
Stage 1: With hand over hand support from an adult, explore the flour with your hands. Make marks in it using your fingers, hold it in your hand, squeeze and squash it, push it with your fingers or an object.
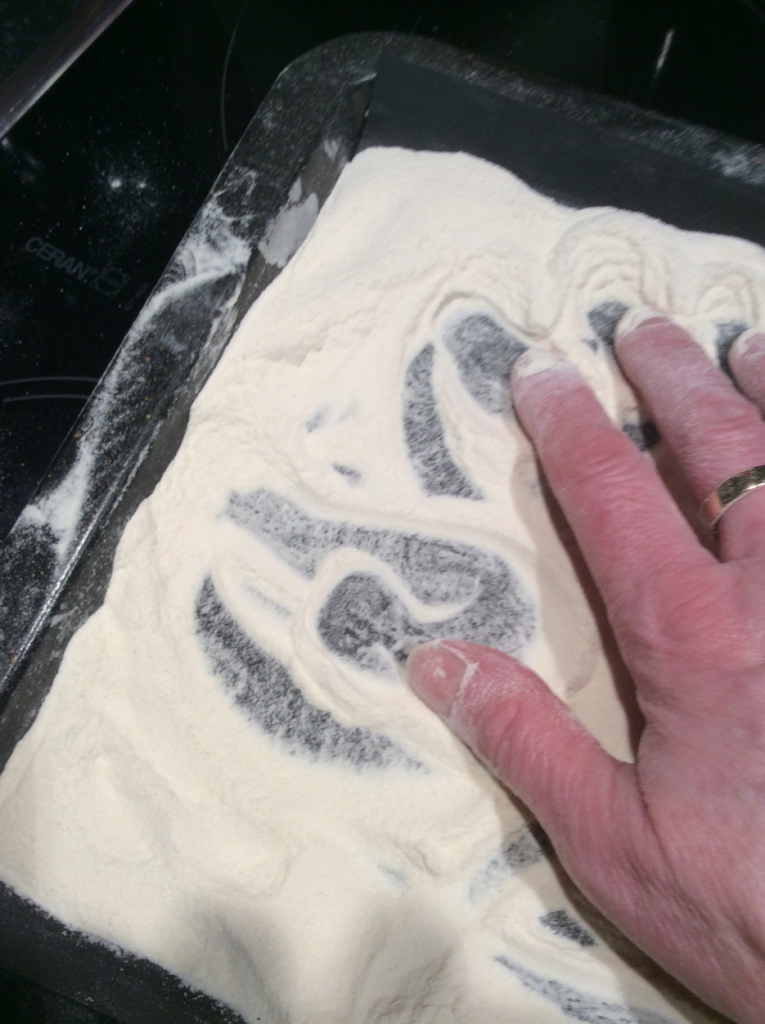
Stage 2: With appropriate support, make a variety of marks in flour using a range of objects.
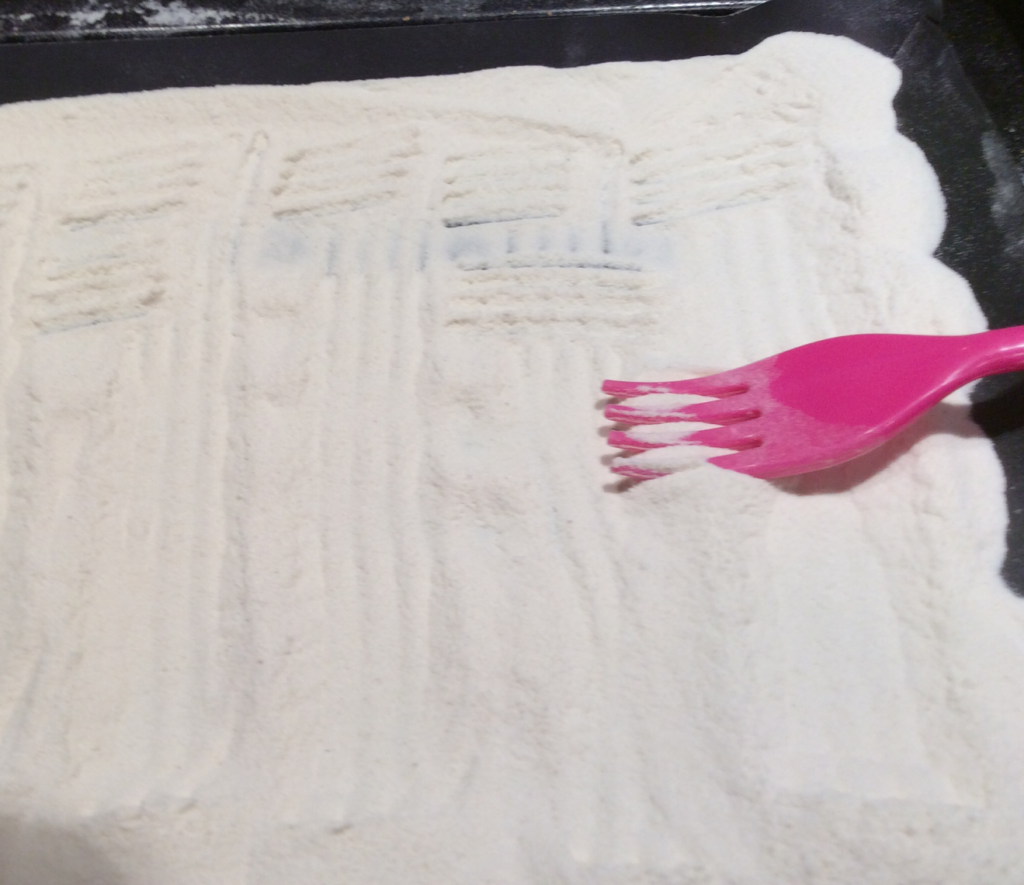
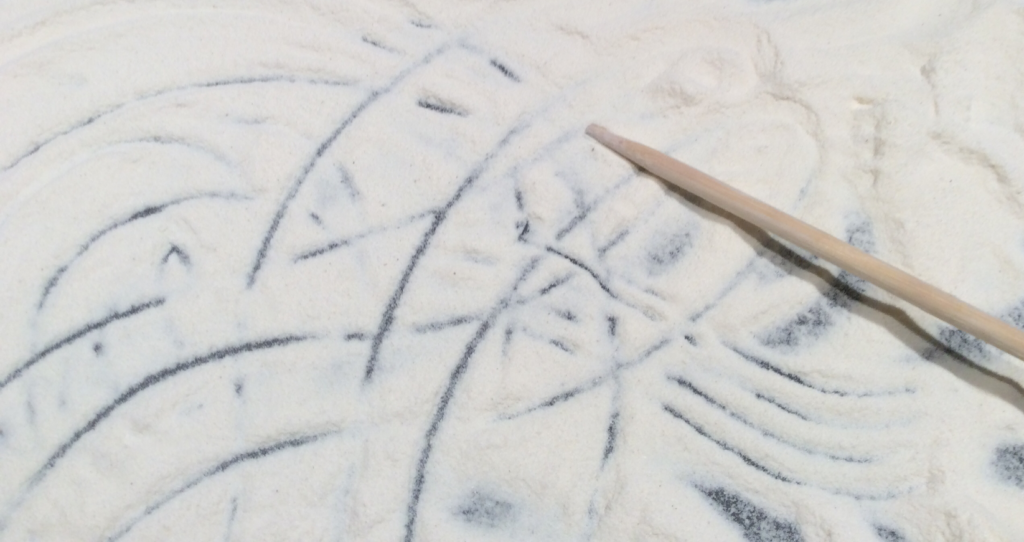
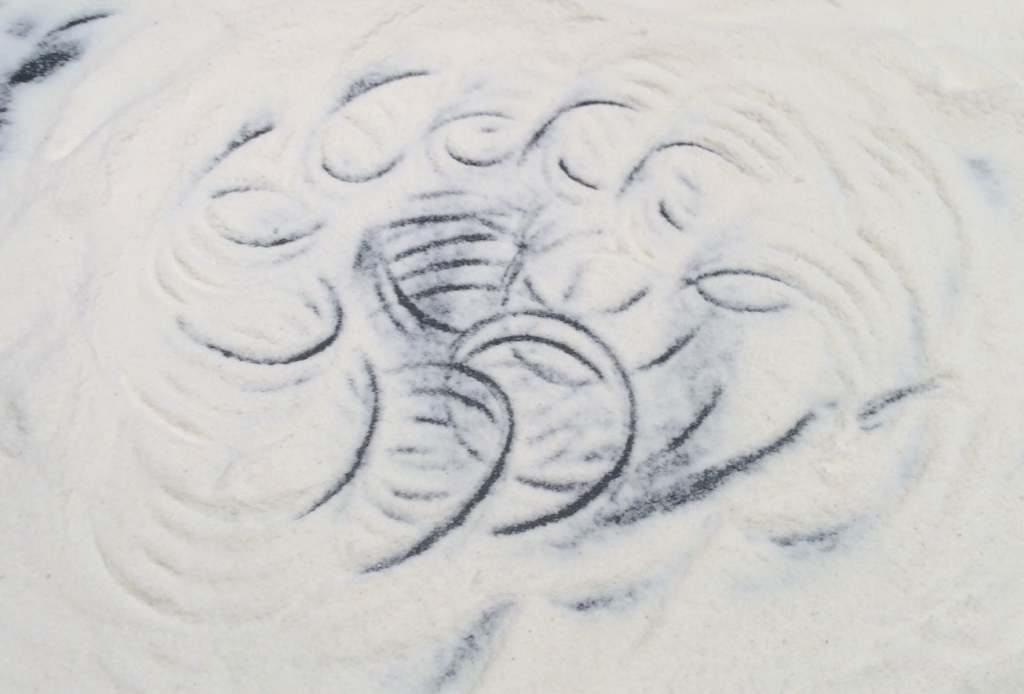
Stage 3: With appropriate support and using a range of objects, make an image using flour which shows a variety of qualities of line, e.g. wavy, hatched, broken, spiral etc. How can you demonstrate choice and decision making during the activity?


Extension: You could always try and make these activities a bit more challenging. Can you add another texture to the flour, e.g. pulses or pasta? How does the texture change? Is it still easy to make marks in these?
If you can take some pictures of your floury explorations to share that would be wonderful so please feel free to share any photos or videos via your child’s teacher, through Google Classroom, or email Amy Dunnett (Principal Teacher Primary) adunnett@aberdeencity.gov.uk.