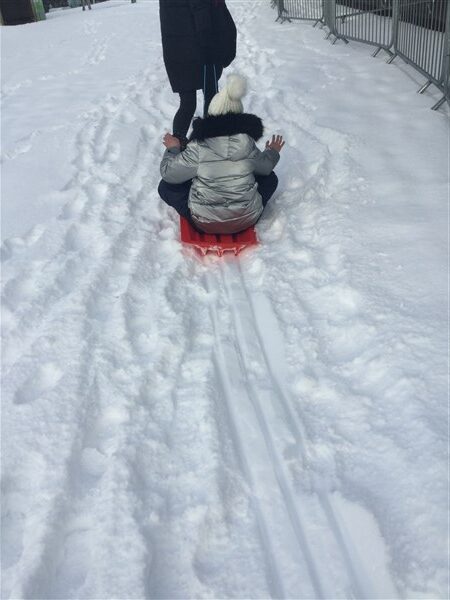
Winter Reminder
By Amy Dunnett
/ 5th November 2022
As we head into the winter months, please find below a general reminder of illnesses in school. Due to the...
Read More


Expressive Arts

Last year, Room 19 entered the ‘My Place Photography Competition’. Pupils were encouraged through the competition to explore their surroundings and share photographs. Room 19’s photos are being displaying in a public exhibition, you can see their photos here:
https://myplacescotland.org.uk/mpp-gallery/?ag=secondary&ye=2021&mi=225
The group took photos in school and out in the community using iPads.
I am sure you will agree there are some fantastic photos in the group.
Well done to all
Horizons Youth Dance Company are looking for new members to join a free dance company for young people aged 12 – 19 years with and without disabilities.
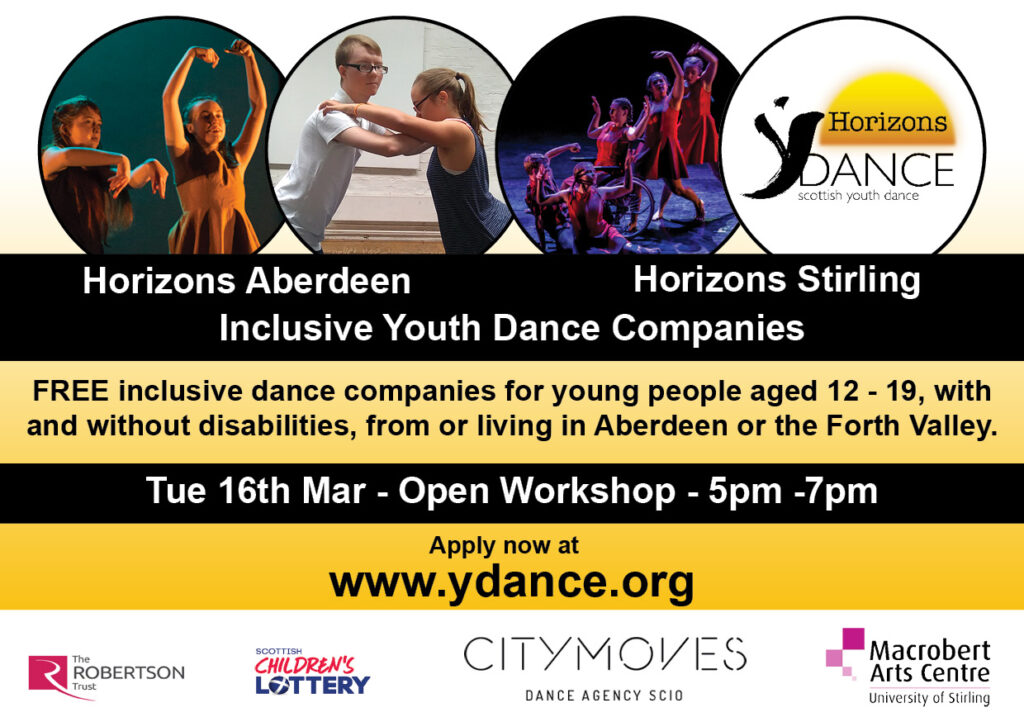
There is a free open creative dance workshop on Tuesday 16 March 5 – 7pm online where you will be able to see performances from the three Horizons Youth Dance Companies from Aberdeen, Stirling and Glasgow, join in a workshop with them and ask questions to the tutors or existing members.
For more information, go to the website: https://ydance.org/
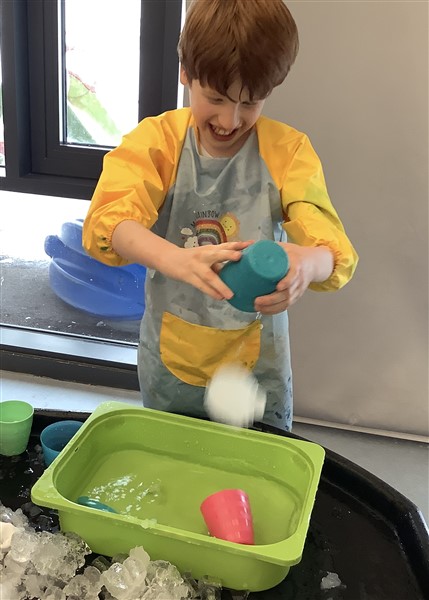
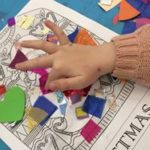
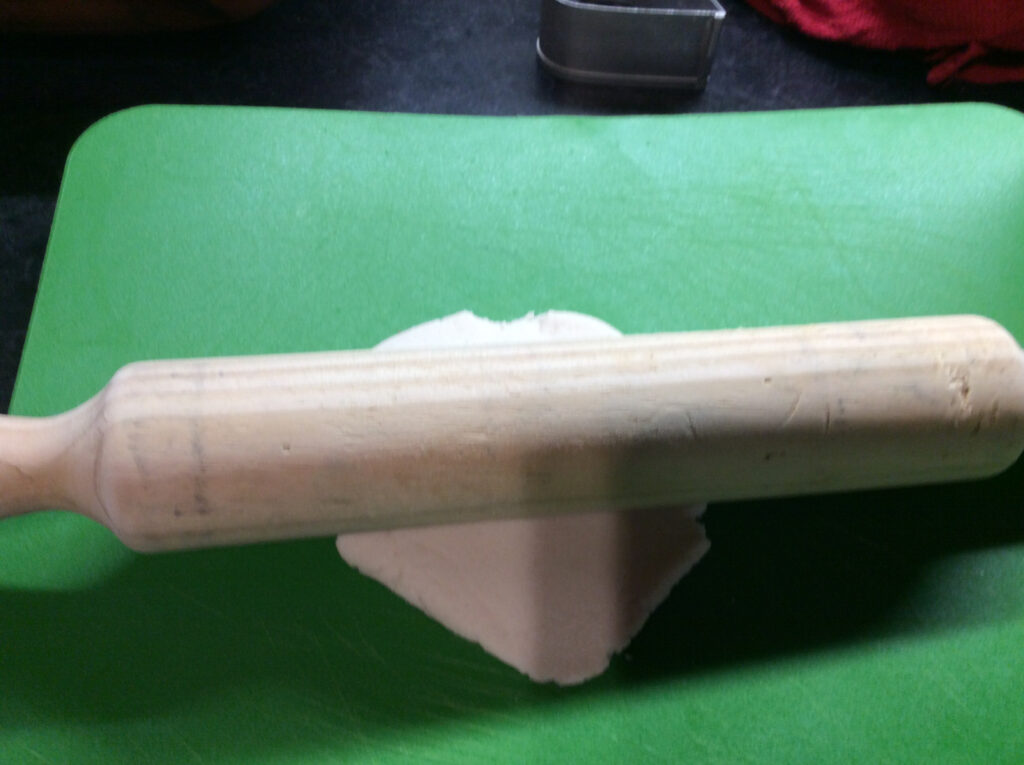
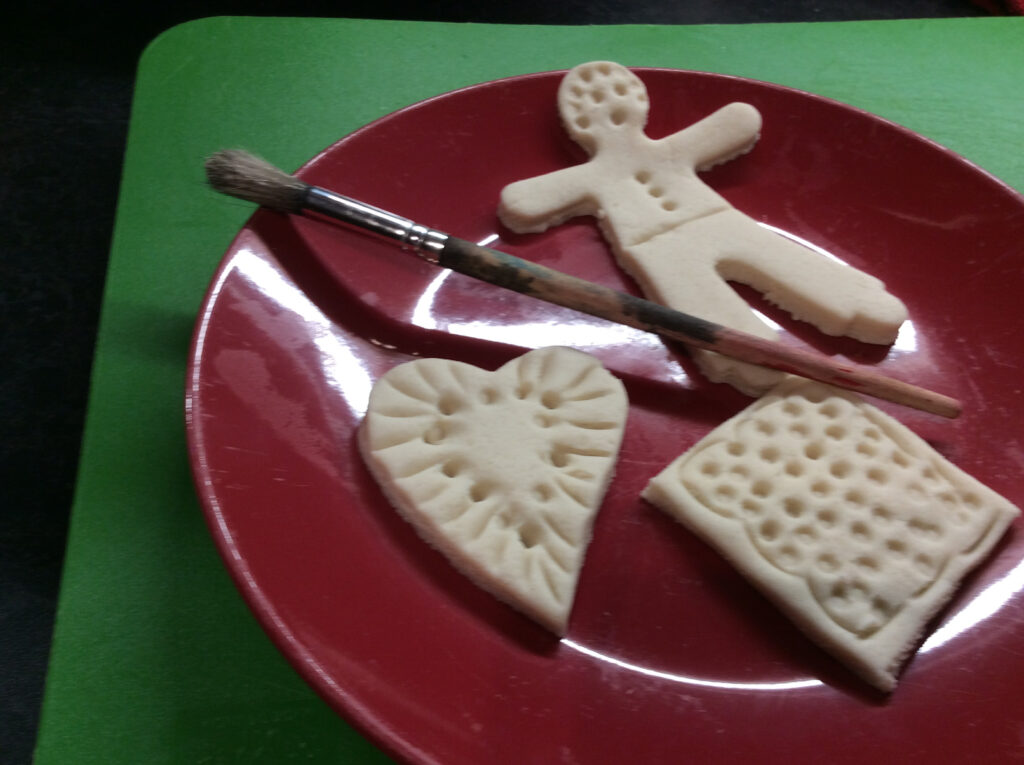
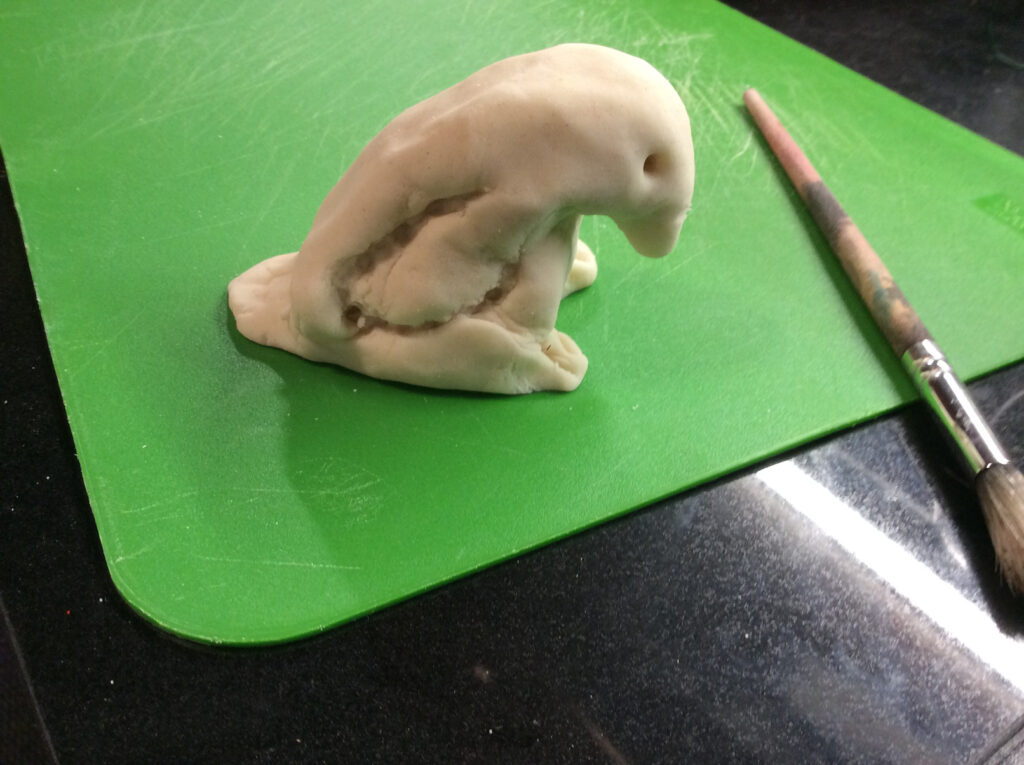
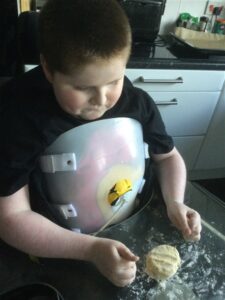
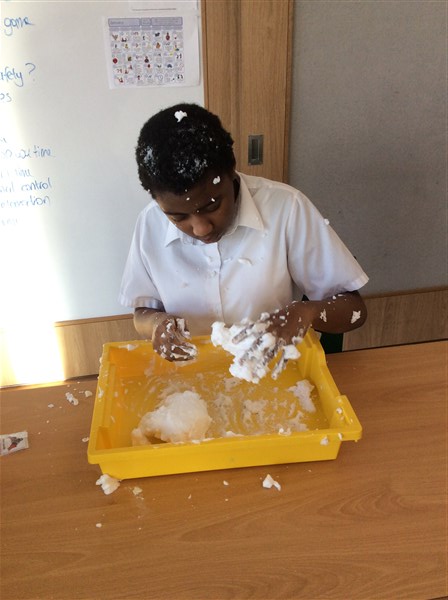
What Happens To Flour When We Make Salt Dough?
This week we are continuing to use flour in our artwork by making salt dough and using it to get creative! As always remember that the process is the main focus rather than the finished artwork.
Remember to warm up your hands and eyes beforehand using some of the exercises we’ve practised before! This activity has been split into three levels focusing of different skills and levels of ability. Choose the one that is right for your learner but feel free the experiment and explore! Salt dough is a fairly crude material so make your work quite chunky don’t expect it to hold fine details or stay intact if it is very thin!
To make your salt dough, you will need:
Mix the flour, salt and water in a bowl. If your mixture is too dry, you can add a bit more water or if it’s too sticky, add a bit more flour. Use your hands to knead and roll the dough until it is smooth. The salt dough will keep for several days if it is wrapped in cling film or placed in a sealed bag.
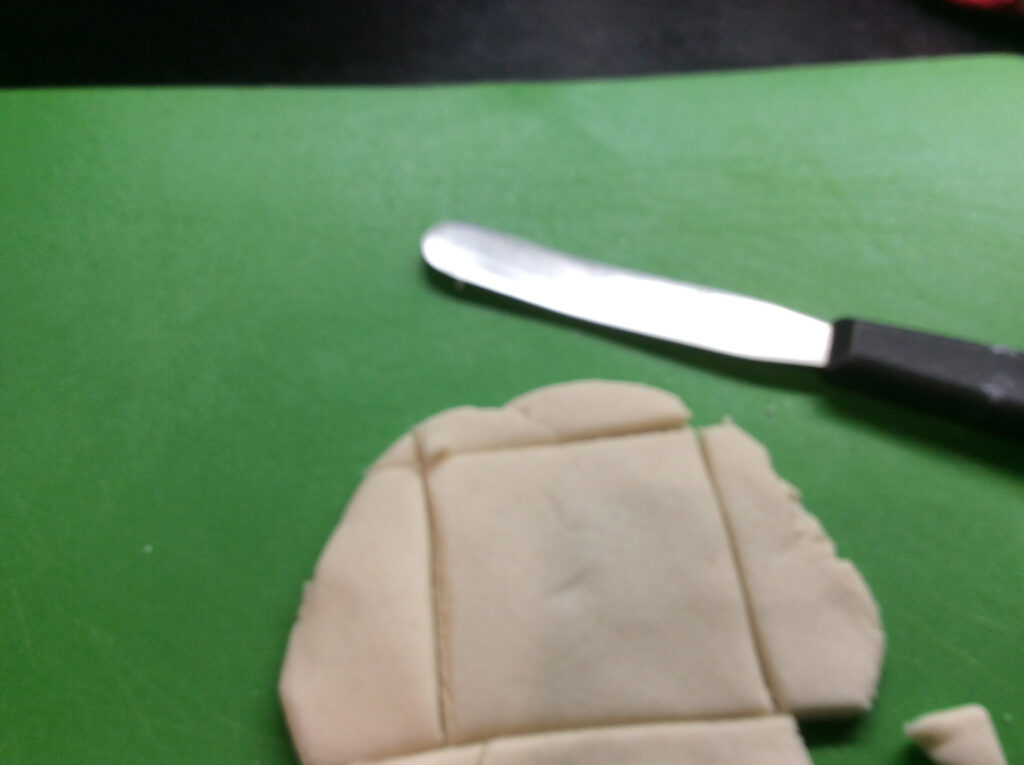
Stage 1: At this stage we are looking for the pupils to show a simple response or reaction as they explore the salt dough used in this week’s flour art. With hand over hand support from an adult, explore the texture and consistency of the salt dough. Can you squash and squeeze it? Can you roll it or pinch it? Try to use your fingers and hands to make prints in the salt dough or even add some food colouring for a more colourful experience.
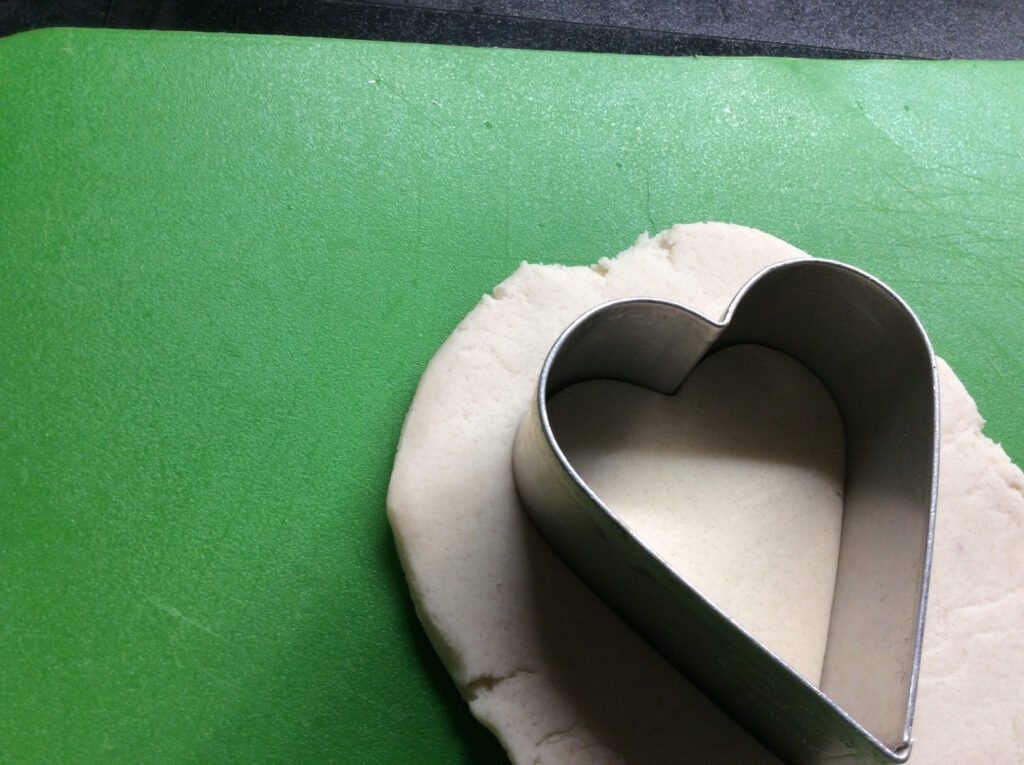
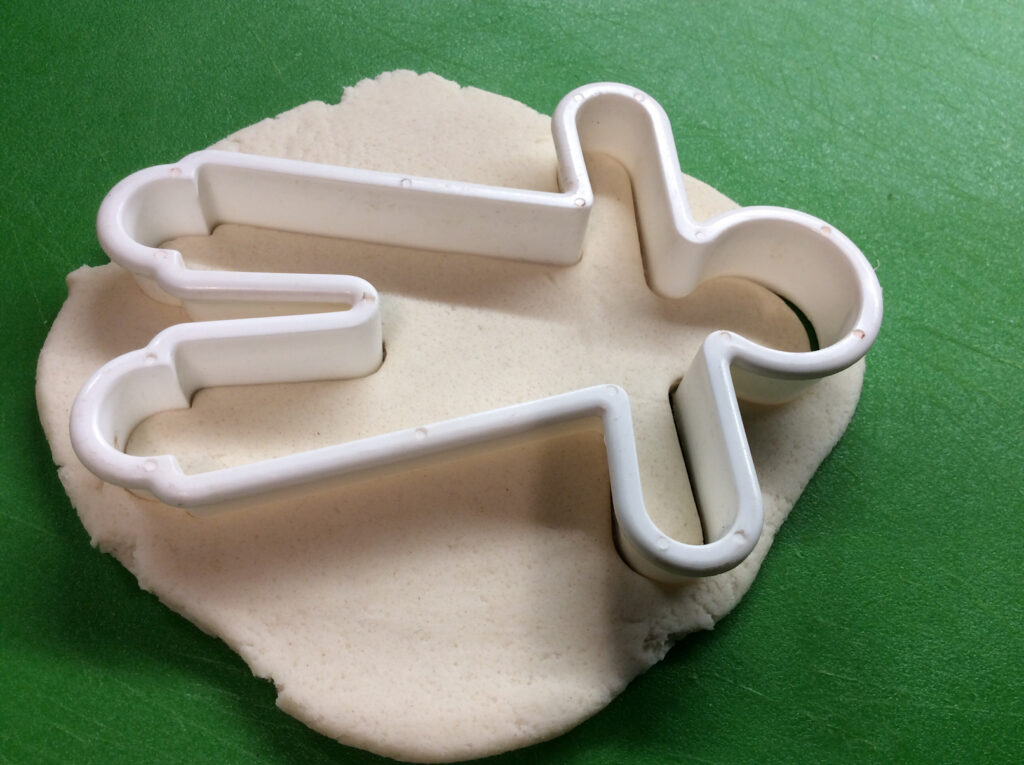
Stage 2: With appropriate support, use your hands to manipulate the salt dough. Can you roll out the dough and cut out different shapes using either cutters or a knife? Can you use different objects to make impressions in the salt dough? Be as creative as you like but you could try forks, spoons, or sticks. You could also add some food colouring to you salt dough to really make your artwork stand out!
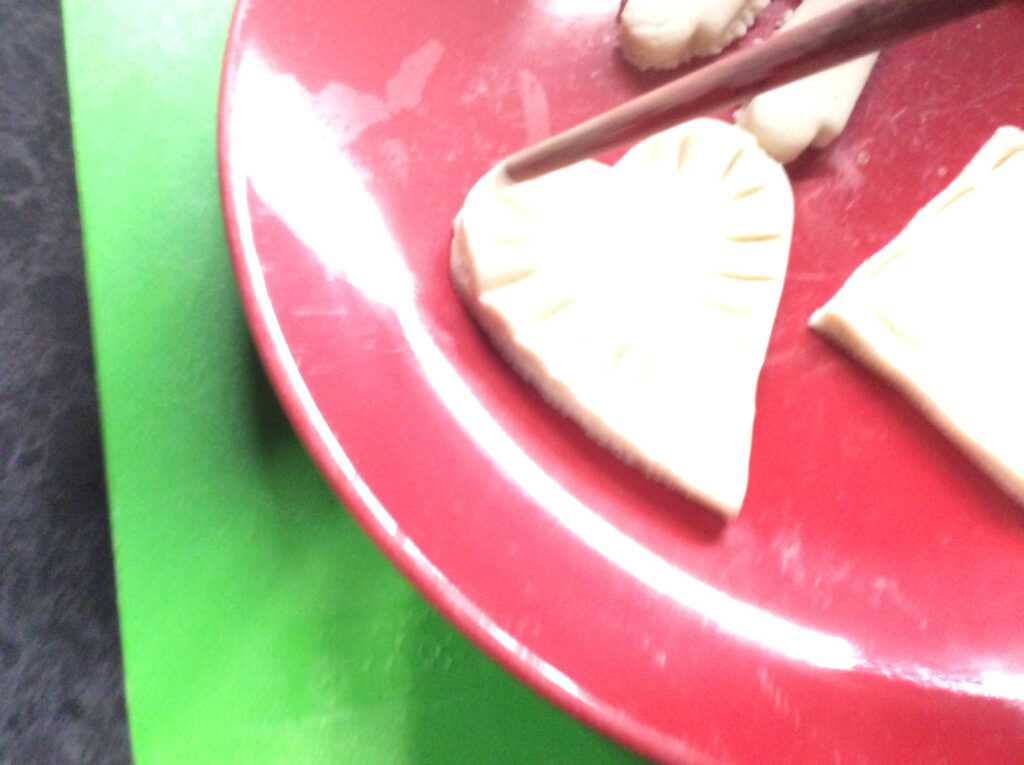
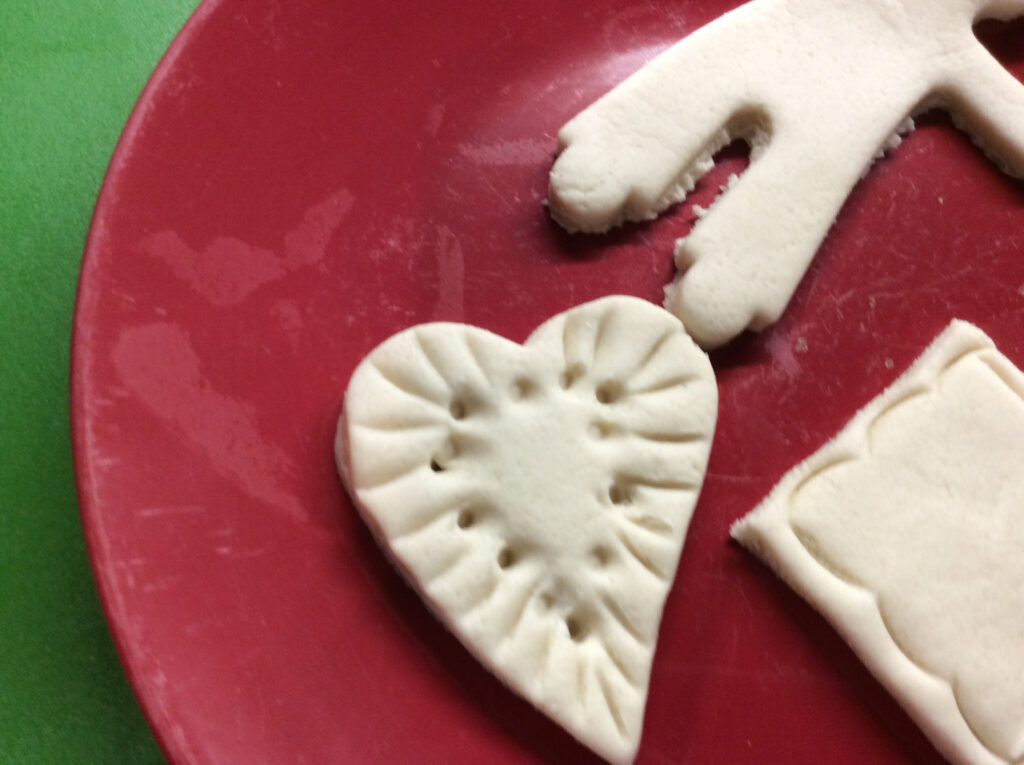
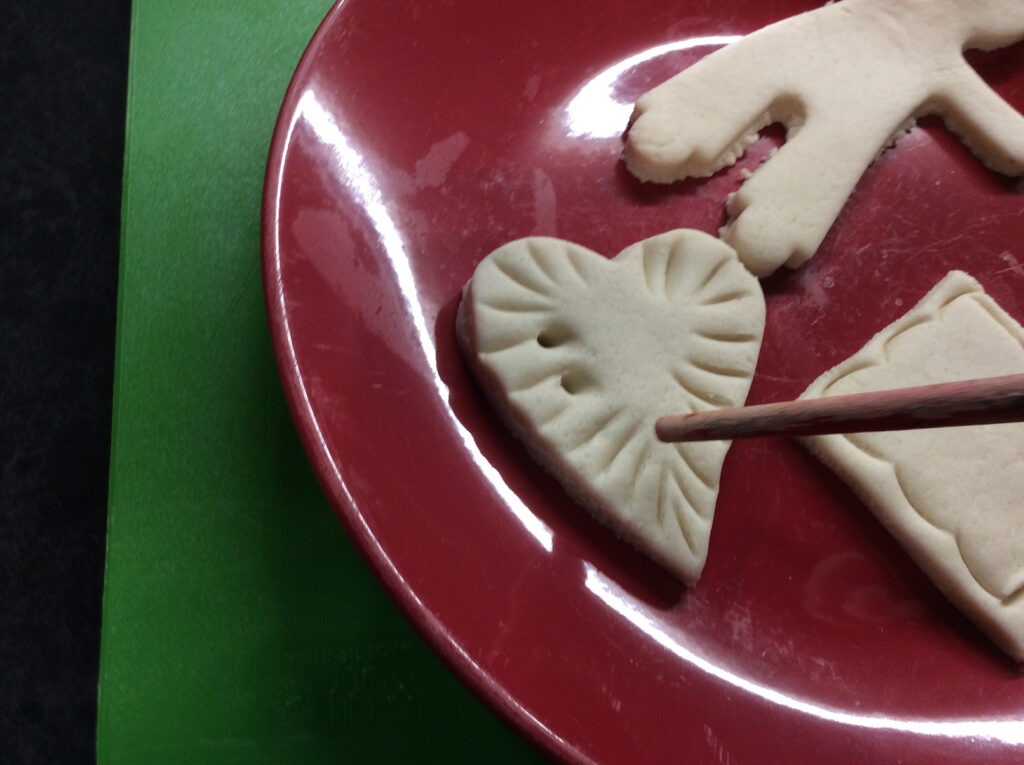
Stage 3: For this stage you will explore how to use the salt dough to create a 3 dimensional model. Can you use your hands or maybe even different tools to mould to salt dough? You could try making a bowl based on things you see in nature, such as a leaf or maybe even a model of an animal. Get creative and use your imagination. Once your model is finished, leave it to dry for several days or put into a very low oven to harden.
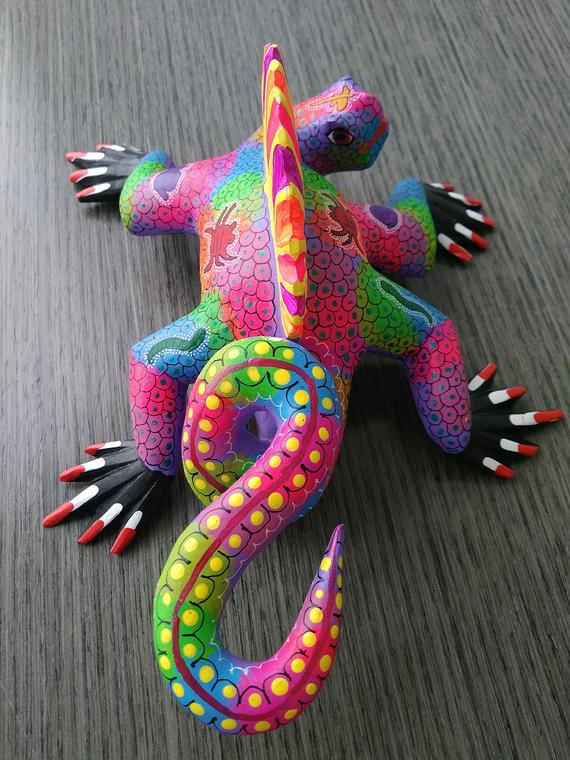
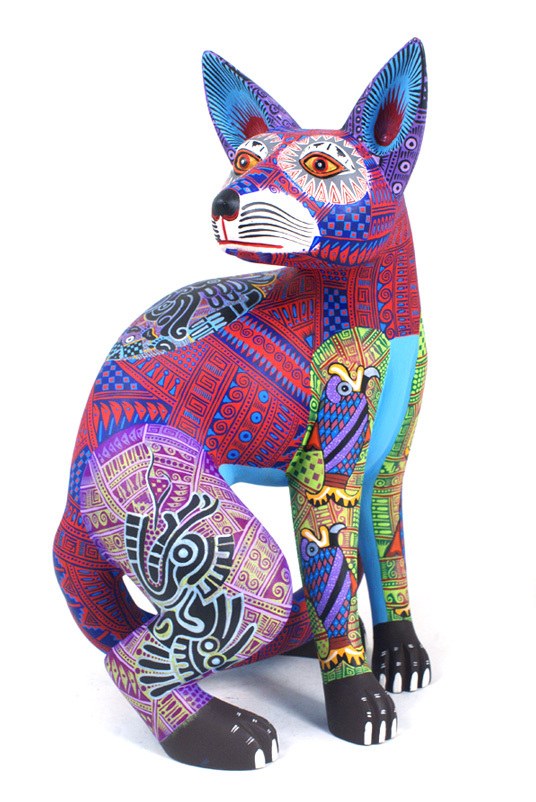
Extension: You can also use flour to make papier mache models. To create your papier mache model you will need:
Make a basic frame for your model using garden wire or cardboard.
Mix the flour and warm water in a large mixing bowl until well combined. Add extra tap water a little at a time to loosen. You want a smooth, batter-like paste with no lumps. You can sift the flour first for a smoother finish.
Cover your work area in more old newspaper. Dip the paper strips in the paste, wipe off the excess on the side of the bowl and stick onto your frame. Use a paintbrush to smooth down the paper and remove any air bubbles or excess paste. Repeat to cover and leave to dry before adding further layers.
Once you are happy with your model, you can decorate it using any media you like!
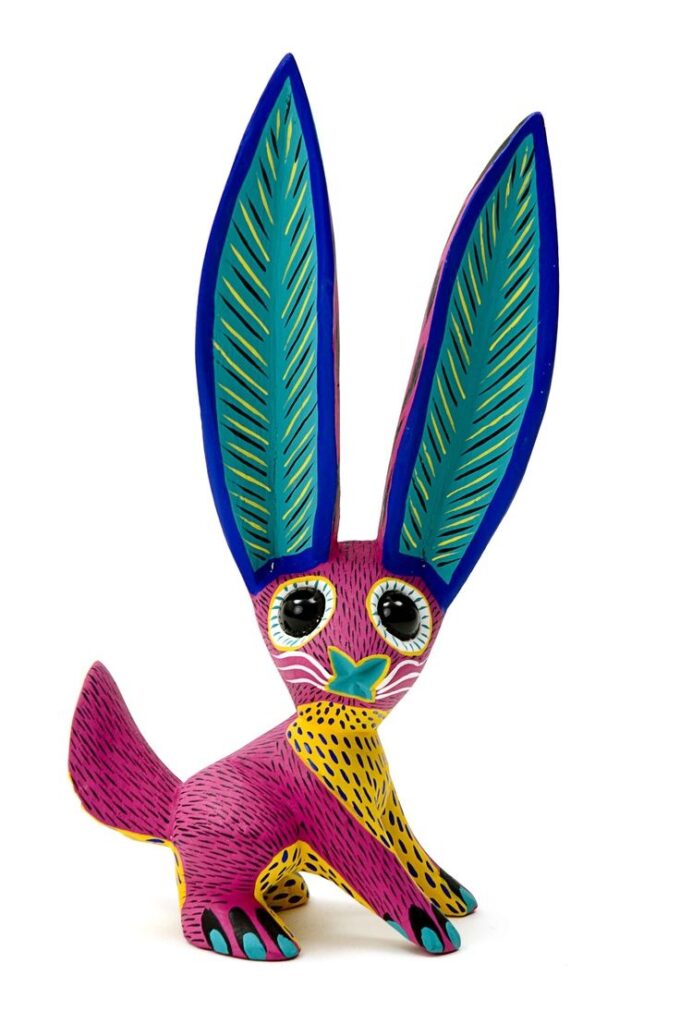
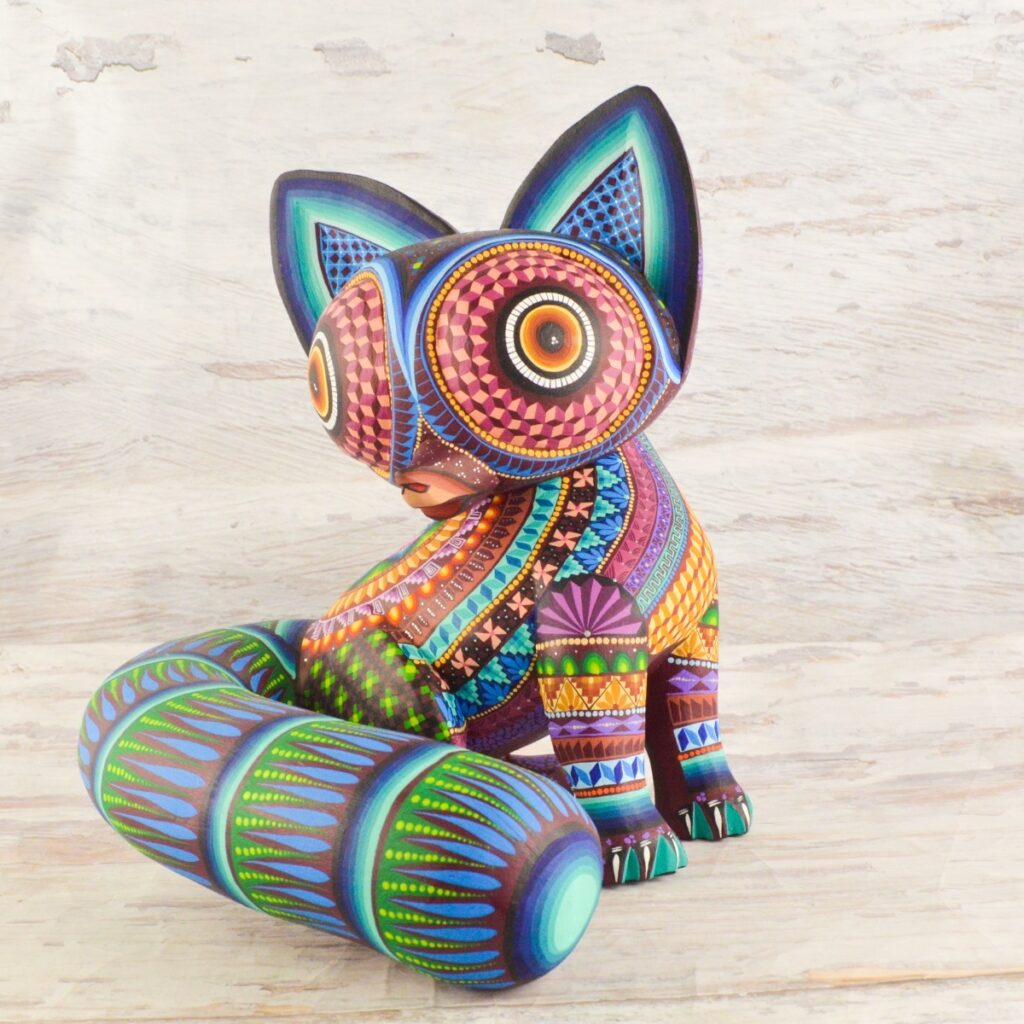
If you are looking for some inspiration, you can look up images of Alebrijes on the internet. Alebrijes are brightly coloured Mexican folk art sculptures of fantasy or mythical creatures. The first alebrijes, along with invention of the term, originated in Mexico City with the artist Pedro Linares. Linares often said that in the 1930s, he fell very ill, and while he was in bed, unconscious, he dreamt of a strange place resembling a forest. There, he saw trees, animals, rocks, clouds that suddenly turned into something strange, some kind of animals, but, unknown animals. He saw a donkey with butterfly wings, a rooster with bull horns, a lion with an eagle head, and all of them were shouting one word, “¡Alebrijes!, ¡Alebrijes!”. Once he recovered he began recreating models of the creatures he saw.

Please feel free to share any photos or videos via your child’s teacher, through Google Classroom, or email Amy Dunnett (Principal Teacher Primary) adunnett@aberdeencity.gov.uk.
There’s been lots of work going on in Secondary over the last couple of weeks. It’s good to see pupils continuing to to work towards ASDAN awards and SQA qualifications while learning remotely. There have also been some very successful Google Meets and I know the staff involved in these have very much enjoyed seeing you all!
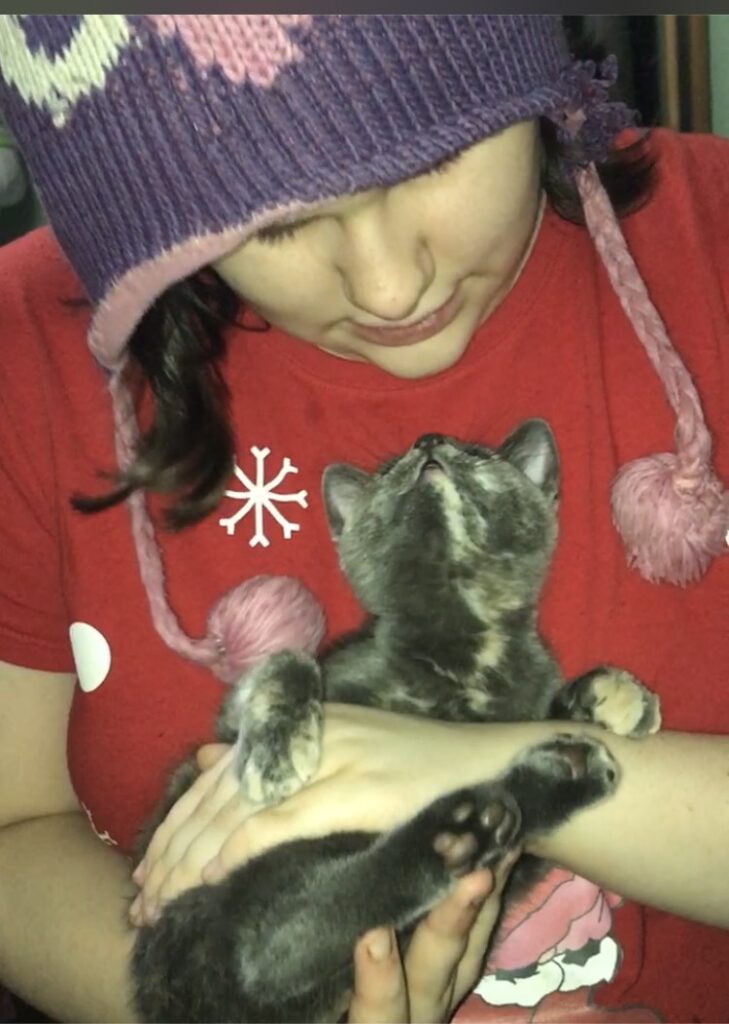
We have one young lady who working on SQA: Looking After Animals. She is taking good care of her new kitten.
We have pupils working on SQA Leisure Time Activities. This supports us in trying out new activities alongside engaging in things we already know and enjoy.
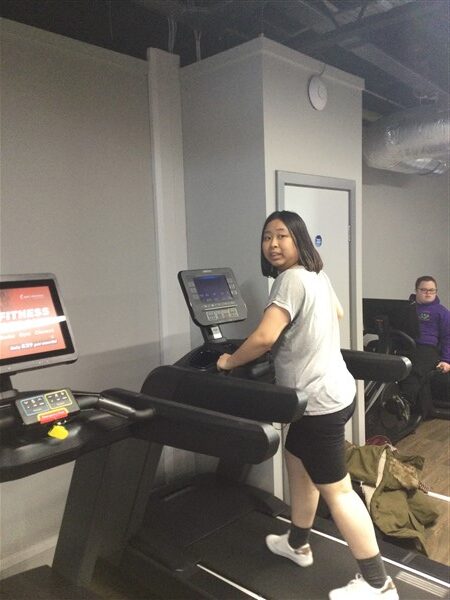
We’ve also been keeping fit, both indoors and out. There is a great range of activities in the PE Google Classroom. Please do pop in for a look if you’ve not already done so. Throwing and catching has been practised this week.


Life Skills and Independence
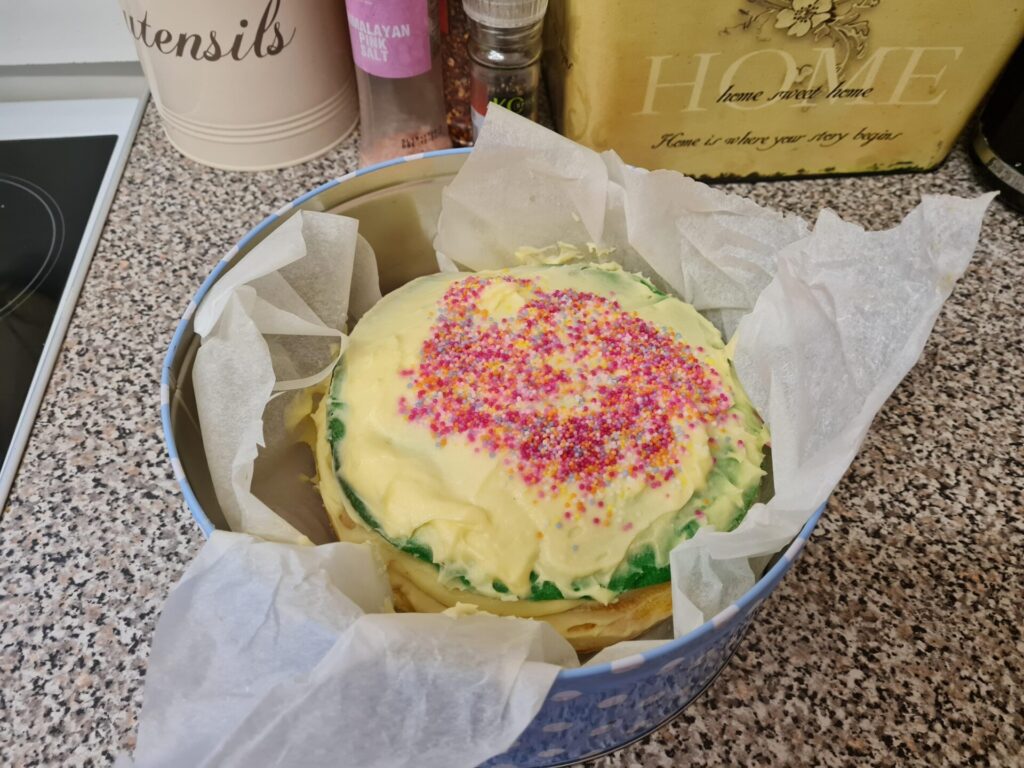
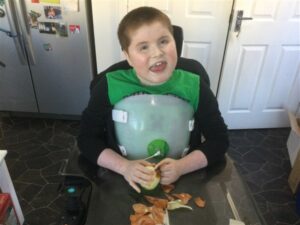
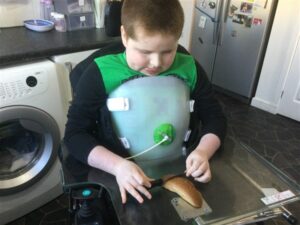
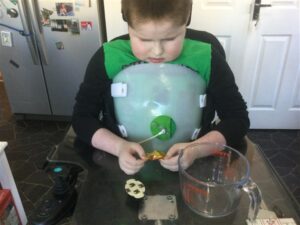
We continue to work on our life skills and independence. We’ve been baking: scones, a rainbow cake and savoury pancakes are a few of the recipes we’ve tried. Cooking and baking are great ways to practice our numeracy skills.

Assembly ‘Homework’
Our Secondary Assembly theme was ‘Love’ and we’ve now been tasked with showing love for someone over the next two weeks. This can take many forms: doing something to help someone else, being kind to someone, doing something that someone else enjoys, or for our staff and parents, showing yourself some kindness and taking a bit of time for you!
Following our previous Assembly where we had a theme of ‘Express Yourself’ in line with Children’s Mental Health Week, we enjoyed seeing photos of how others have done this.
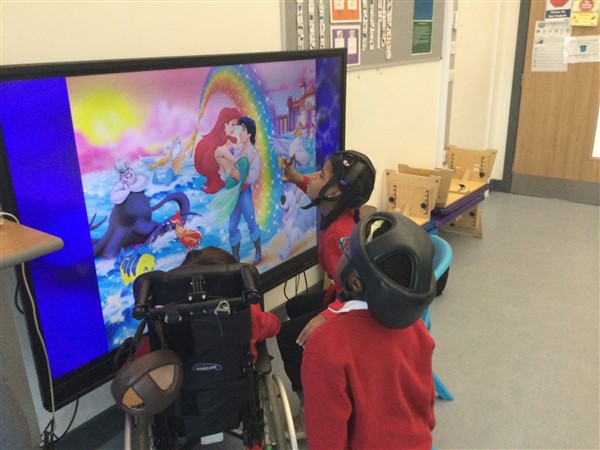
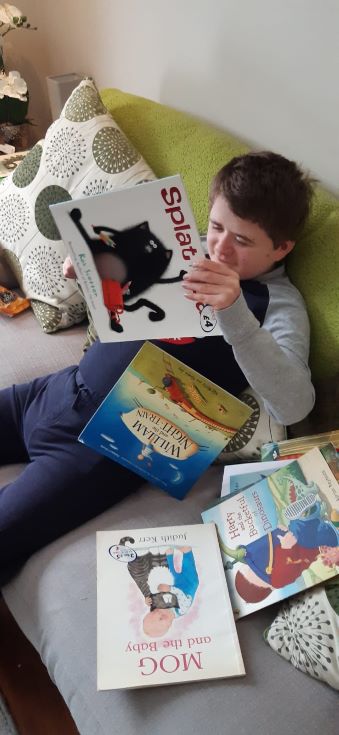
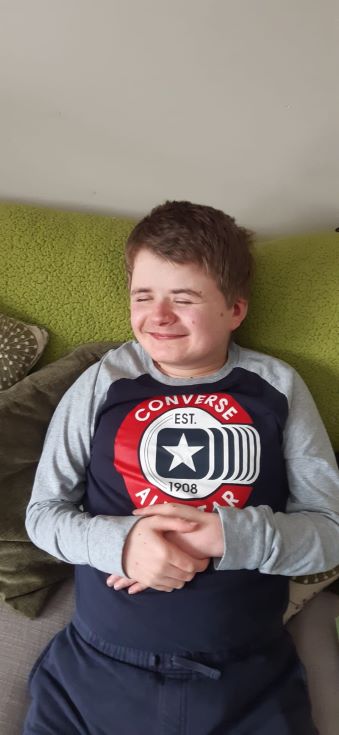
Reading and Relaxing at Home
Being Creative through Art and Music
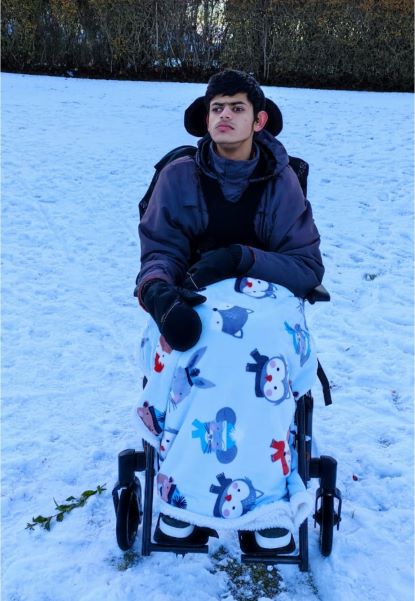
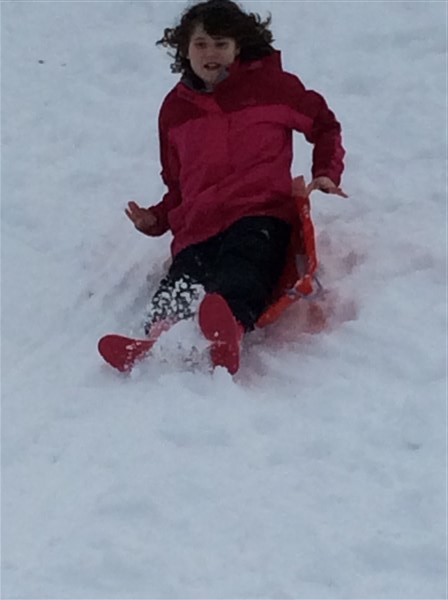
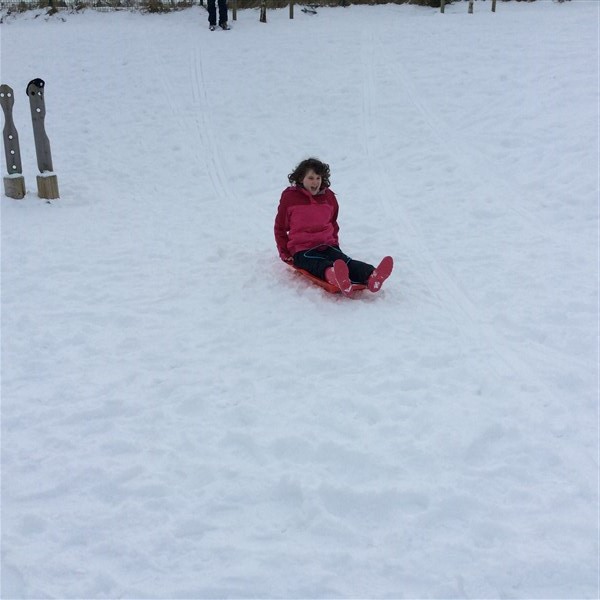
Enjoying Time Outdoors

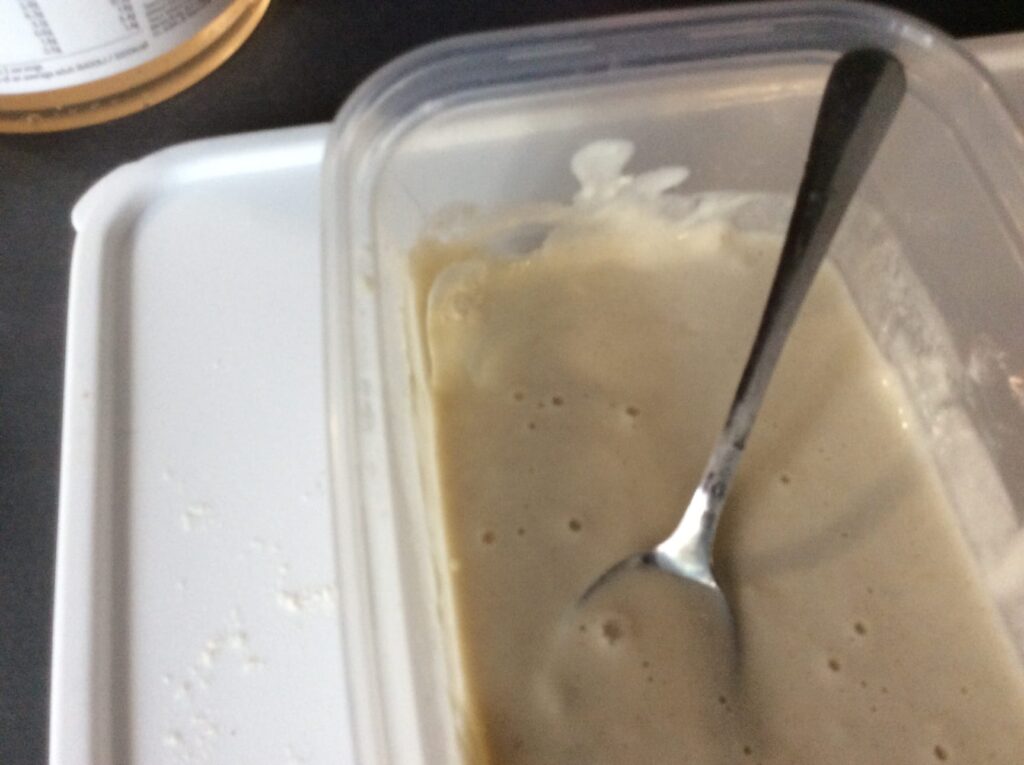
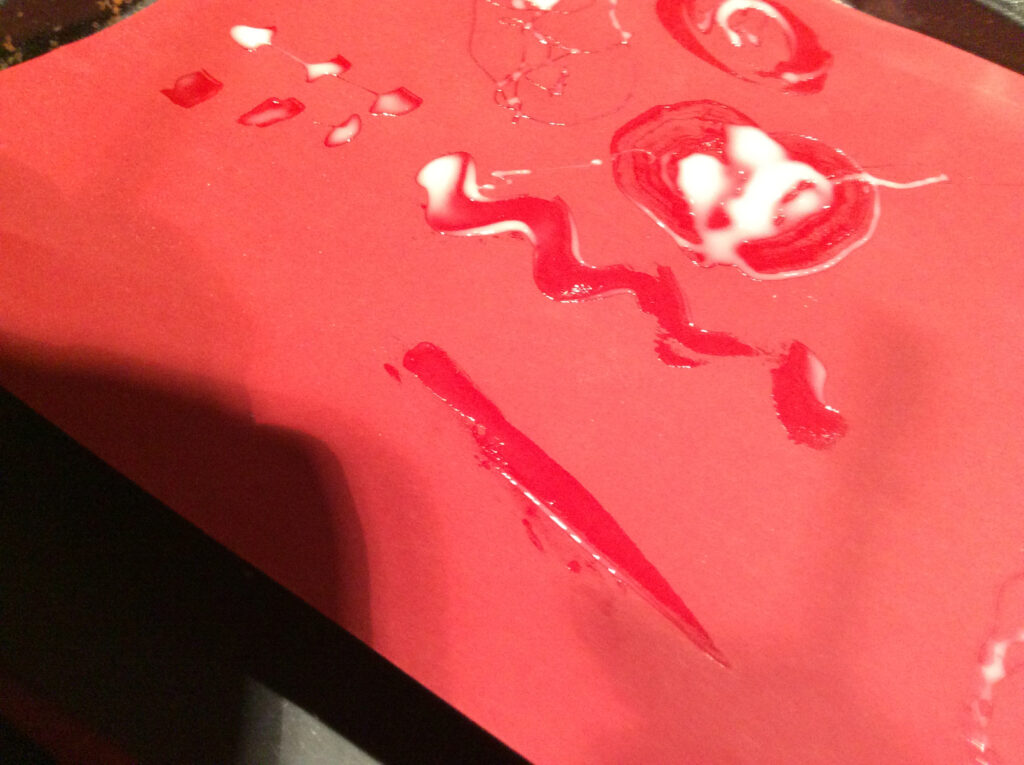
What Happens When We Add Water To Flour?
This week we are continuing to use flour to create our artwork by exploring the different consistencies we get when we add water! Get ready for some messy fun and as always, the process is the main focus rather than the finished artwork.
Remember to warm up your hands and eyes beforehand using some of the exercises we’ve practised before! This activity has been split into three levels focusing of different skills and levels of ability. Choose the one that is right for your learner but feel free the experiment and explore!
Stage 1: At this stage we are looking for the pupils to show a simple response or reaction as the explore the different consistencies of this week’s flour art. With hand over hand support from an adult, mix flour and water together to make a thick paste. Try using your hands to manipulate the paste. Can you squash and pinch it? Can you roll it? Why don’t you try seeing if you can use different objects to roll your paste. Now add more water and turn your thick paste into a thin, runny paste. Explore the sensations of allowing the paste to dribble through your fingers. Does it feel hot, cold, sticky, slimy? What words can you find to describe how it feels? Using your hands to make some prints with the paste on paper. You could always add some food colouring to the paste to make some colourful prints!

Stage 2: With appropriate support, mix the flour and water to make a range of pastes with different consistencies. What happens when you add a little bit of water? What happens when you add lots? Which consistency do you like best? Use your hands to manipulate and move the paste around on your surface. Which consistencies can you pinch, squeeze and roll? Which consistencies are best to dribble and push? Use different objects to make marks and impressions in the pastes. Be as creative as you like but you could try forks, spoons, sticks or toys? Do they leave the same impressions in each paste or does the paste react in different ways? Try creating some artwork using the different pastes you have created. You can use your hands or objects to make marks and why don’t you add some food colouring to make your artwork really stand out!
Stage 3: For this stage you will need a clean surface, a mixing bowl, a piping bag or sandwich bag, paper and paint or food colouring. This activity will need to take place over two sessions to allow for drying time.
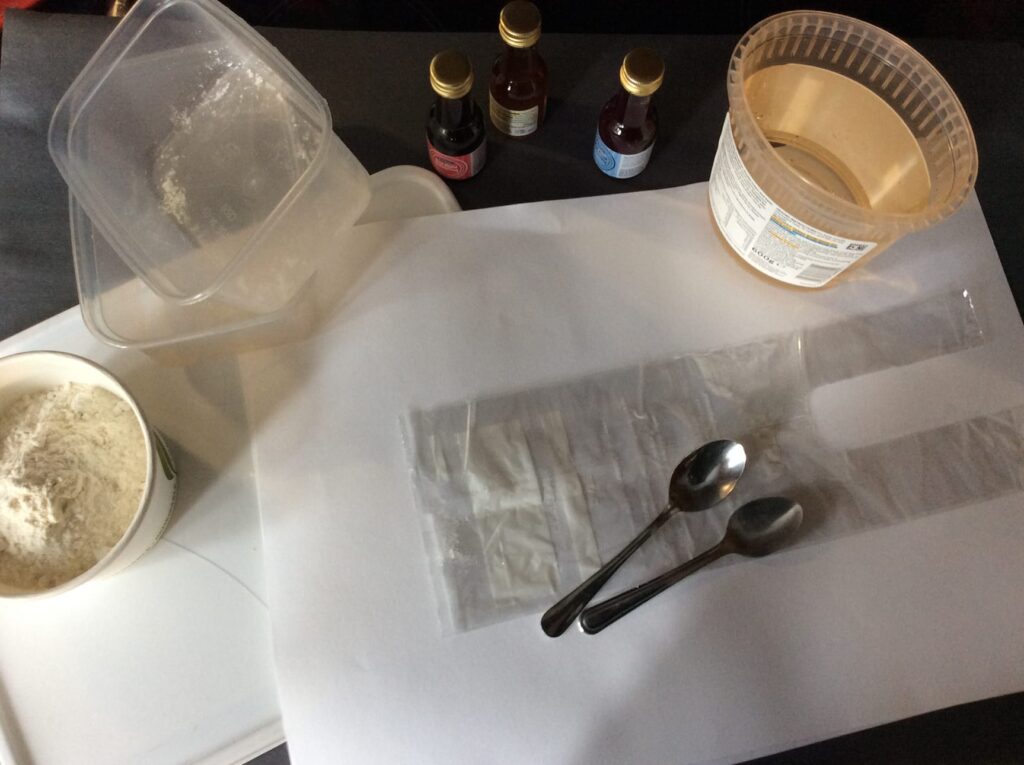
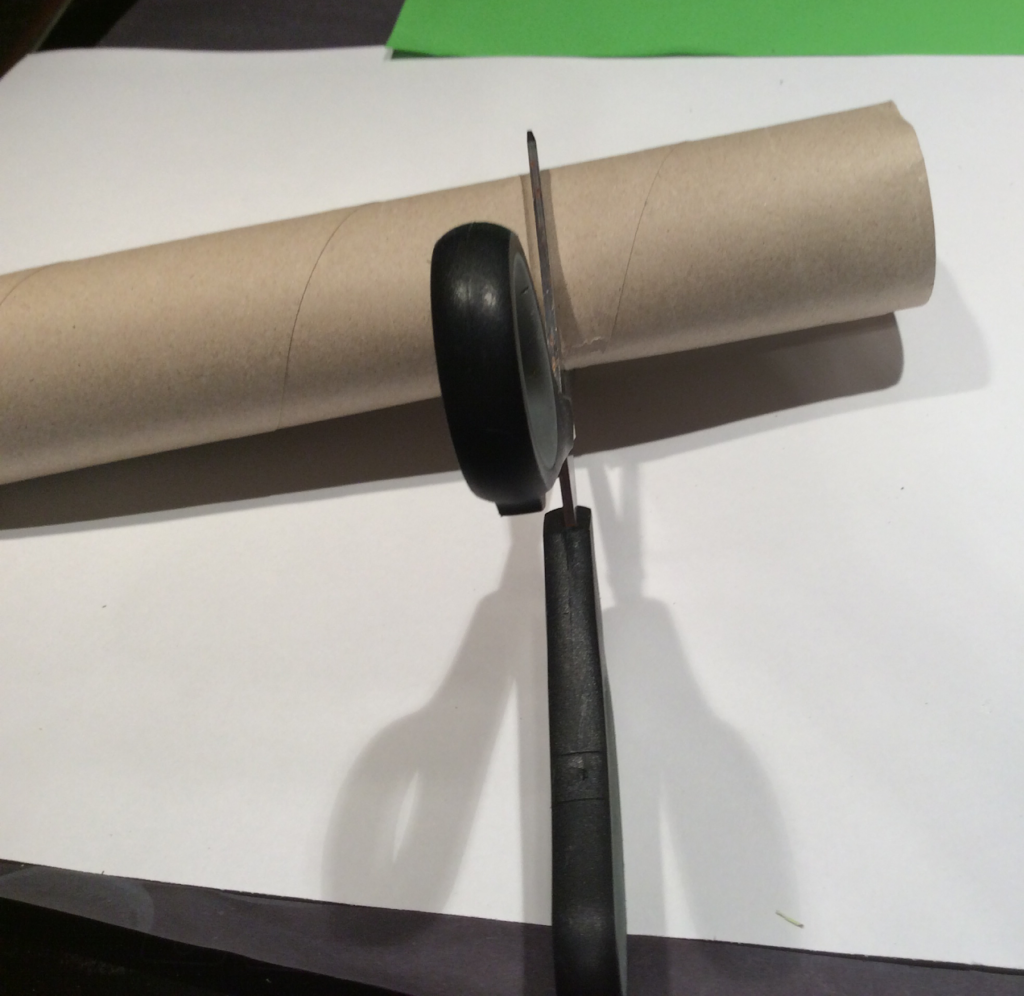
Mix your flour and water into a smooth paste with a similar consistency to icing. Carefully spoon the mixture into a piping bag. If you don’t have a piping bag, you can use a sandwich bag and carefully snip off a little piece of the corner to create a nozzle. Squeeze the paste onto your paper to create a pattern and leave somewhere safe to dry. Once the paste is completely dry, use your paint or food colouring to colour in the spaces in your pattern. Make sure not to use to much paint or else your hardened flour paste will start to dissolve! Leave to dry and then gently rub off the flour paste to show your pattern. You could try creating your artwork on different backgrounds to investigate which works best. You could try cardboard, fabric or even a cardboard tube if you want to try making a 3 dimensional piece of art! You can also try adding glue to your flour paste if you want to make your pattern permanent.
If you can take some pictures of your floury explorations to share that would be wonderful so please feel free to share any photos or videos via your child’s teacher, through Google Classroom, or email Amy Dunnett (Principal Teacher Primary) adunnett@aberdeencity.gov.uk.
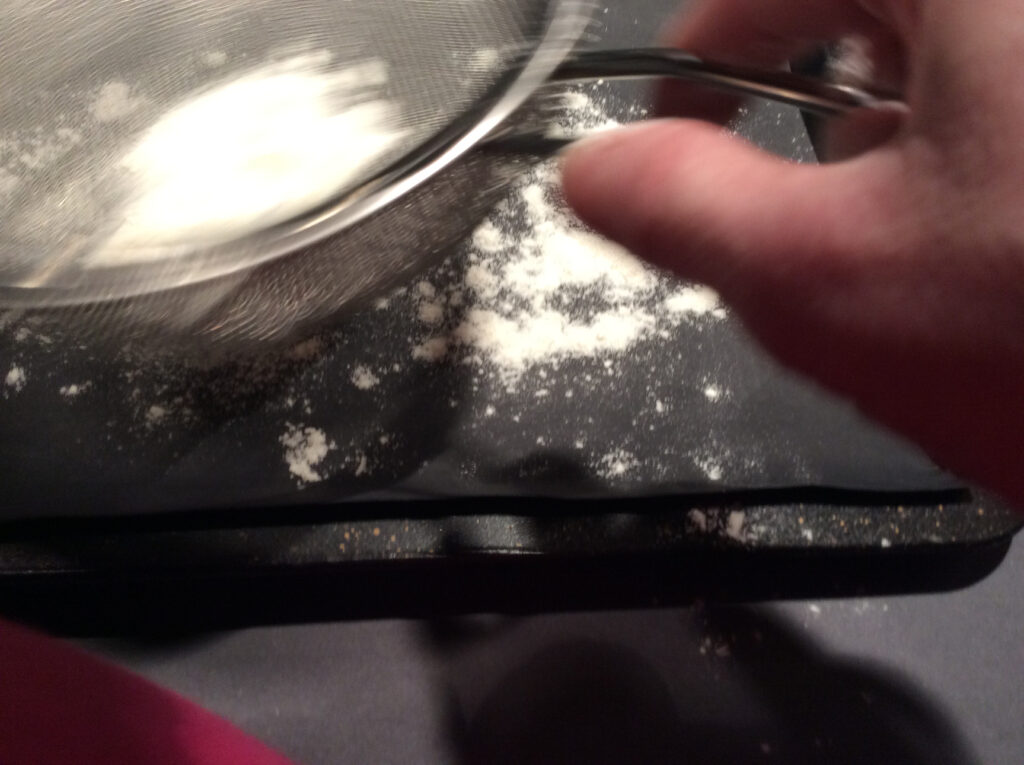
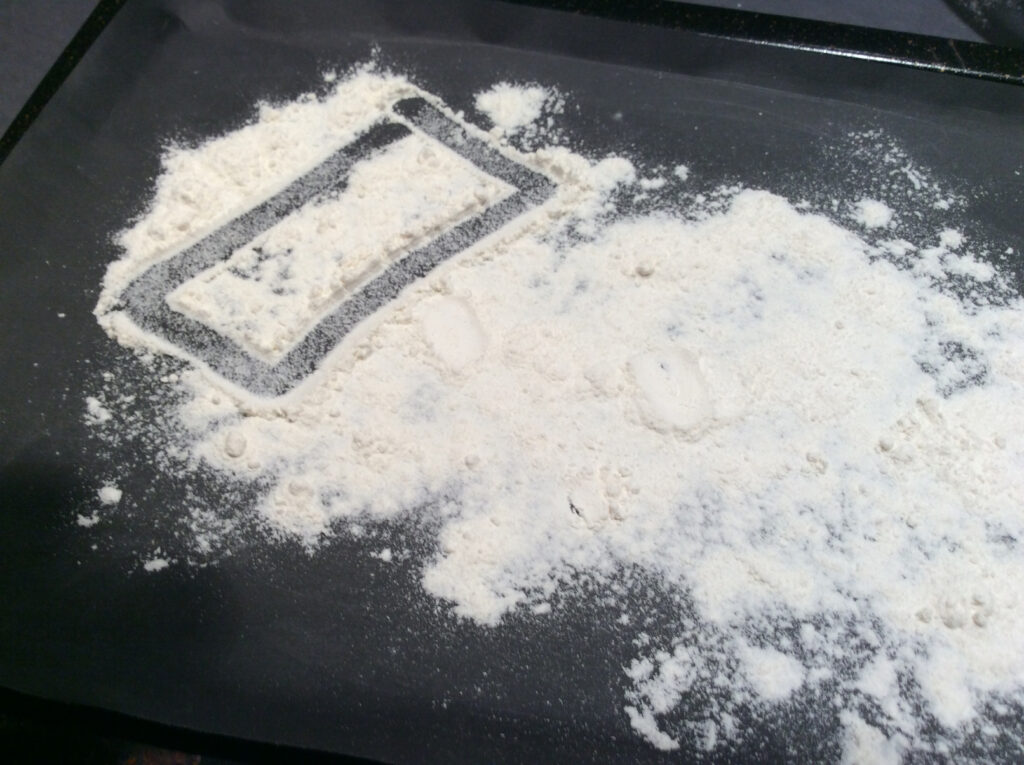
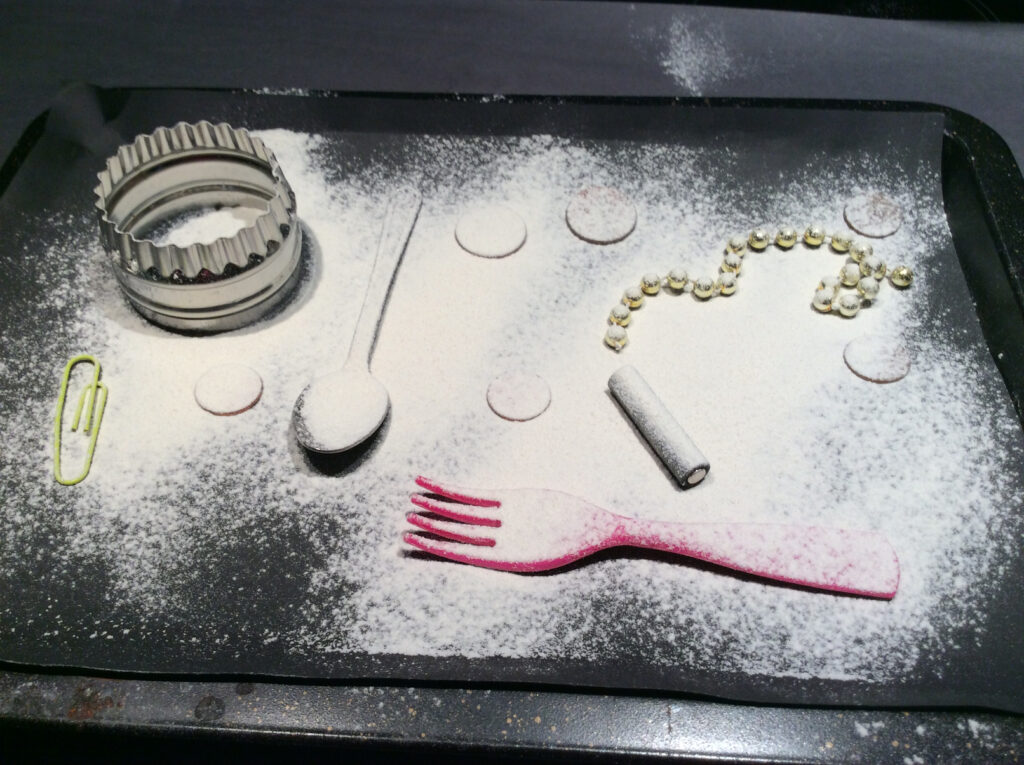
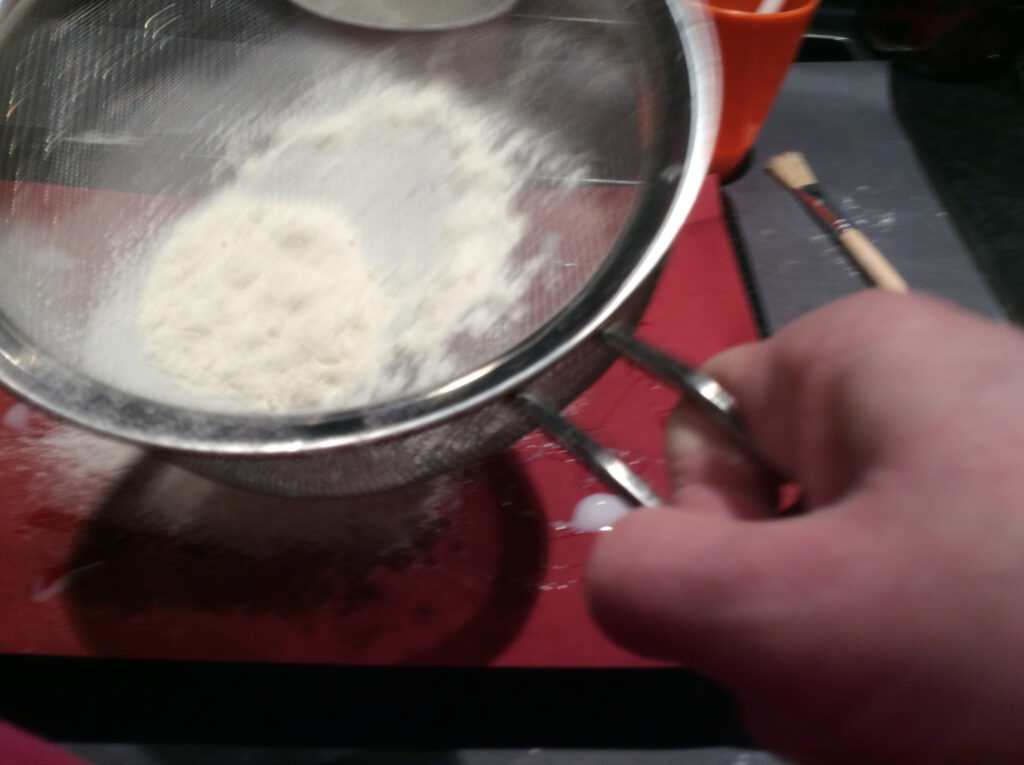
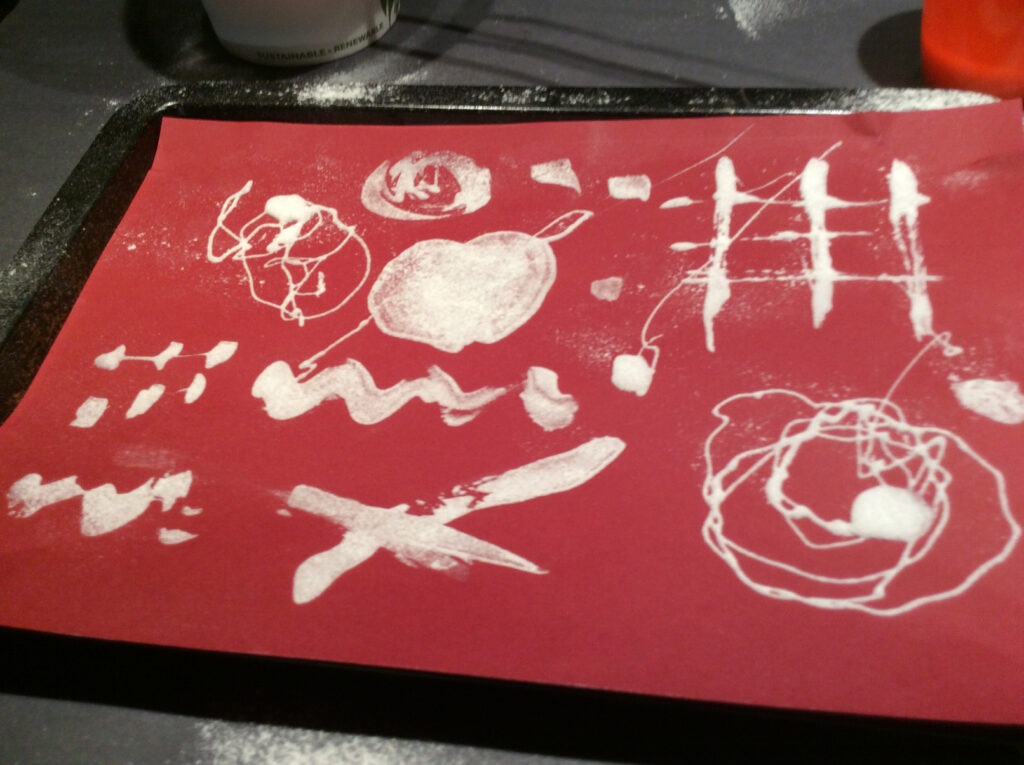
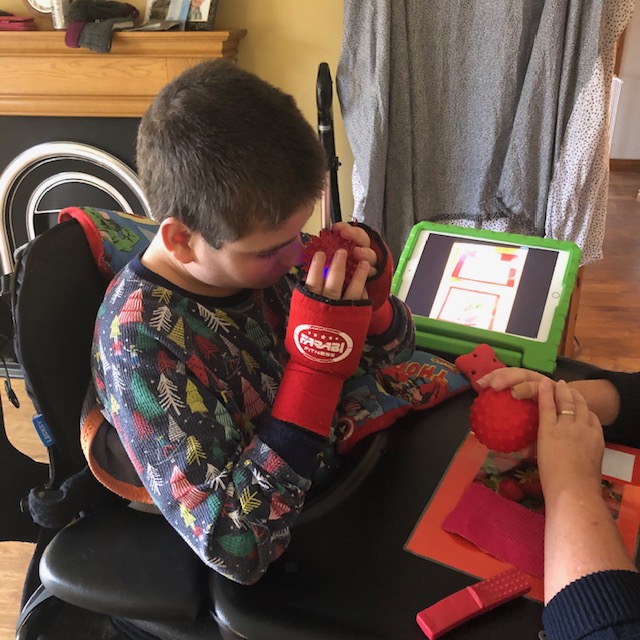
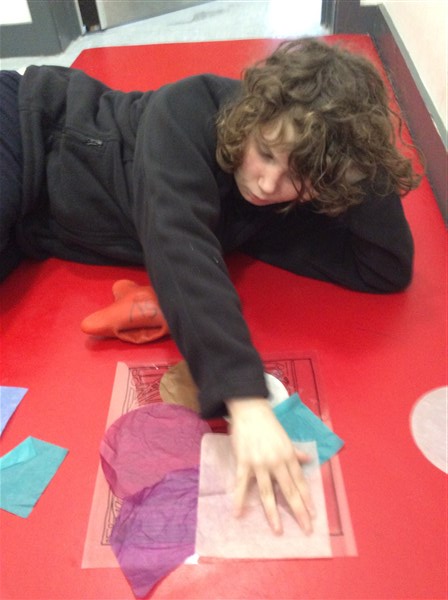
What Happens When We Sprinkle Flour?
This week we are continuing to explore and create artwork using flour. If you don’t have flour at hand, it can be substituted with other food items such as semolina, cornflour or cous cous. As always, the process is the main focus rather than the outcome and we would be delighted to see any photos from school or home!
Remember to warm up your hands and eyes beforehand using some of the exercises we’ve practised before! This activity has been split into three levels focusing of different skills and levels of ability. Choose the one that is right for your learner but feel free the experiment and explore!
Stage 1: At this stage we are looking for the pupils to show a simple response or reaction as the explore flour art. With hand over hand support from an adult, explore the flour and how it falls as it is sprinkled onto a surface. Try sprinkling it in different ways, such as with your hands, a sieve or a spoon. How do you have to move your hands to sprinkle the flour? Does it work best if you move from side to side or up and down? Get creative and see if you can find the best way to sprinkle flour and even if there are any other objects to sprinkle with!
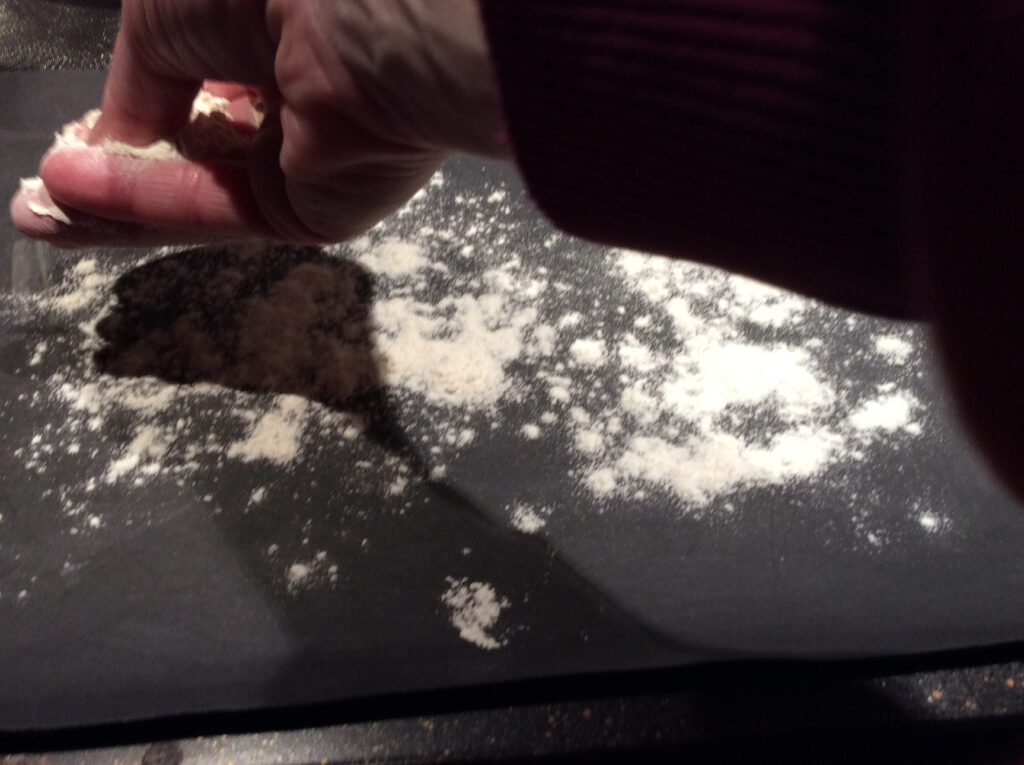
Stage 2: With appropriate support, sprinkle the flour onto a suitable surface – it doesn’t have to be inside, maybe you can find somewhere outside that works well for you. Once you have sprinkled your flour onto the surface, make a simple pattern in the flour. You could use your hands or other objects to make your pattern. You can even get creative and try sprinkling the flour into a pattern!
Stage 3: For this stage you will need a clean surface and a variety of different objects. You could try kitchen utensils, things you have found in nature, toys or even just odds and ends such as string.
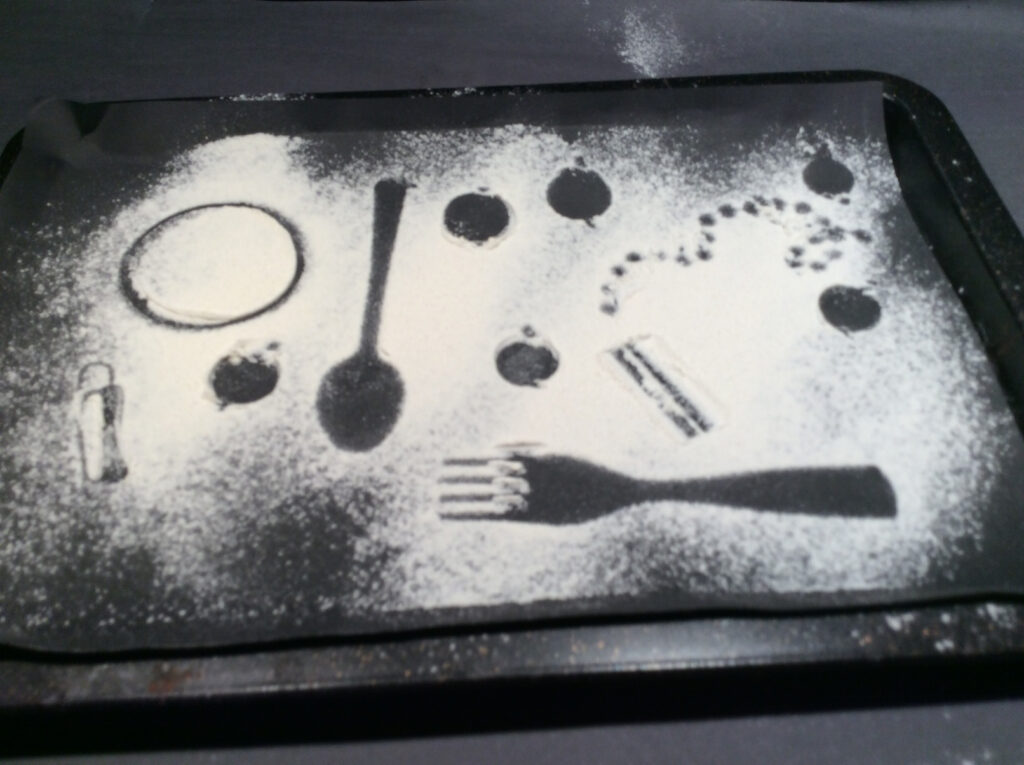
First you will need to make sure that your workspace in clean. This activity works really well with contrasting colours so think about using dark coloured paper or even a baking tray for your surface. Arrange some objects onto your surface to create a picture or pattern. Once you are happy with your layout, you can sprinkle your flour over the objects using a sieve, a spoon or even your hands. Carefully remove the objects from your surface to see the contrast and the pattern you have created!
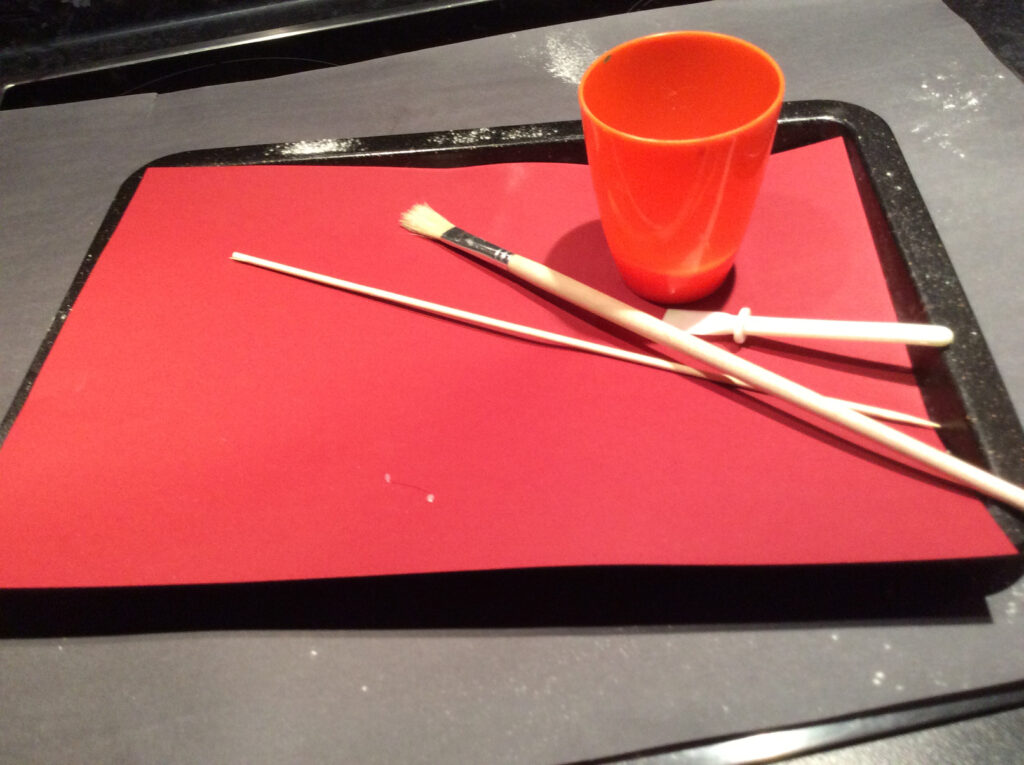
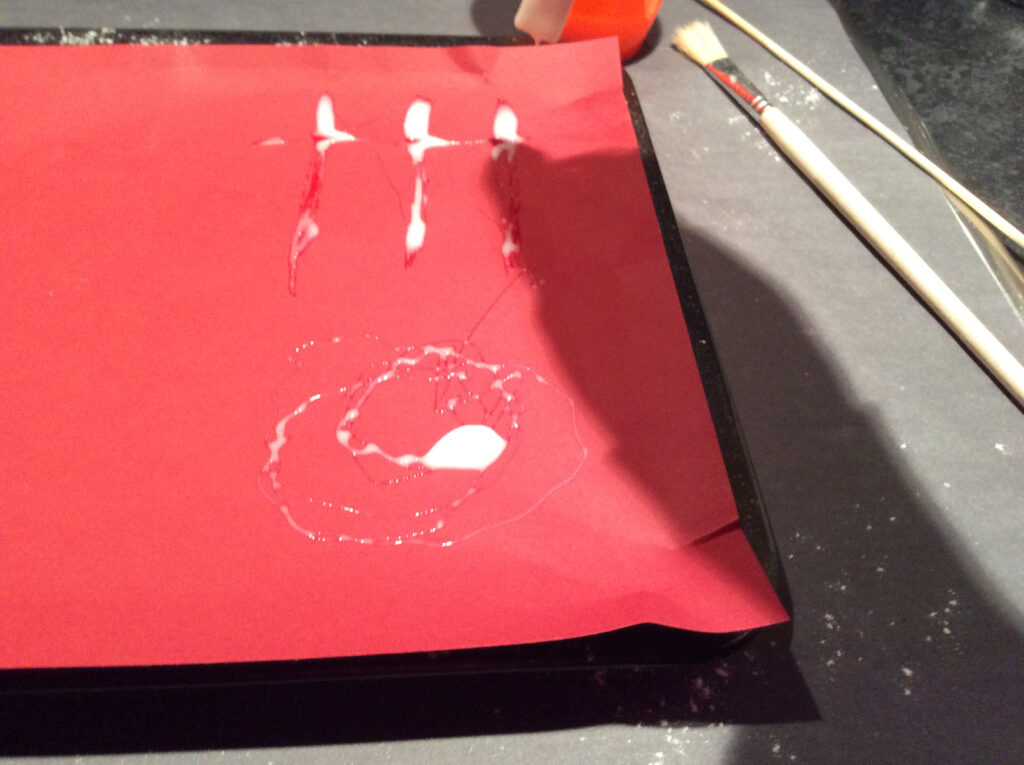
As an alternative or extension activity, you could use glue to create a picture or pattern on paper and sprinkle with flour. Again, think about using contrasting colours for your background to make your flour pattern stand out.
If you can take some pictures of your floury explorations to share that would be wonderful so please feel free to share any photos or videos via your child’s teacher, through Google Classroom, or email Amy Dunnett (Principal Teacher Primary) adunnett@aberdeencity.gov.uk.
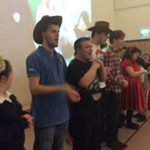
Burns Celebrations to start the week
We’ve had another busy week of remote learning. Starting on Monday with our whole school Burns Day Celebration, the week was started with great enthusiasm!
Daily Circle Time
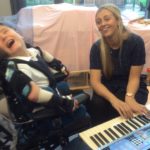
To keep our routine going, many classes continue to do daily circle time. Some of our learners have their own circle time packs at home to support the familiar routine, others use the class slides to provide structure. It’s great to receive feedback on how our learners are getting on: ‘He thoroughly enjoys circle time.’
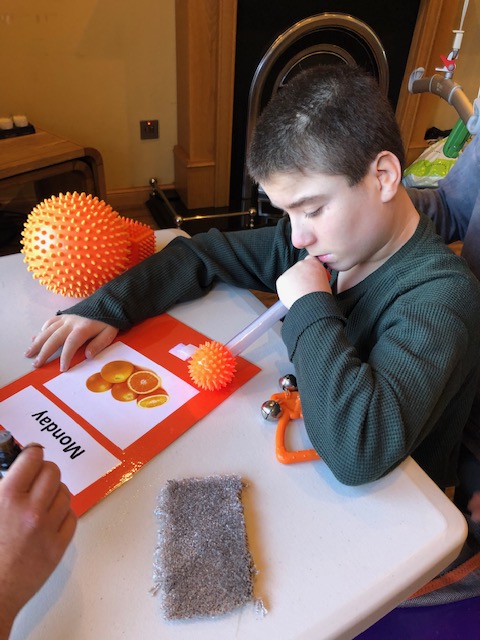
For one young man, circle time is also an opportunity to practise his bench sitting.
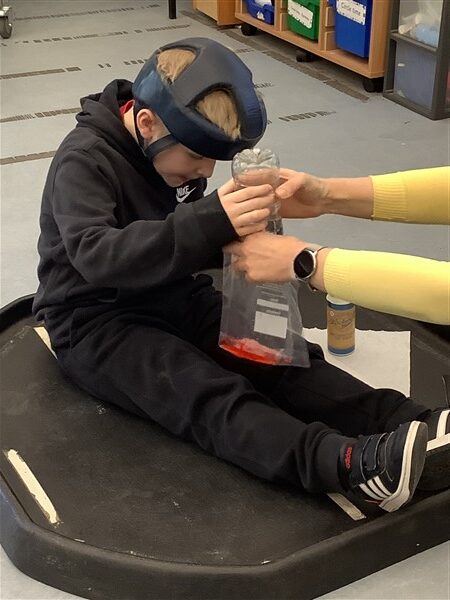
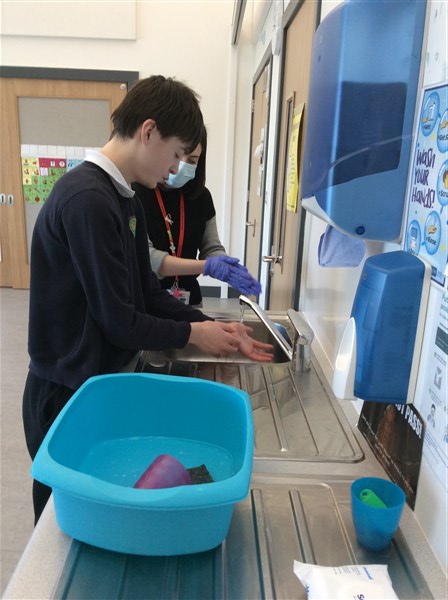
Personal Independence and Life Skills
We continue to develop independence in personal care. Staff take time to support us in doing things for ourselves. Handwashing is very important during a pandemic!
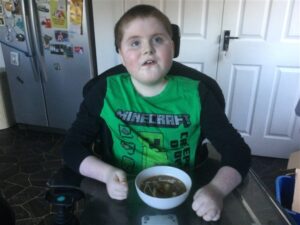
We’ve been cooking and baking. There was some delicious French Onion Soup on offer this week and beautiful golden shortbread. Look out Masterchef, here we come!

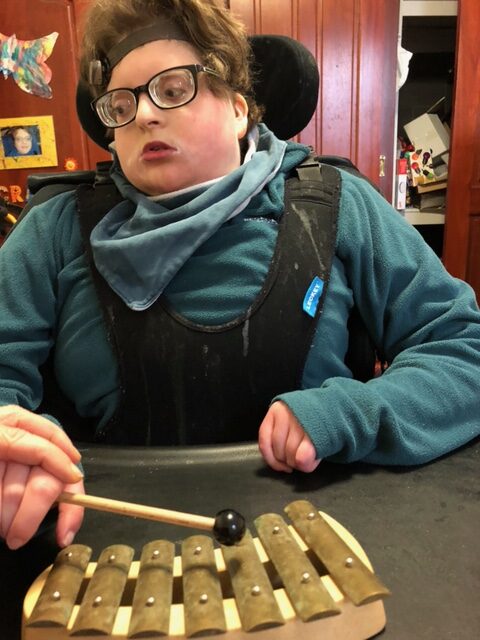
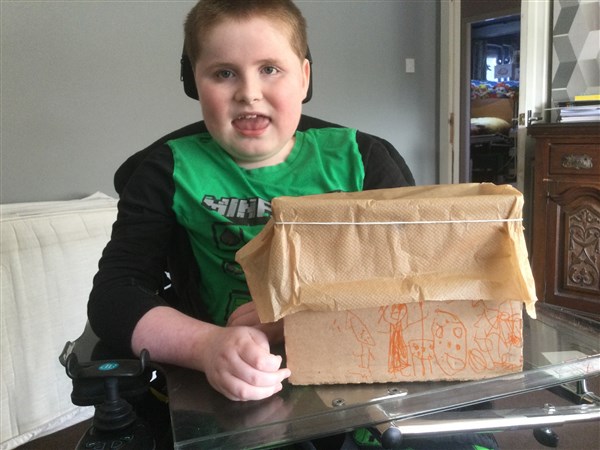
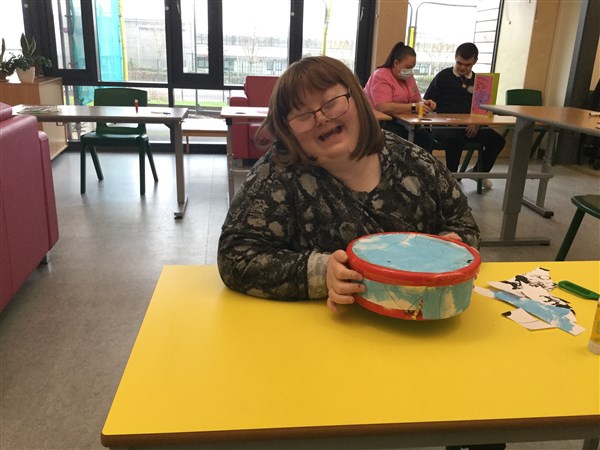
Expressive Arts
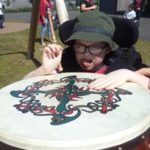
We enjoyed art, PE, drumming and music through Makaton Choir. A very detailed drawing was done to decorate a drum for a music session with Keith – the drawing is of a hunter being chased by an African lady that is protecting the animals!
We also took time to relax, both indoors and out.
Working Hard
We worked hard on a range of learning activities and tasks, some online and some more practical.
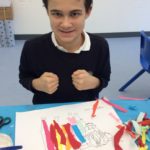
One of our senior pupils made an amazing cat house as part of her SQA work. I think you’ll agree, this is for one very lucky cat!
Assembly
Finally, to round off the week we had an Assembly. We talked about mental health and the theme ‘Express Yourself’. Staff shared the ways that they express themselves and show that they’re unique. The slides are available to view in the Google Assembly classroom for anyone that was unable to join us. Our challenge for the next assembly on 12th February is to share a photo of us doing something that we enjoy – anything goes!
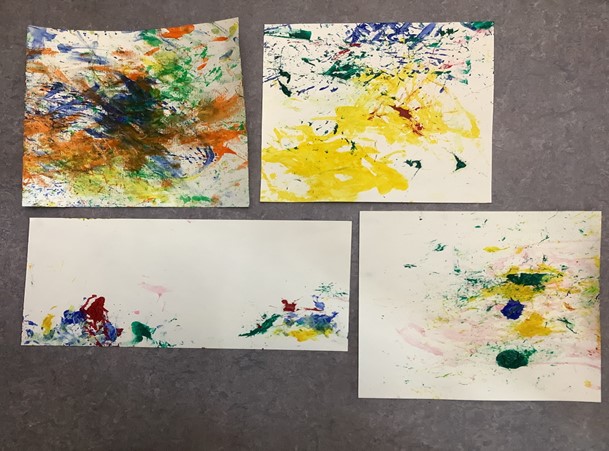
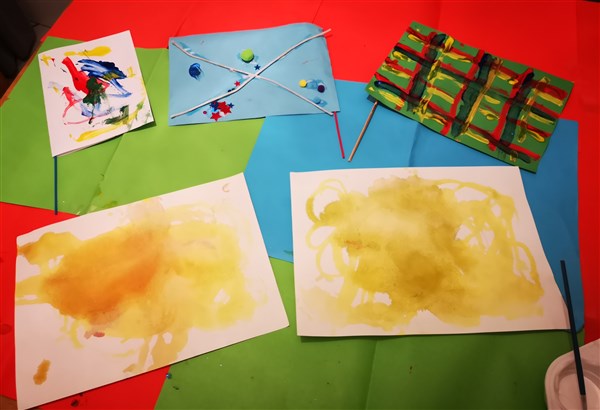
This week we have two new art activities for you to try.
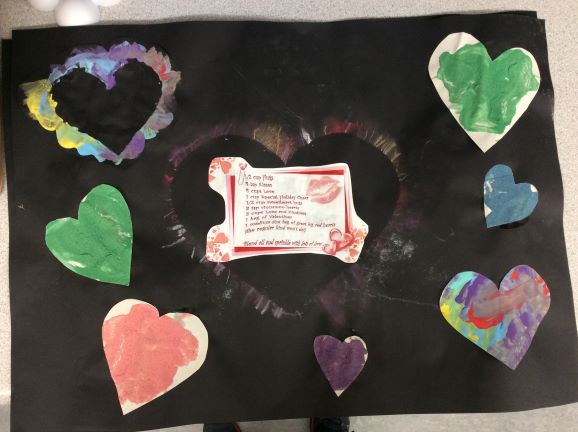
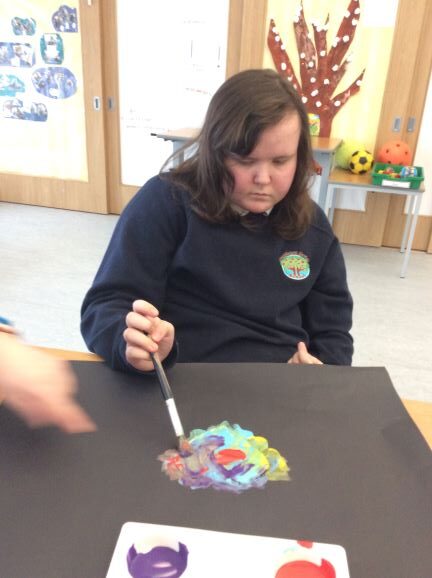
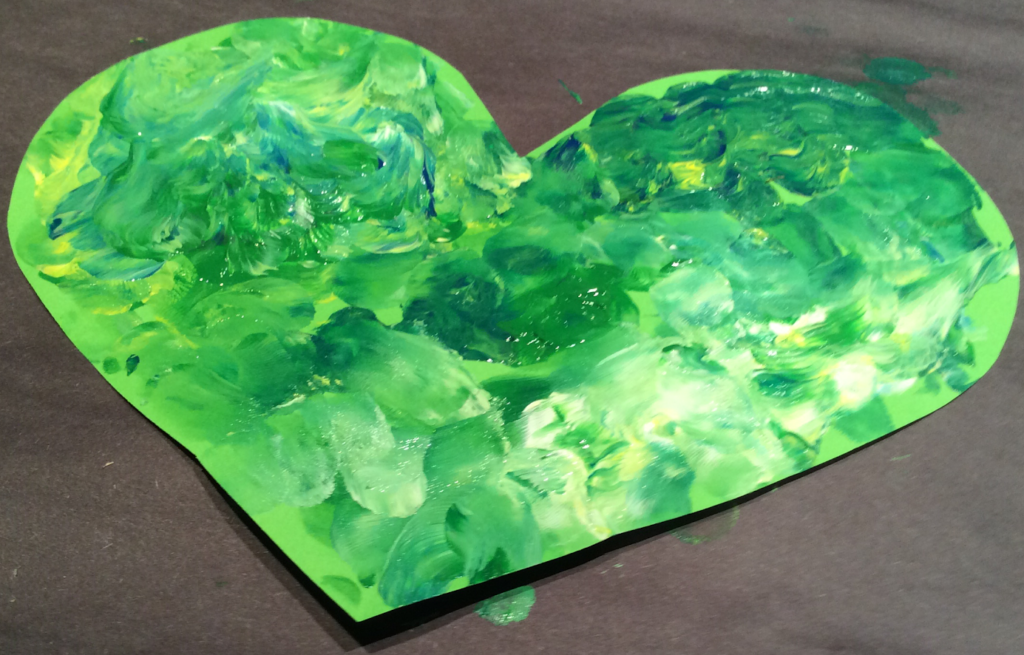
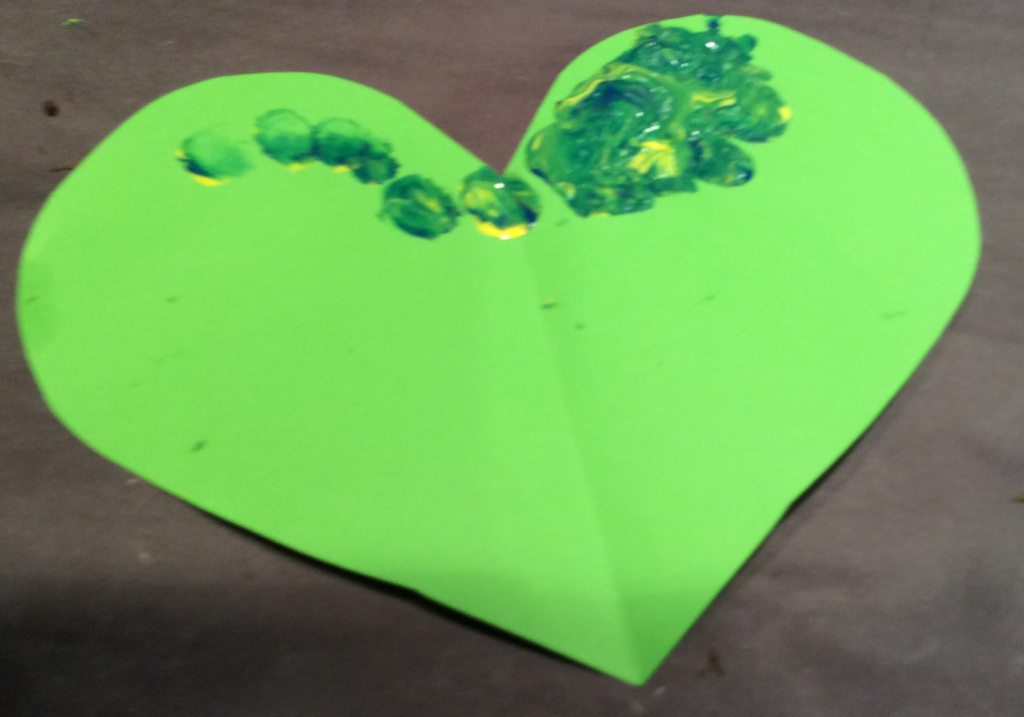
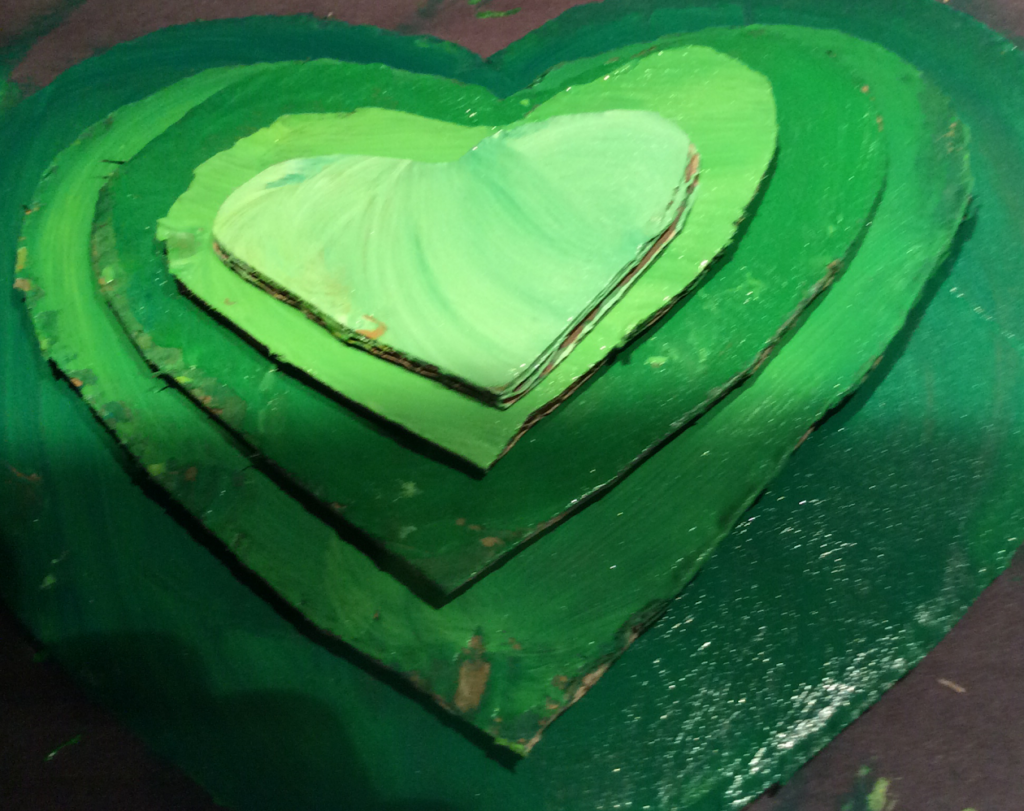
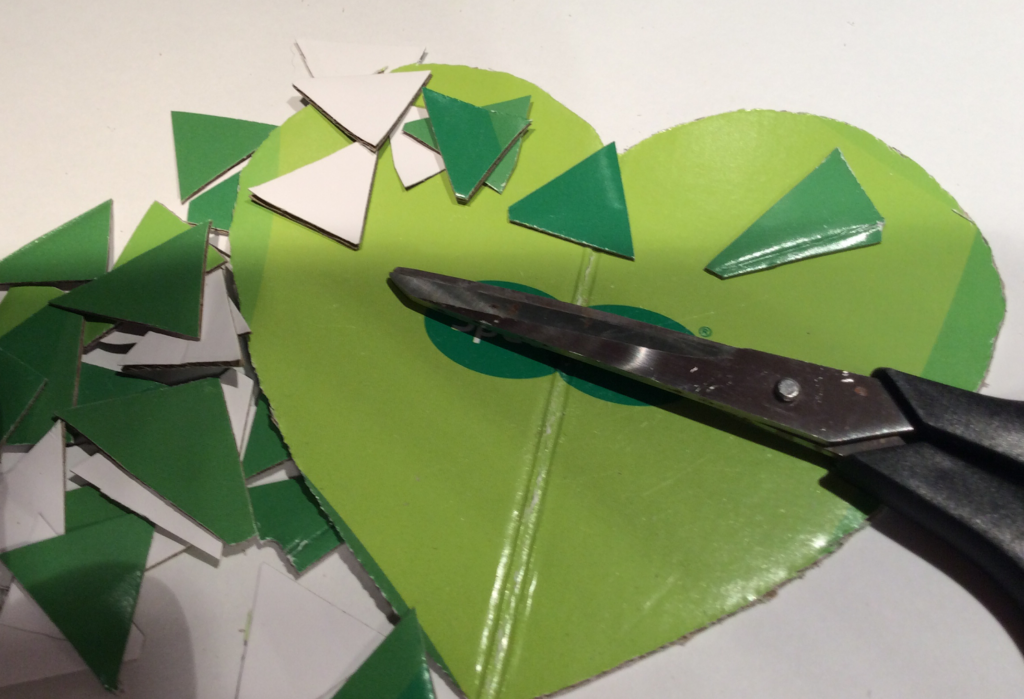
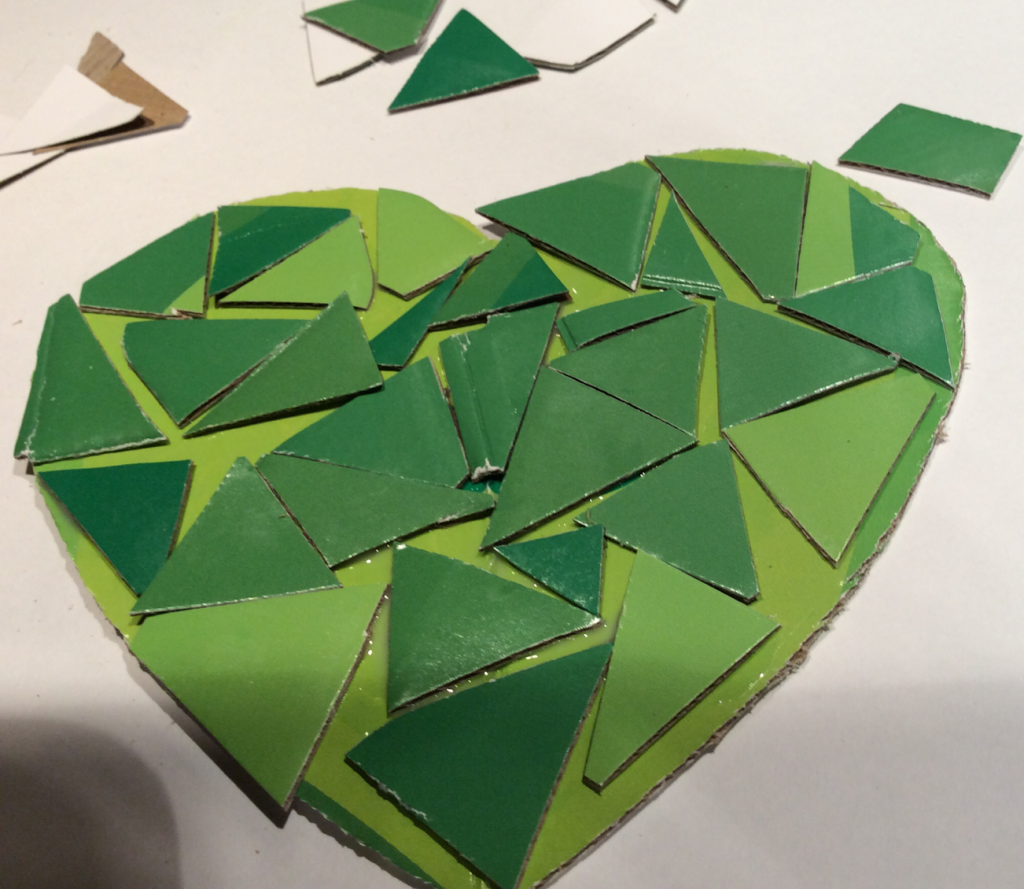
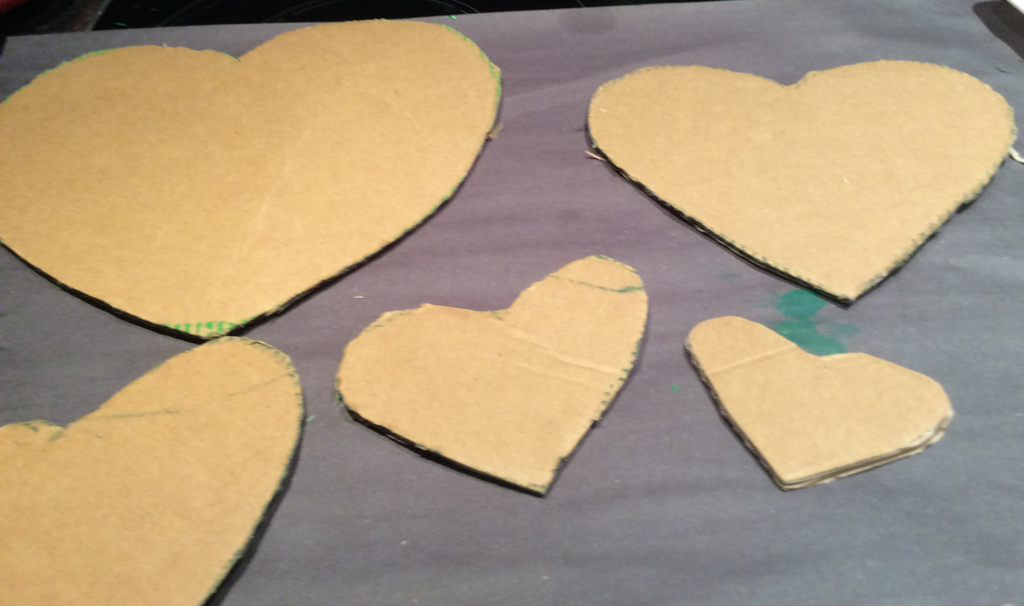
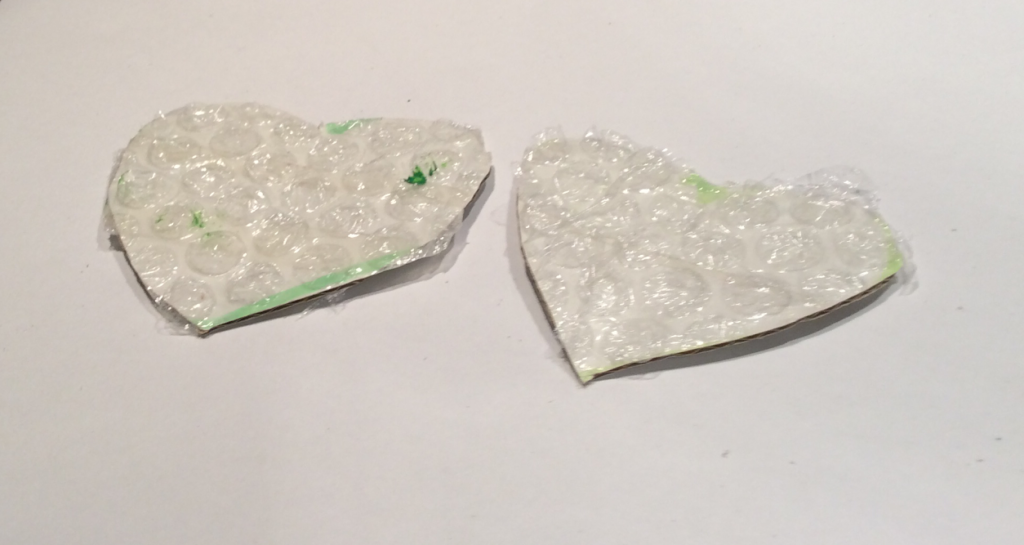
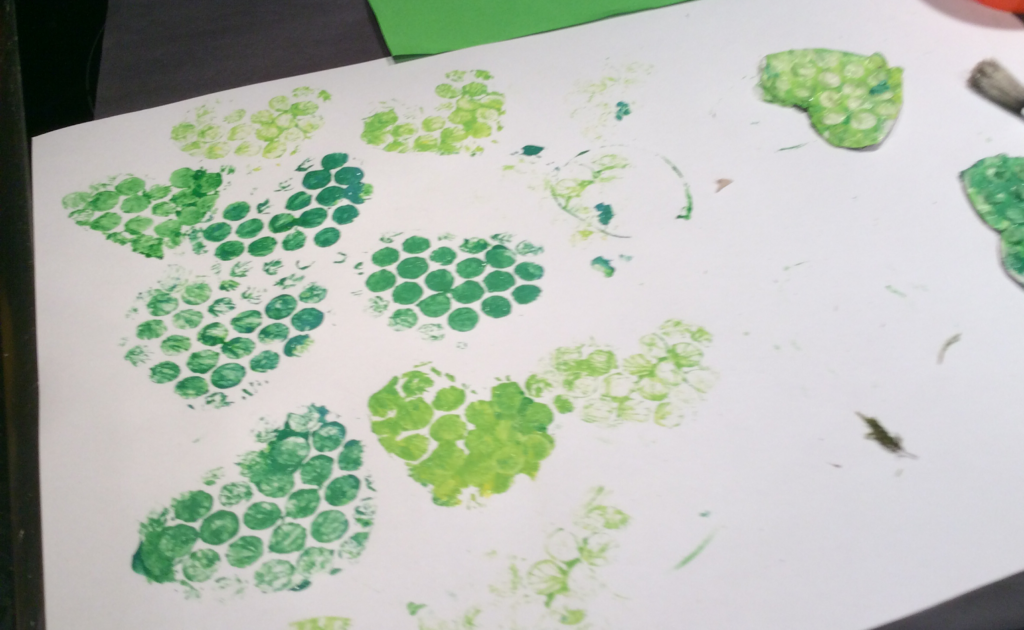
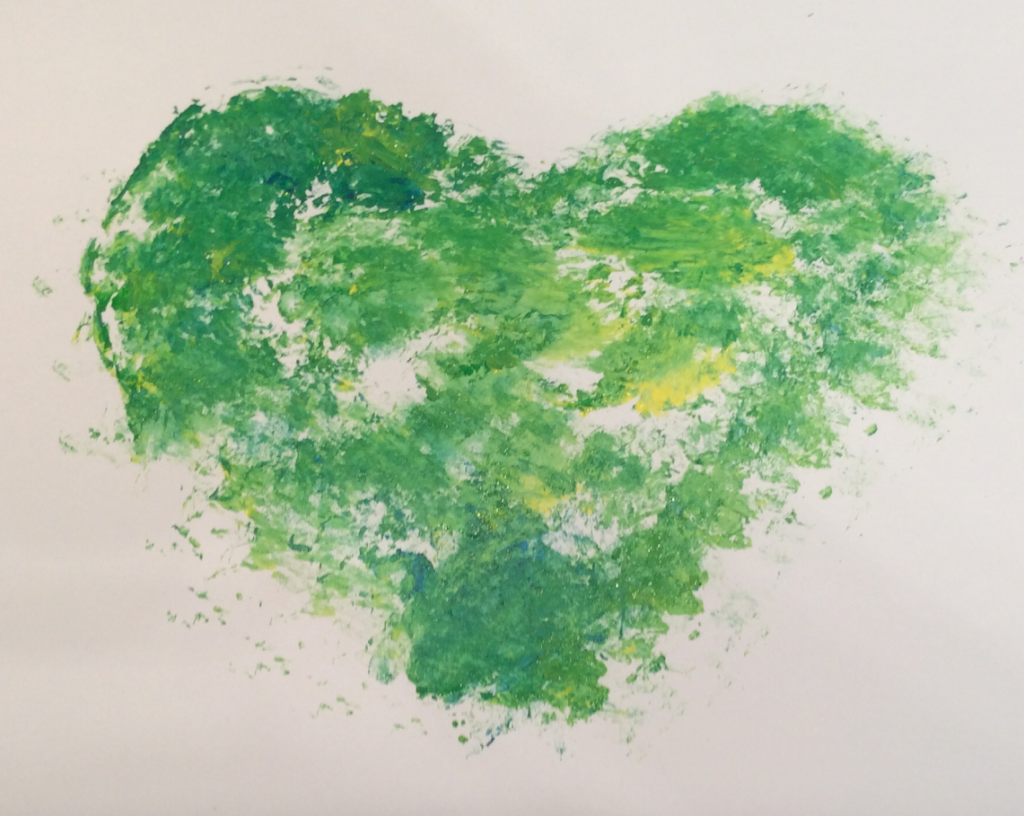
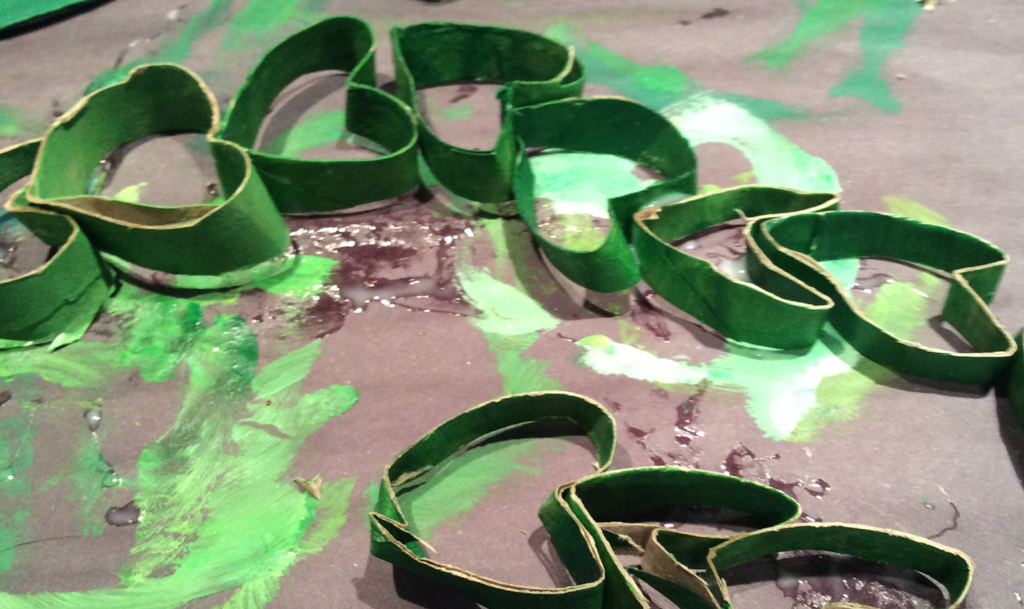
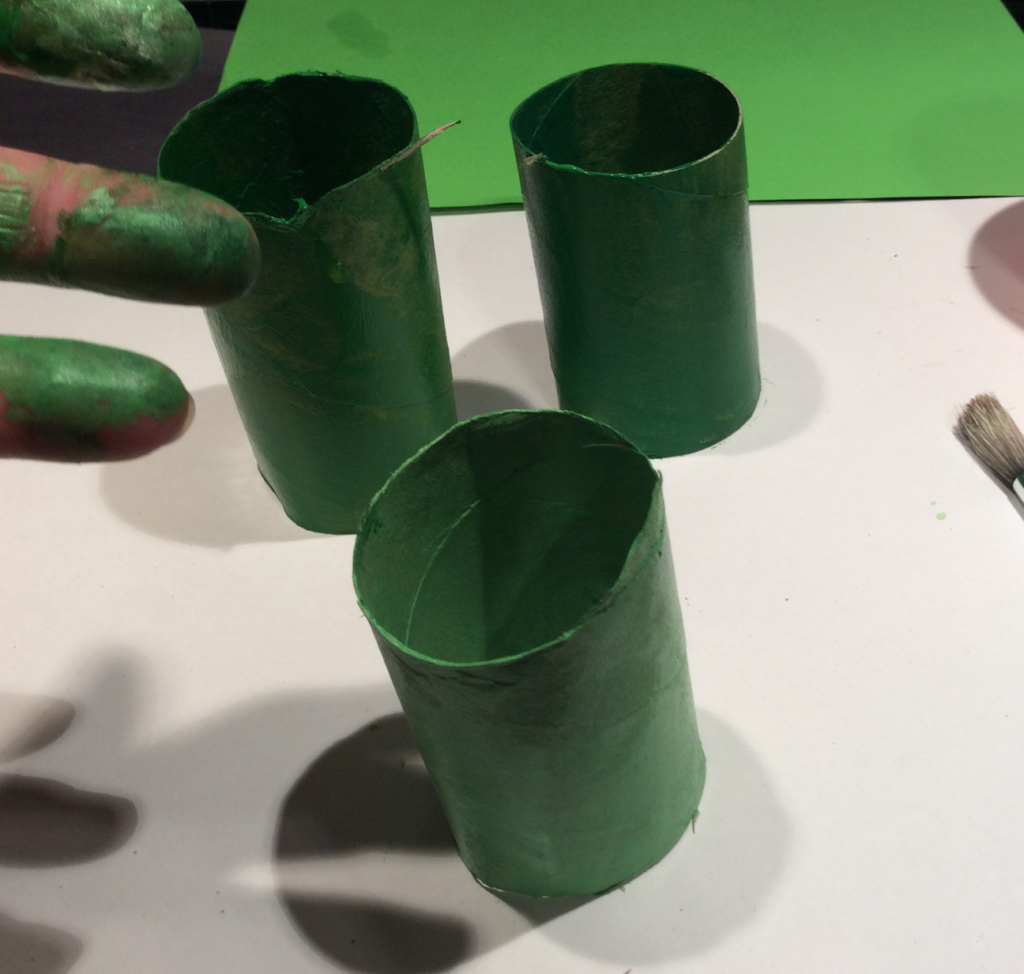
Activity 1: Climate Coalition Show The Love
You might remember that last year we made green hearts with recycled materials instead of the usual red valentines hearts! They looked so good that they were going to be exhibited at a big event in the Shaftesbury Theatre in London! Then………lockdown😒
There have been lots of disappointments for us recently with our artwork. But undeterred we keep showing the love! The green hearts are to show the love for our planet and I will be interested to see what you come up with! I don’t know what you have to work with but I know you will have some great ideas.
Have a look at showthelove.org.uk for some more ideas and inspiration but here are a few ideas to get you started.
Experiment with card, collage and paint.

Make some green rice crispy hearts:
You will need – 150g rice crispies, 100g unsalted butter, 100g marshmallows, Green food colouring (or blue and yellow mixed!), a Heart shaped cookie cutter.
Directions – Melt the butter and marshmallows in a pan over a low heat. Add the food colouring and stir. Add crispies and stir. On a greased and lined baking tray shape the mixture into hearts using a cookie cutter or your fingers. Yum !
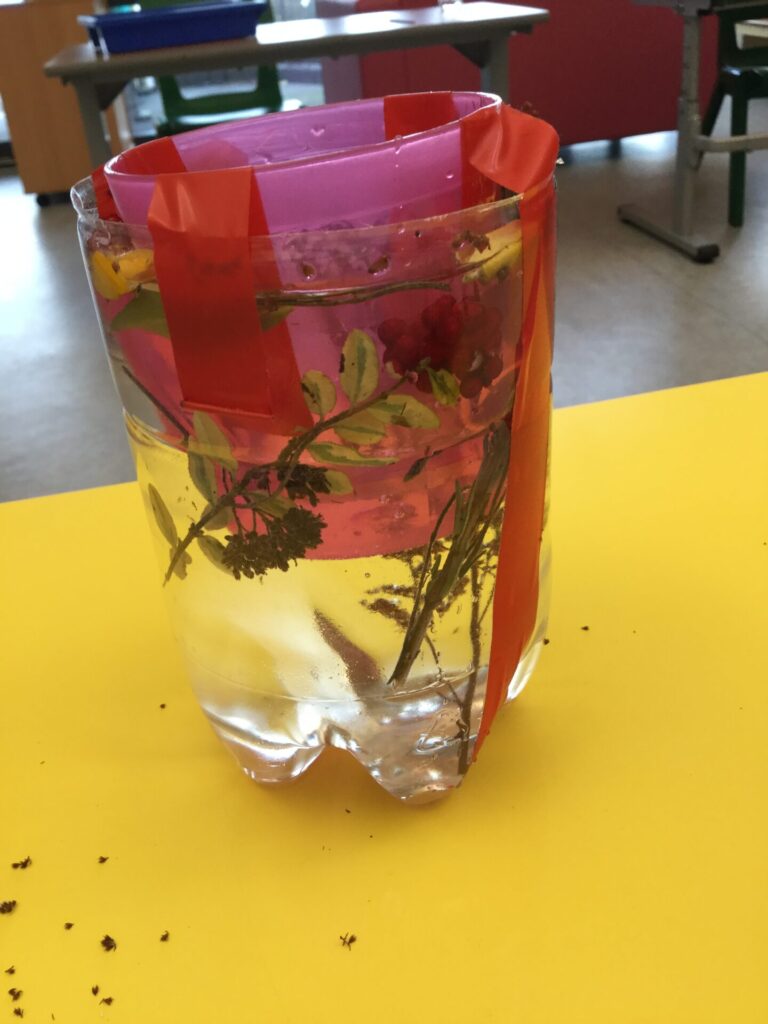
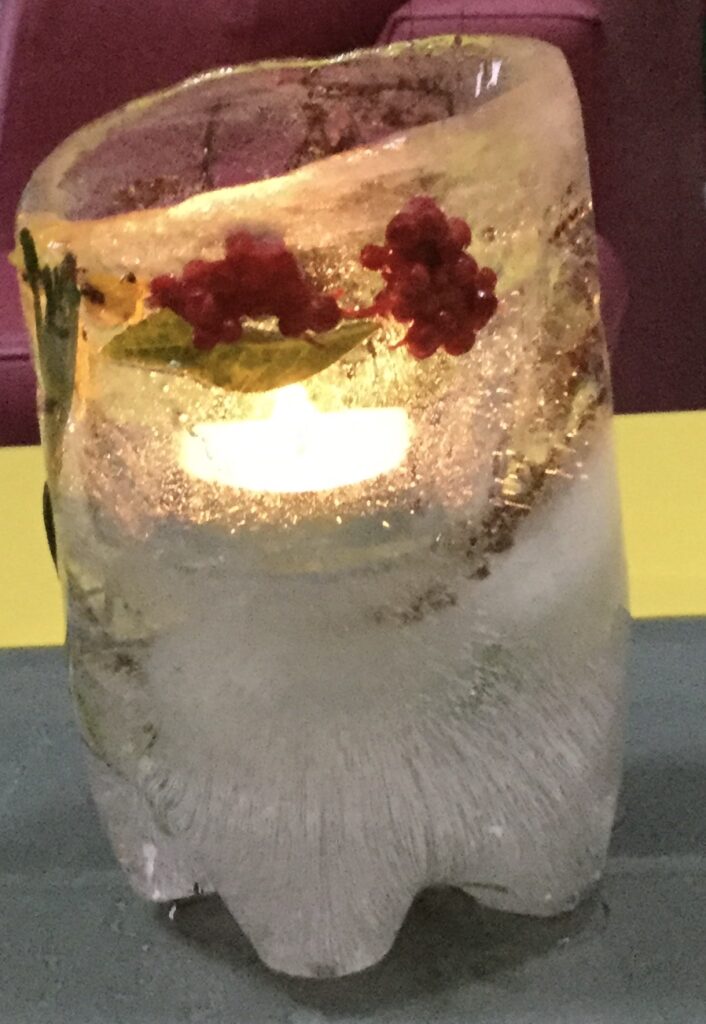
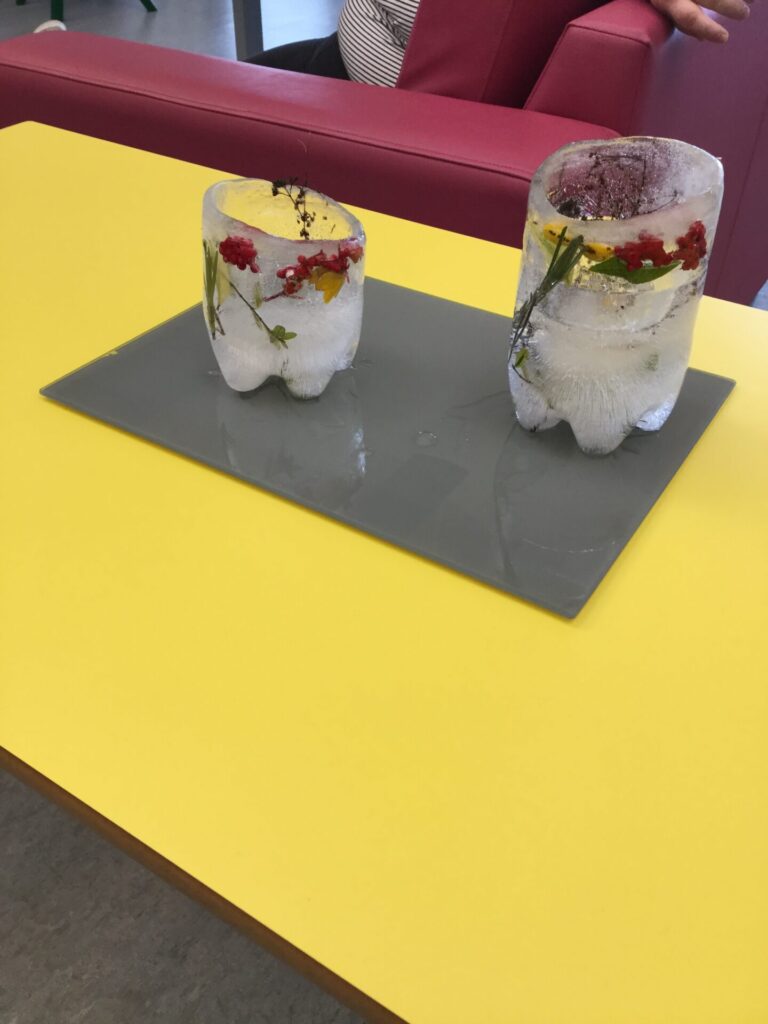
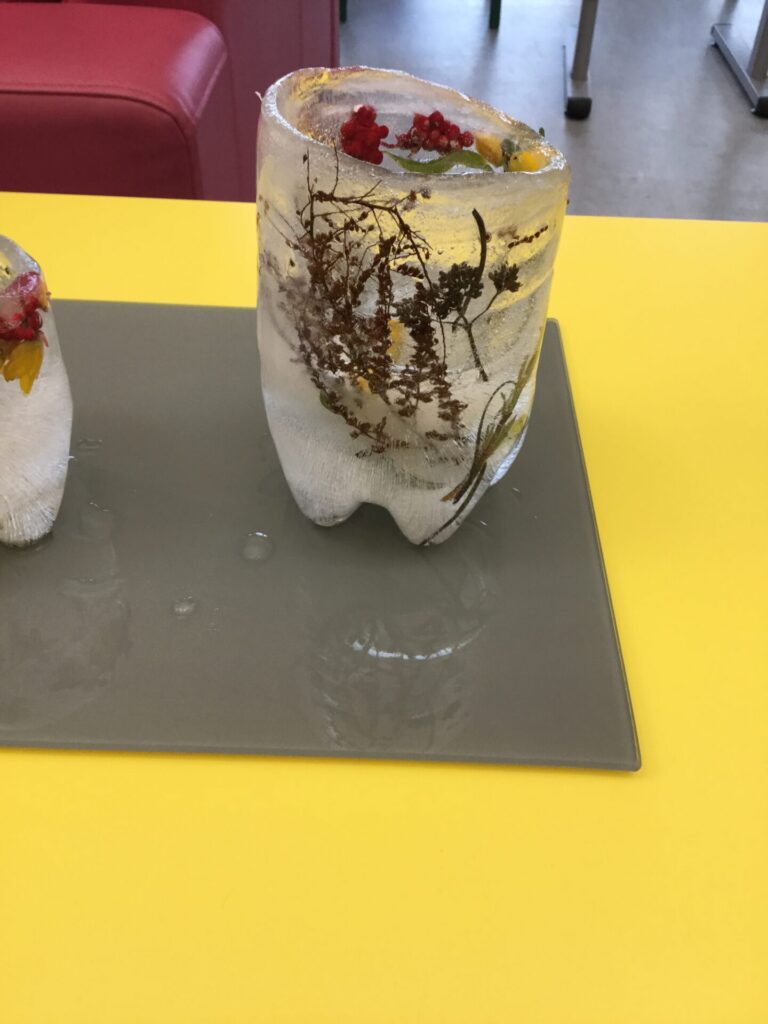
Make an Andy Goldsworthy inspired sculpture with green leaves.
Take some photos of frozen grass.
Make some green salt dough make a heart.
Blend some newspaper with food colouring. Add some seeds and make a flower bomb!
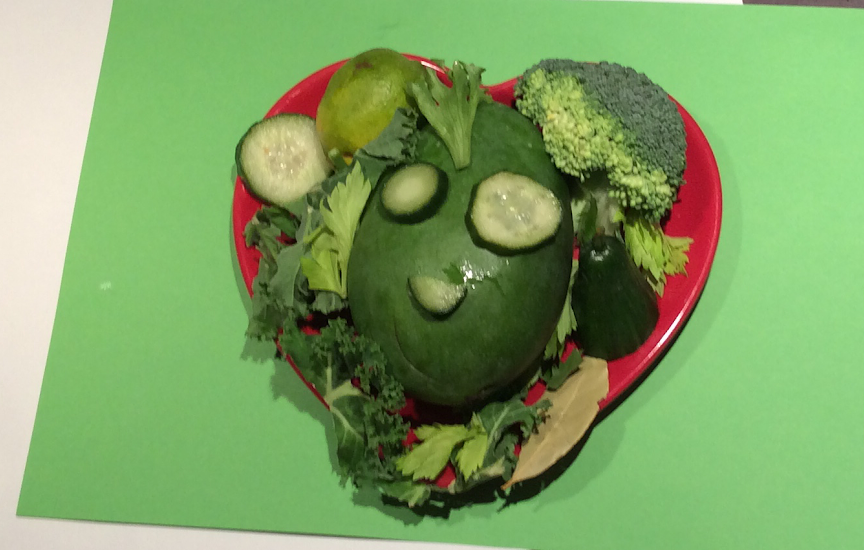
Look at green foods.
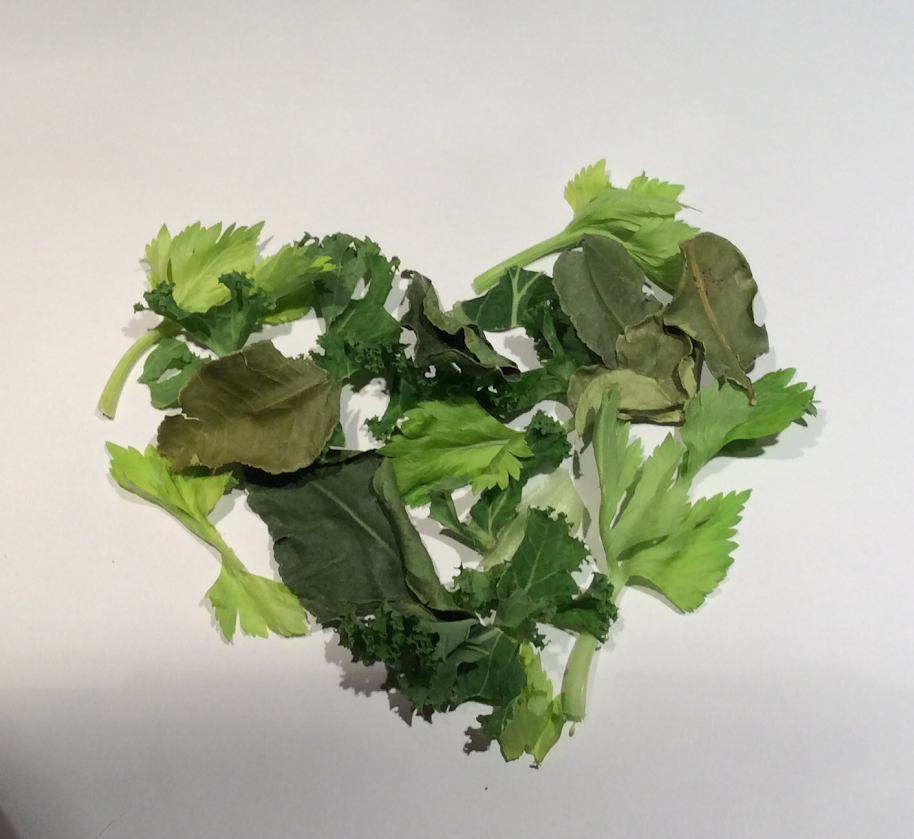
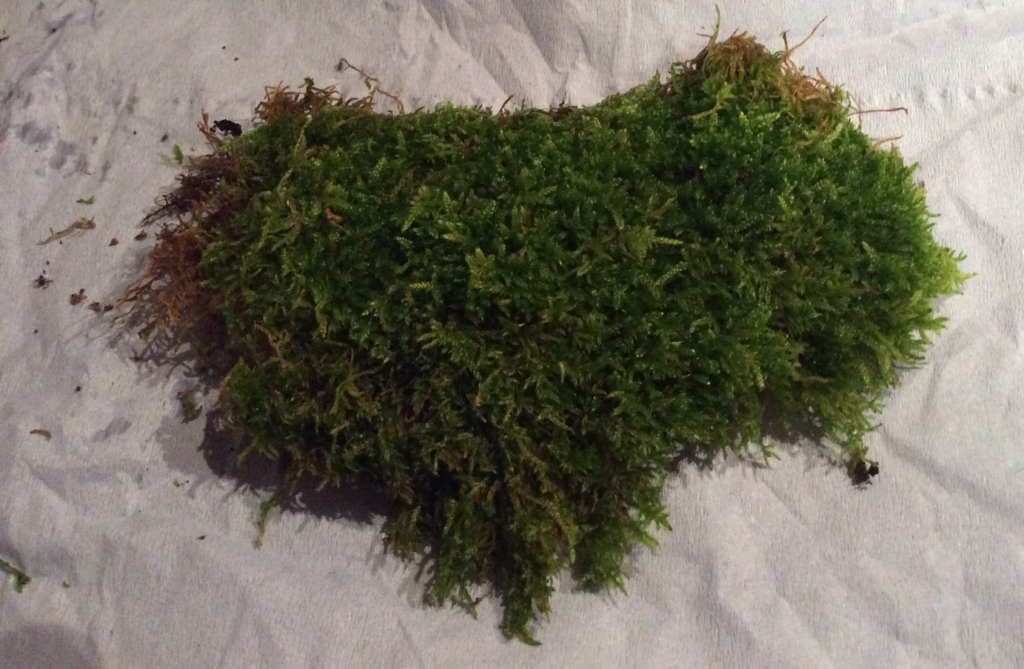
What is still green outside? You could try making a heart out of moss or lichen.
Take some photos ! Send some pictures of your work and we can forward them to the climate coalition so they can see how creative the Orchard Brae pupils are!
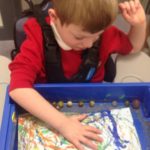
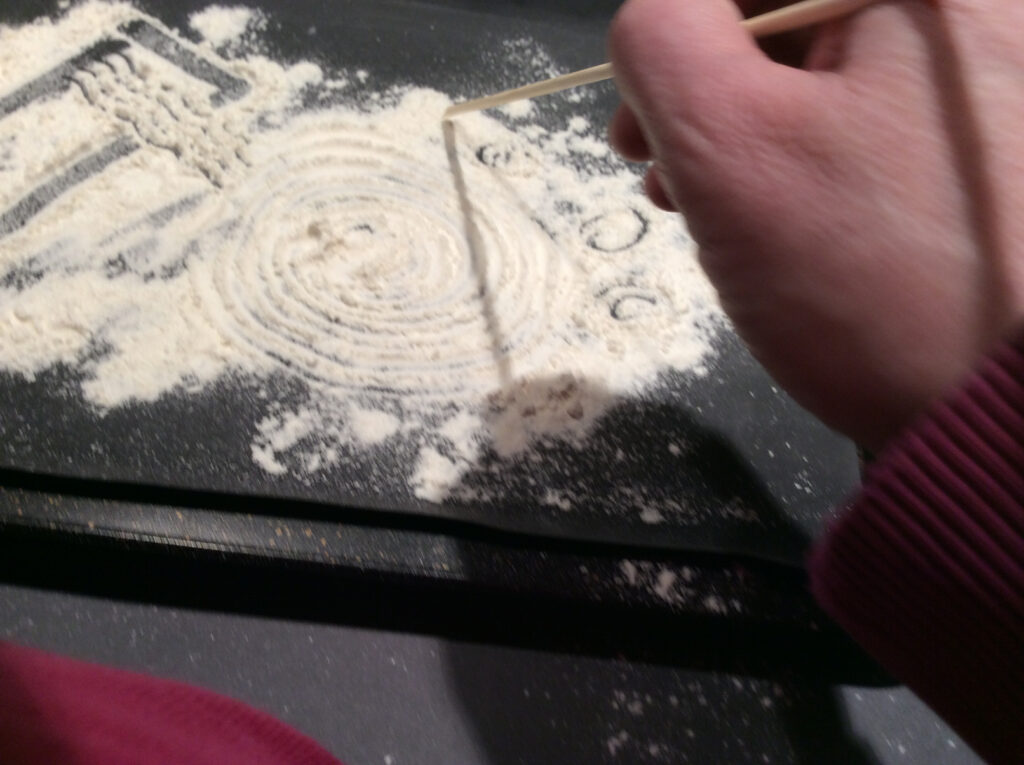
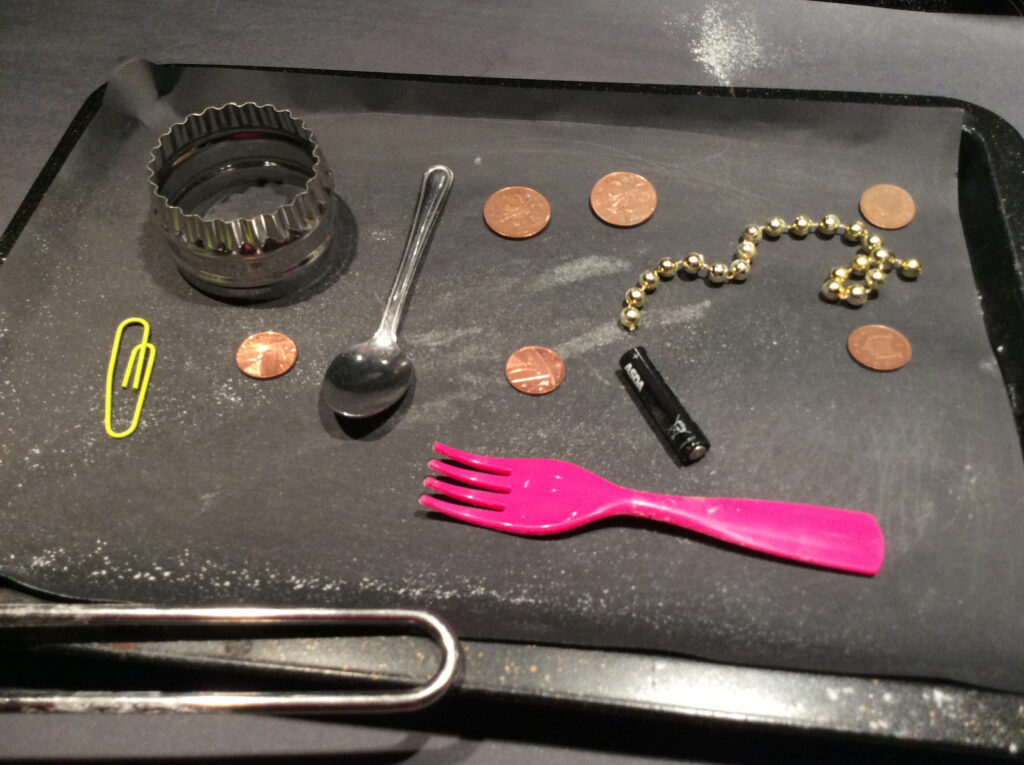
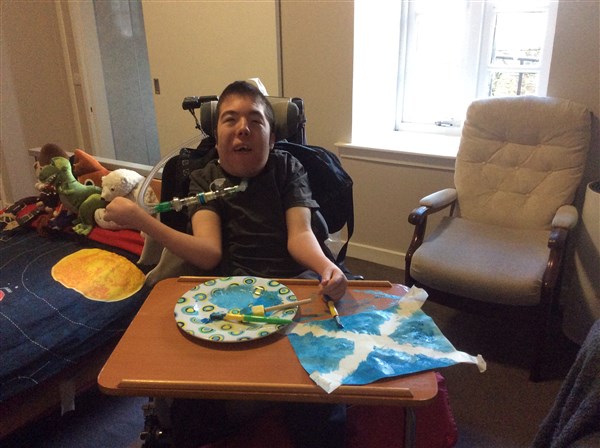
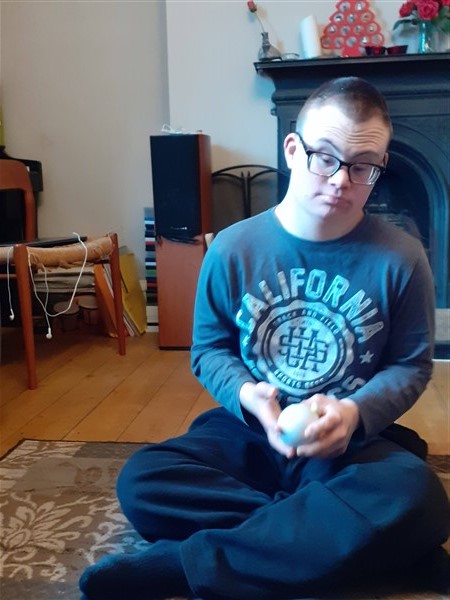
Activity 2: Flour Art
This is a transient piece of art using flour and it can also be seen as a sensory therapeutic activity.
As always, the process is the main focus rather than the outcome but I’d be glad to see any photos from school or home!
Remember to warm up hands and eyes beforehand using some of the exercises we’ve practised before! This activity has been split into three levels focusing of different skills and levels of ability. Choose the one that is right for your learner but feel free the experiment and explore!
Stage 1: With hand over hand support from an adult, explore the flour with your hands. Make marks in it using your fingers, hold it in your hand, squeeze and squash it, push it with your fingers or an object.
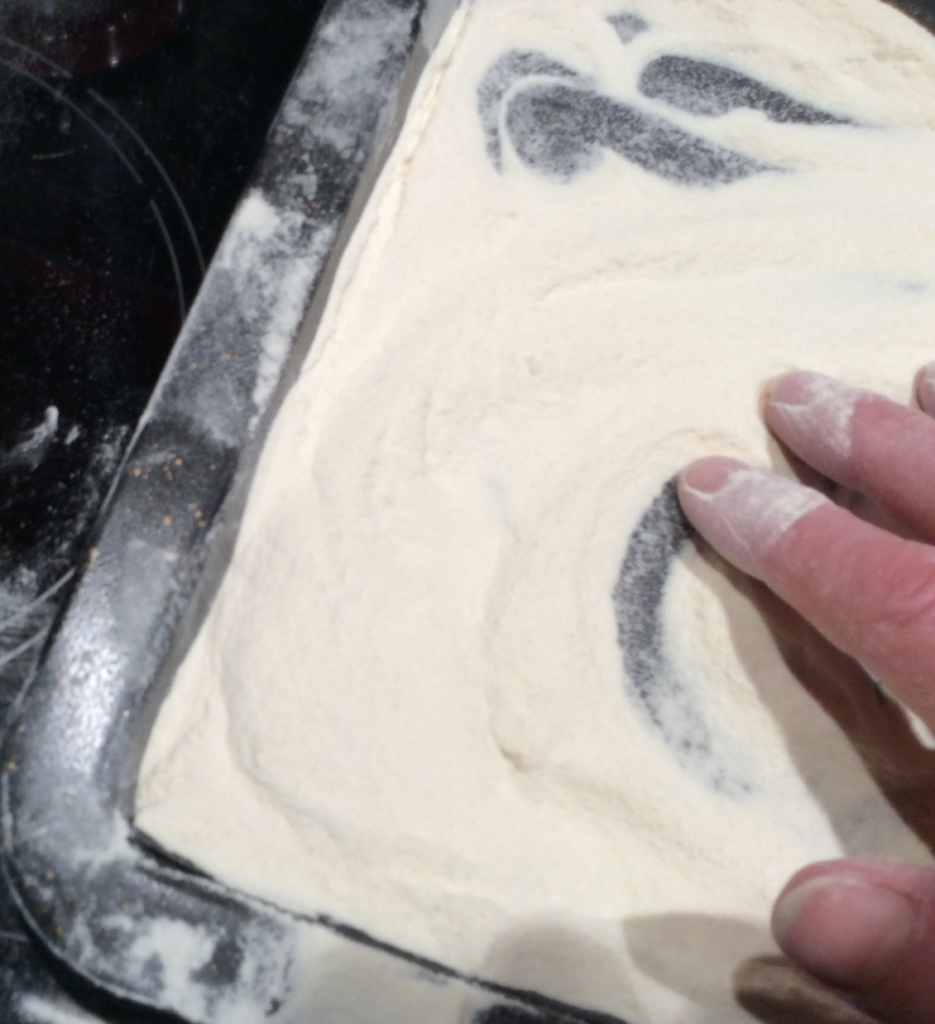
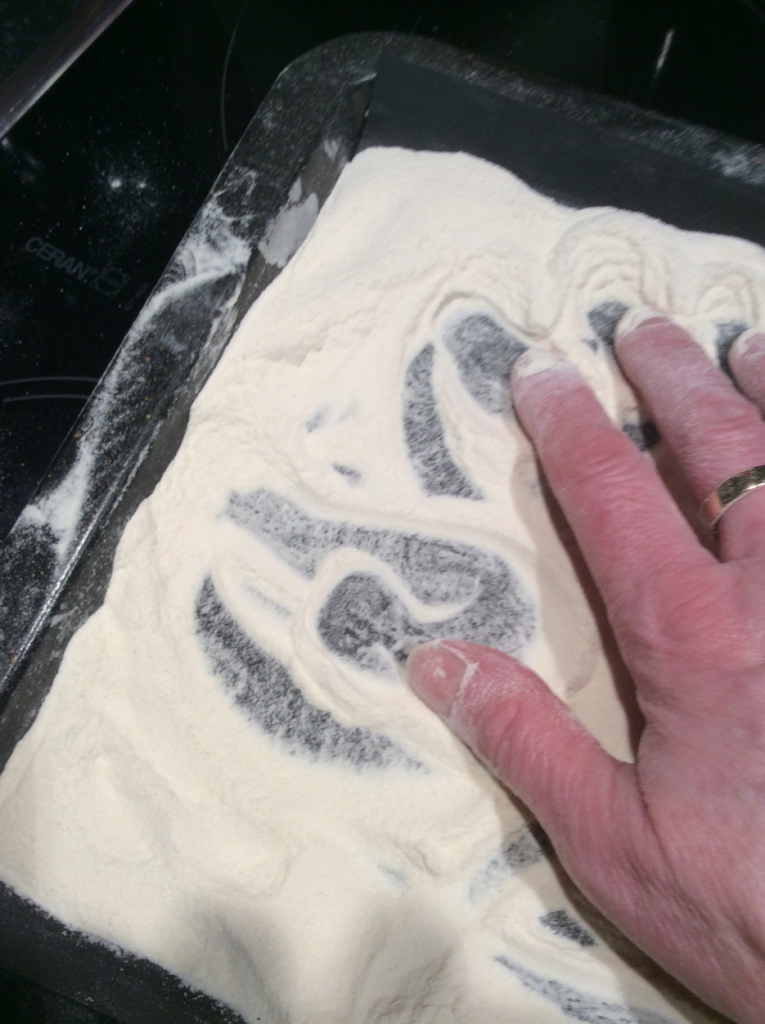
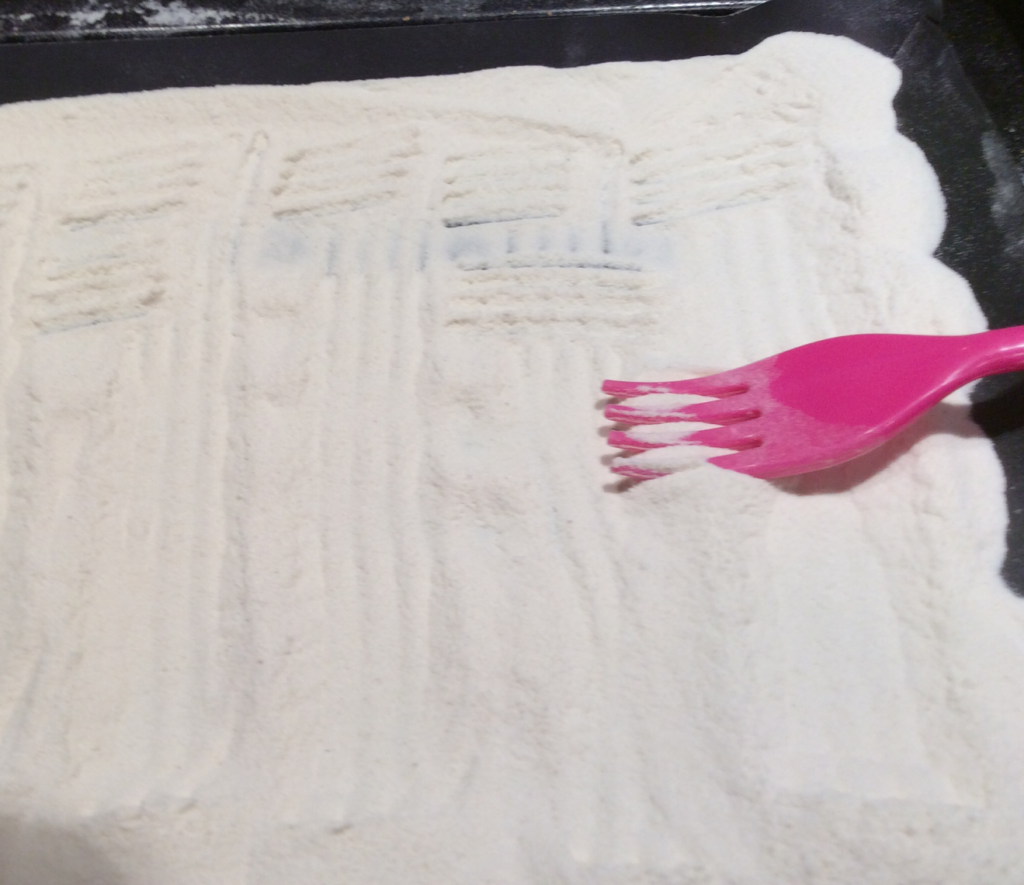
Stage 2: With appropriate support, make a variety of marks in flour using a range of objects.
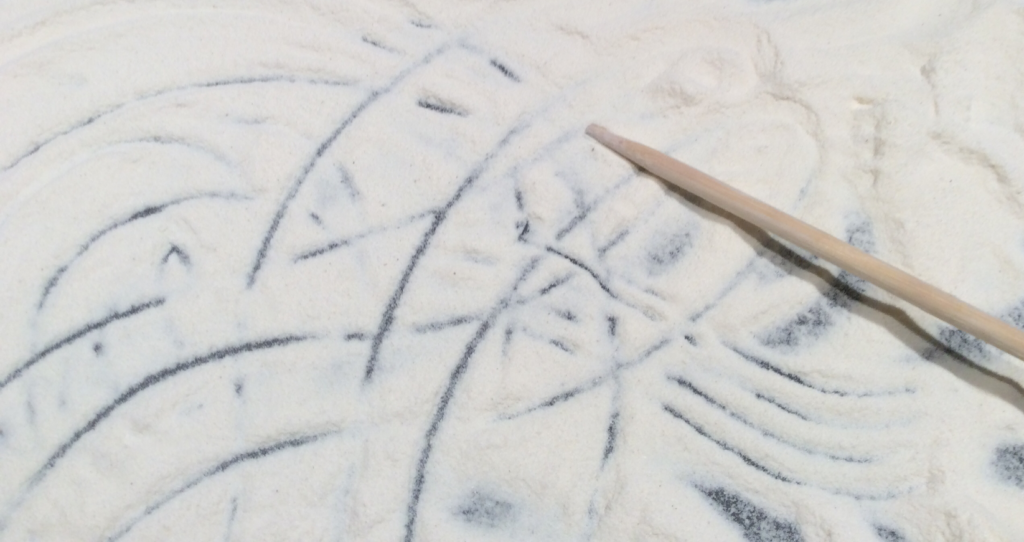
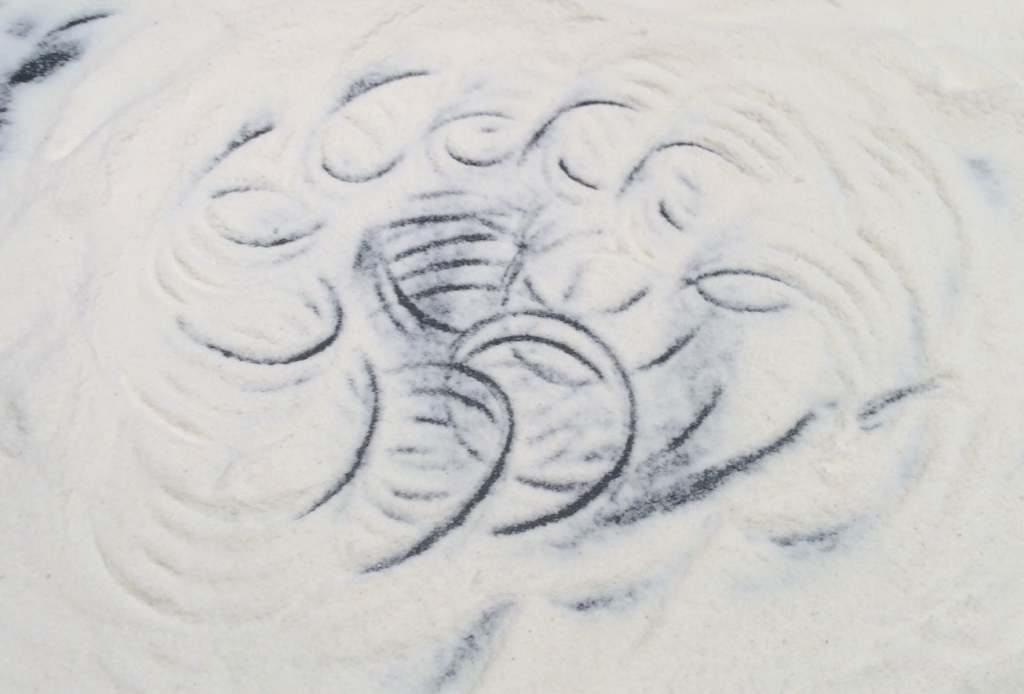
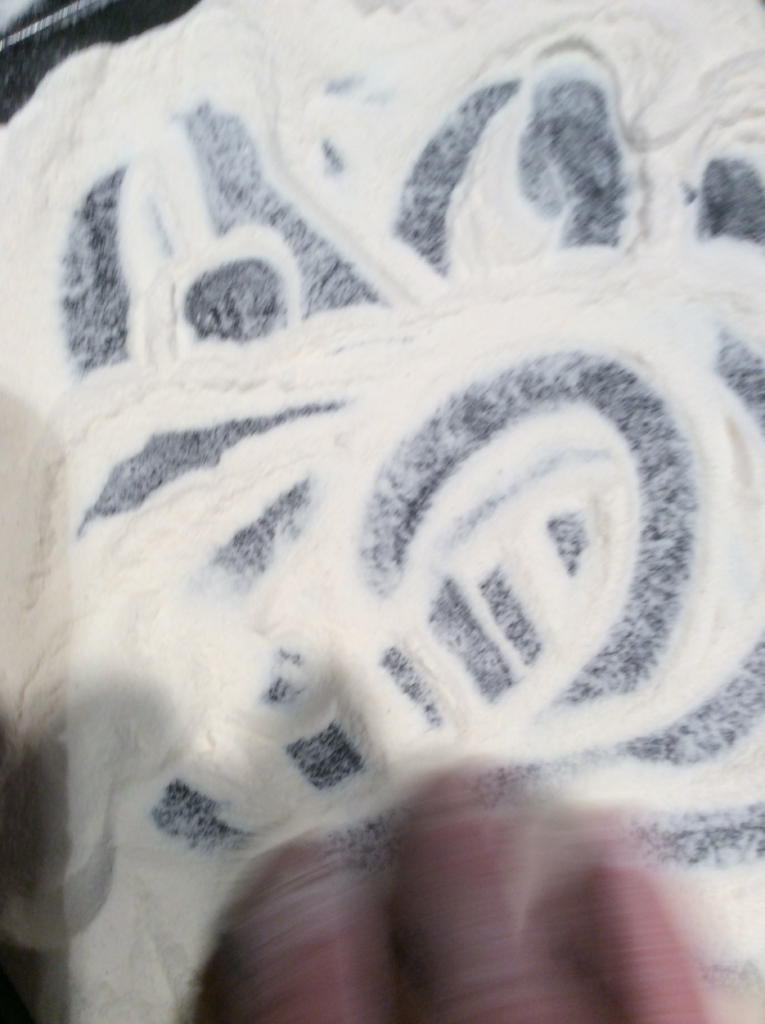
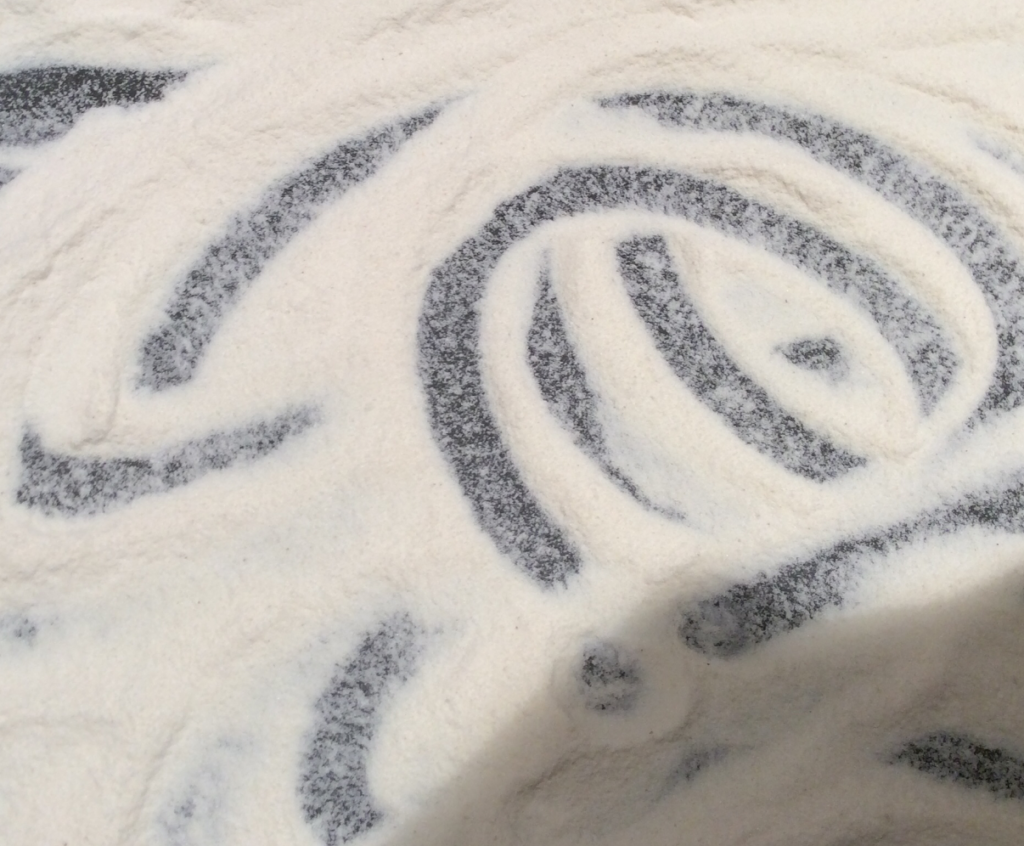
Stage 3: With appropriate support and using a range of objects, make an image using flour which shows a variety of qualities of line, e.g. wavy, hatched, broken, spiral etc. How can you demonstrate choice and decision making during the activity?
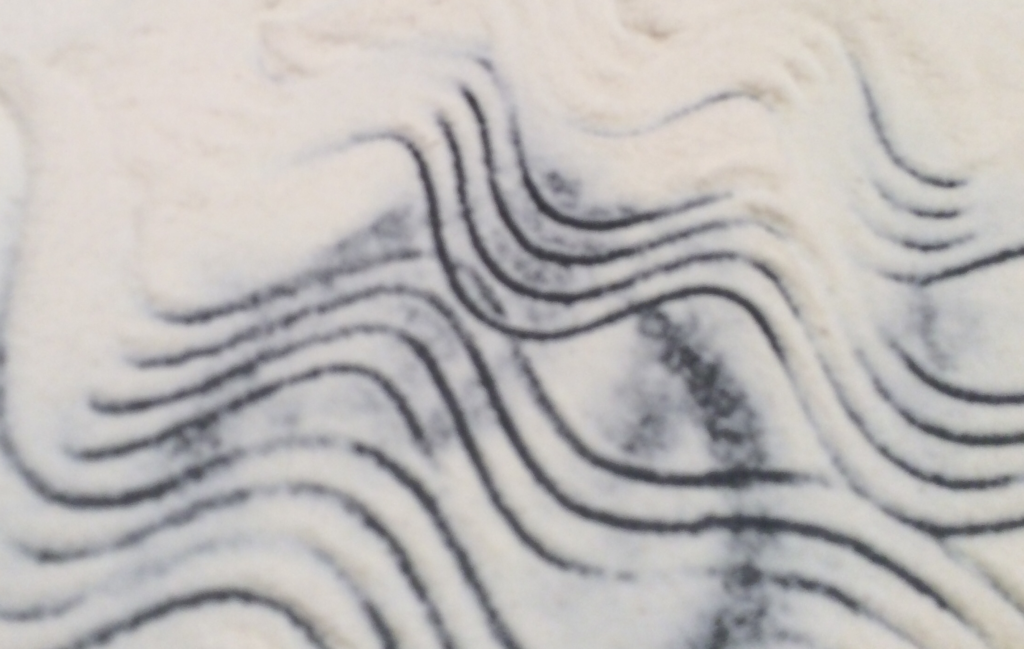

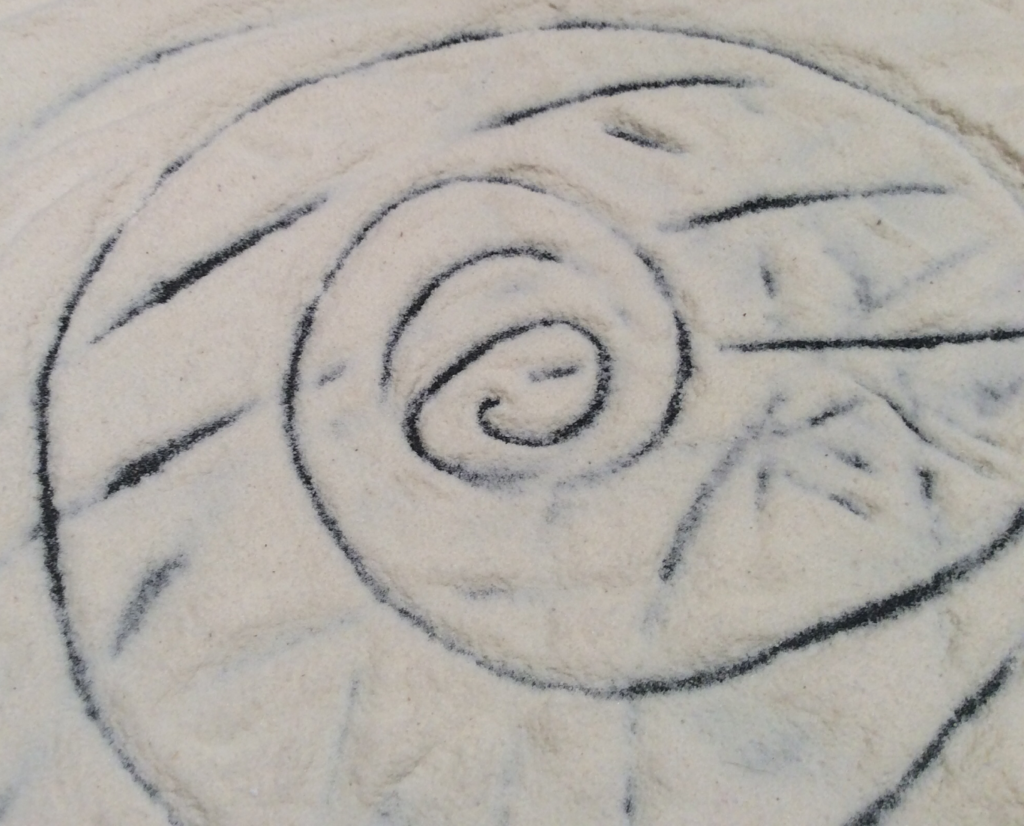

Extension: You could always try and make these activities a bit more challenging. Can you add another texture to the flour, e.g. pulses or pasta? How does the texture change? Is it still easy to make marks in these?
If you can take some pictures of your floury explorations to share that would be wonderful so please feel free to share any photos or videos via your child’s teacher, through Google Classroom, or email Amy Dunnett (Principal Teacher Primary) adunnett@aberdeencity.gov.uk.
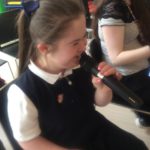
As part of our Big Burns Day celebrations, we are delighted to share with you the talents of one of our Pupil Support Assistants, Claire.
Watch the video below to listen to her play some Scottish tunes on the bagpipes and see her perform some Highland dancing. Why don’t you have a clapping or playing out a rhythm along to the bagpipes? Or maybe have a go at copying some of the Highland dance moves? Just make sure that you have plenty of space first!
We would love to see how you get on with you Burns Day activities so please feel free to share any photos or videos via your child’s teacher, through Google Classroom, or email Amy Dunnett (Principal Teacher Primary) adunnett@aberdeencity.gov.uk.
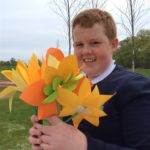
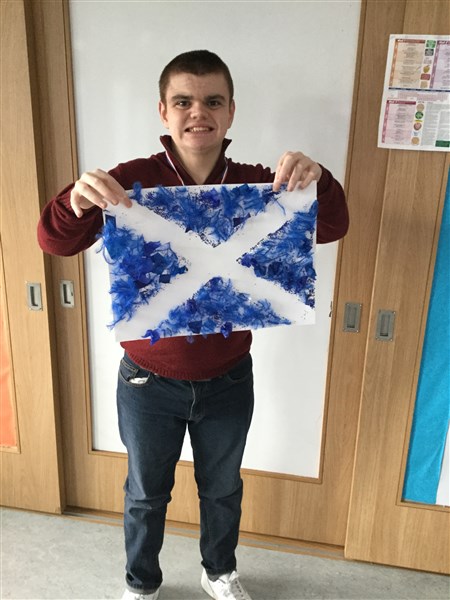
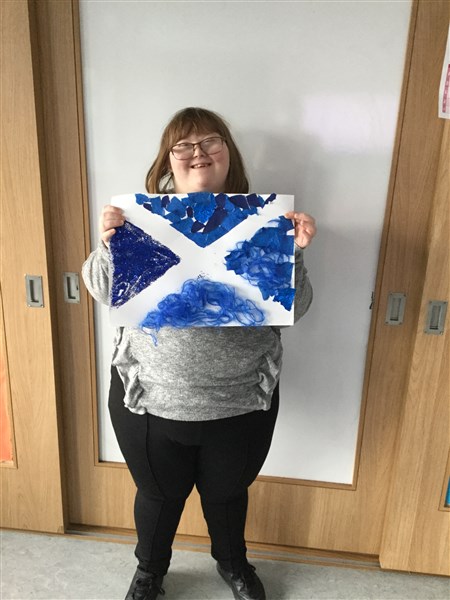
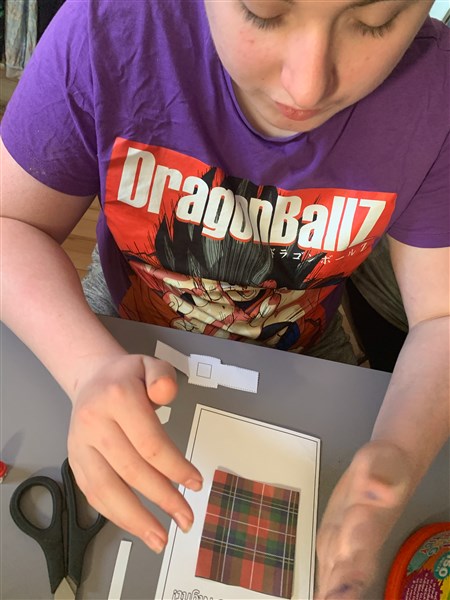
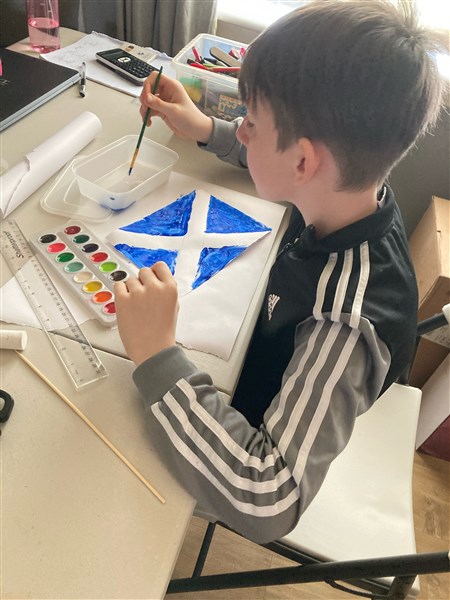
Flags are an important symbol and a way of identifying a country as every nation has their own specific flag .
The Scottish flag is also known as the St Andrews Cross or the Saltire. It is very easy to recognise with it’s white cross on a blue background.
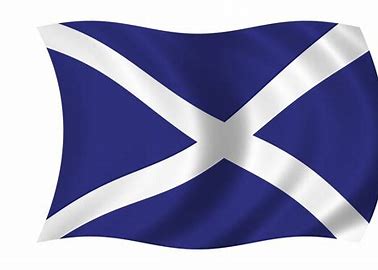
The colour white in the Scottish flag symbolises peace and the blue symbolises the virtues of justice, vigilance, and perseverance.
Why don’t you have a go at creating your own flag? You could try making your own Saltire or design your own unique flag like the ones below.
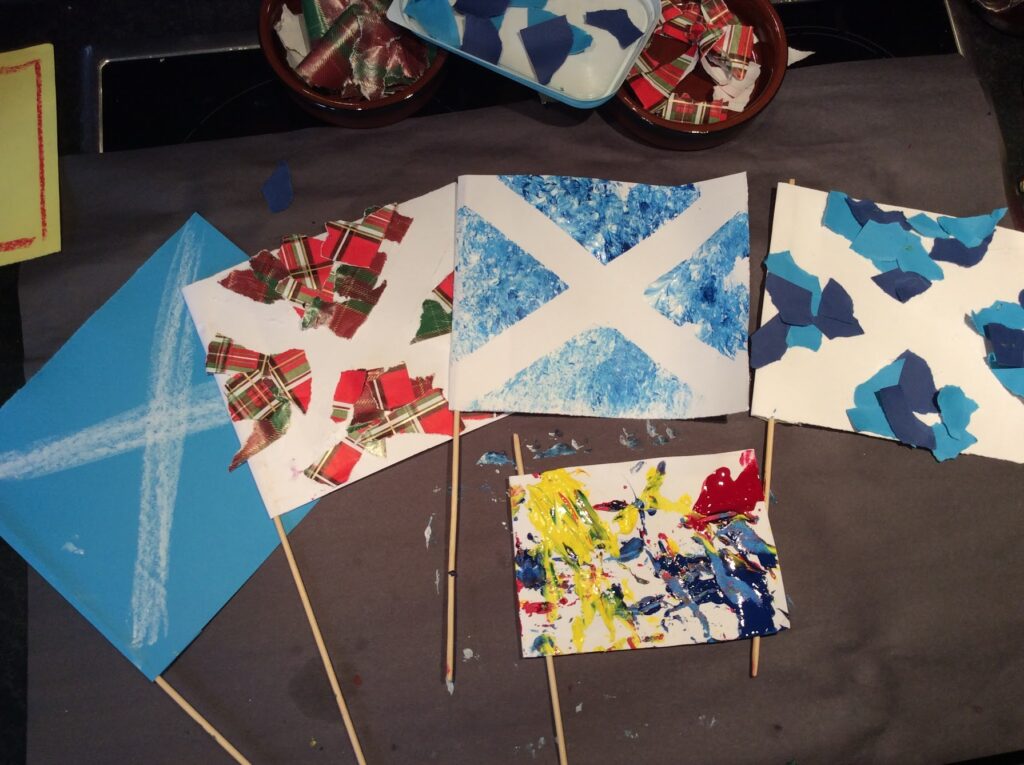
Diane, our art teacher, has made this video to show you some of the different techniques you could use to create your flag.
We would love to see how you get on with you Burns Day activities so please feel free to share any photos or videos via your child’s teacher, through Google Classroom, or email Amy Dunnett (Principal Teacher Primary) adunnett@aberdeencity.gov.uk.