Winter Reminder
By Amy Dunnett
/ 5th November 2022
As we head into the winter months, please find below a general reminder of illnesses in school. Due to the...
Read More


What Happens When We Add Water To Flour?
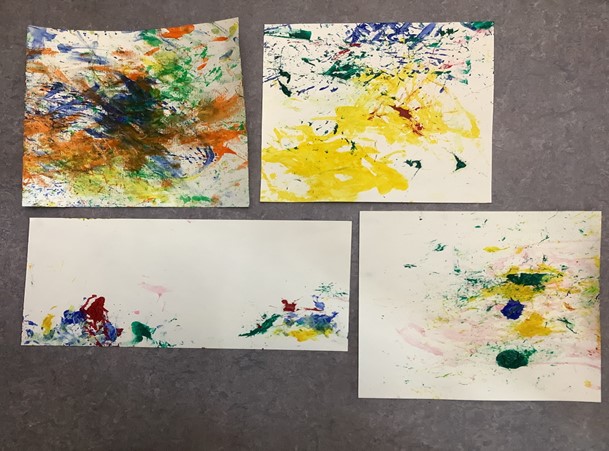
This week we are continuing to use flour to create our artwork by exploring the different consistencies we get when we add water! Get ready for some messy fun and as always, the process is the main focus rather than the finished artwork.
Remember to warm up your hands and eyes beforehand using some of the exercises we’ve practised before! This activity has been split into three levels focusing of different skills and levels of ability. Choose the one that is right for your learner but feel free the experiment and explore!
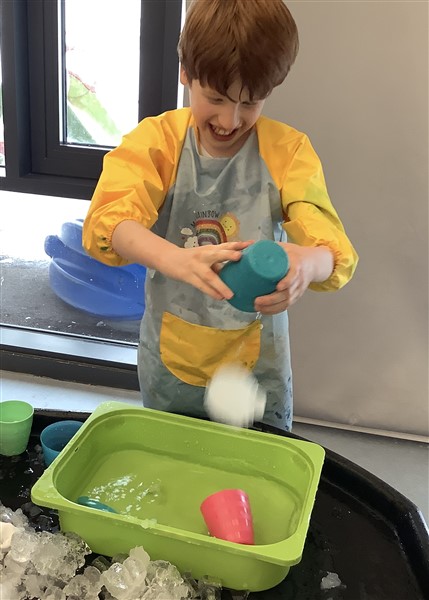
Stage 1: At this stage we are looking for the pupils to show a simple response or reaction as the explore the different consistencies of this week’s flour art. With hand over hand support from an adult, mix flour and water together to make a thick paste. Try using your hands to manipulate the paste. Can you squash and pinch it? Can you roll it? Why don’t you try seeing if you can use different objects to roll your paste. Now add more water and turn your thick paste into a thin, runny paste. Explore the sensations of allowing the paste to dribble through your fingers. Does it feel hot, cold, sticky, slimy? What words can you find to describe how it feels? Using your hands to make some prints with the paste on paper. You could always add some food colouring to the paste to make some colourful prints!

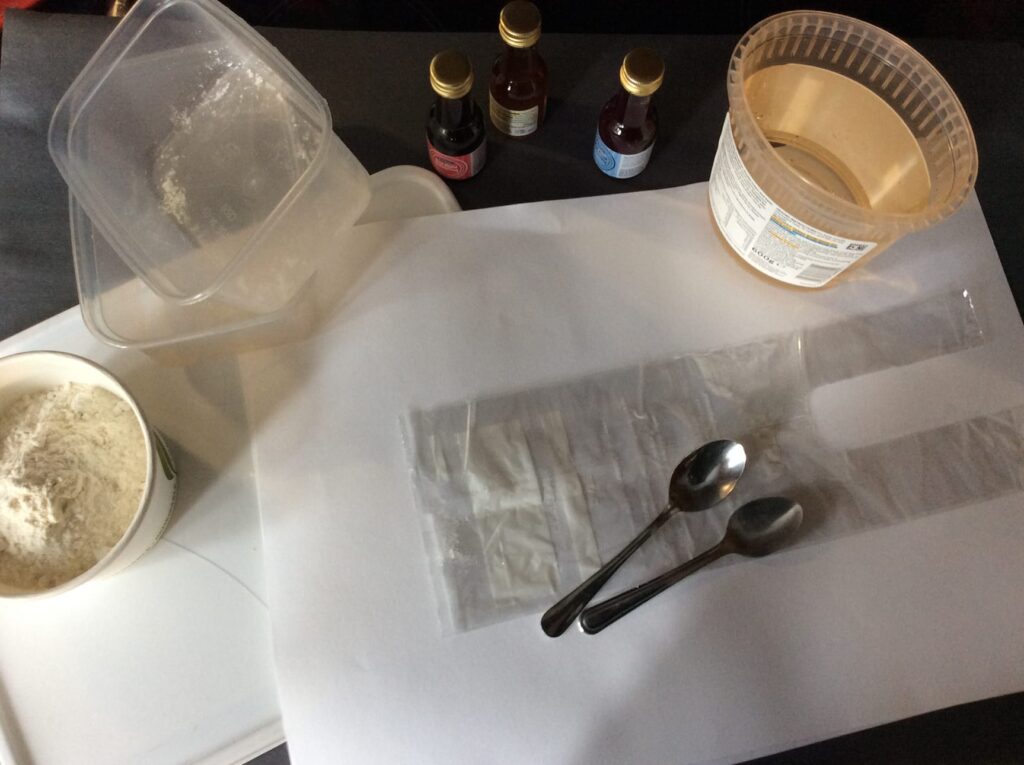
Stage 2: With appropriate support, mix the flour and water to make a range of pastes with different consistencies. What happens when you add a little bit of water? What happens when you add lots? Which consistency do you like best? Use your hands to manipulate and move the paste around on your surface. Which consistencies can you pinch, squeeze and roll? Which consistencies are best to dribble and push? Use different objects to make marks and impressions in the pastes. Be as creative as you like but you could try forks, spoons, sticks or toys? Do they leave the same impressions in each paste or does the paste react in different ways? Try creating some artwork using the different pastes you have created. You can use your hands or objects to make marks and why don’t you add some food colouring to make your artwork really stand out!
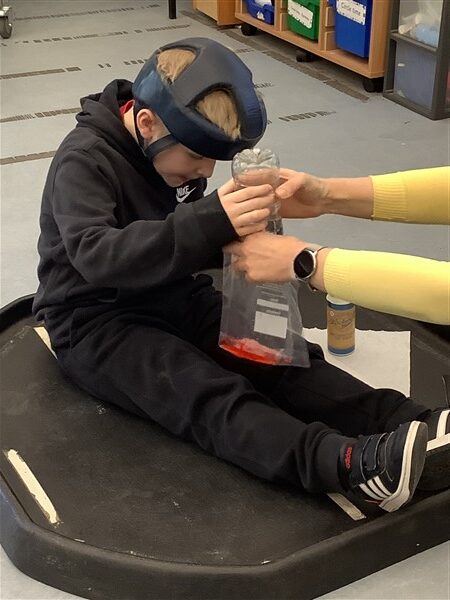
Stage 3: For this stage you will need a clean surface, a mixing bowl, a piping bag or sandwich bag, paper and paint or food colouring. This activity will need to take place over two sessions to allow for drying time.
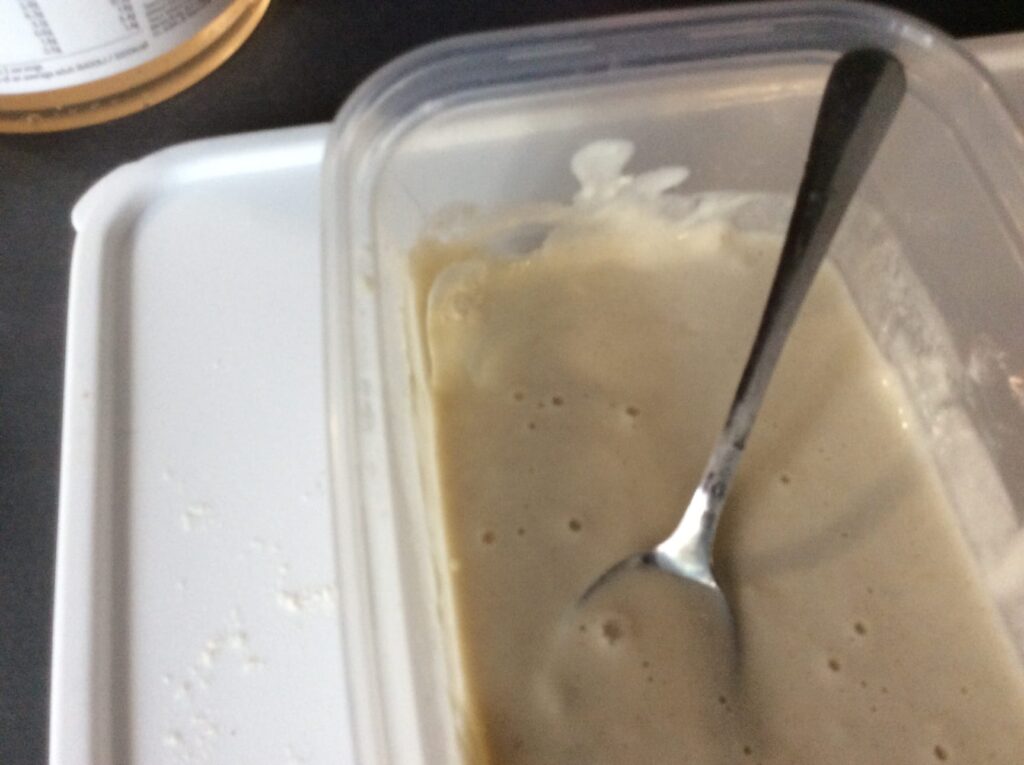
Mix your flour and water into a smooth paste with a similar consistency to icing. Carefully spoon the mixture into a piping bag. If you don’t have a piping bag, you can use a sandwich bag and carefully snip off a little piece of the corner to create a nozzle. Squeeze the paste onto your paper to create a pattern and leave somewhere safe to dry. Once the paste is completely dry, use your paint or food colouring to colour in the spaces in your pattern. Make sure not to use to much paint or else your hardened flour paste will start to dissolve! Leave to dry and then gently rub off the flour paste to show your pattern. You could try creating your artwork on different backgrounds to investigate which works best. You could try cardboard, fabric or even a cardboard tube if you want to try making a 3 dimensional piece of art! You can also try adding glue to your flour paste if you want to make your pattern permanent.
If you can take some pictures of your floury explorations to share that would be wonderful so please feel free to share any photos or videos via your child’s teacher, through Google Classroom, or email Amy Dunnett (Principal Teacher Primary) adunnett@aberdeencity.gov.uk.