Winter Reminder
By Amy Dunnett
/ 5th November 2022
As we head into the winter months, please find below a general reminder of illnesses in school. Due to the...
Read More


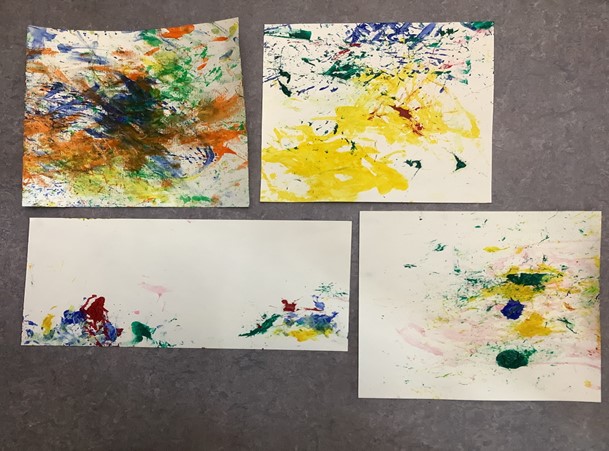
What Happens When We Sprinkle Flour?
This week we are continuing to explore and create artwork using flour. If you don’t have flour at hand, it can be substituted with other food items such as semolina, cornflour or cous cous. As always, the process is the main focus rather than the outcome and we would be delighted to see any photos from school or home!
Remember to warm up your hands and eyes beforehand using some of the exercises we’ve practised before! This activity has been split into three levels focusing of different skills and levels of ability. Choose the one that is right for your learner but feel free the experiment and explore!
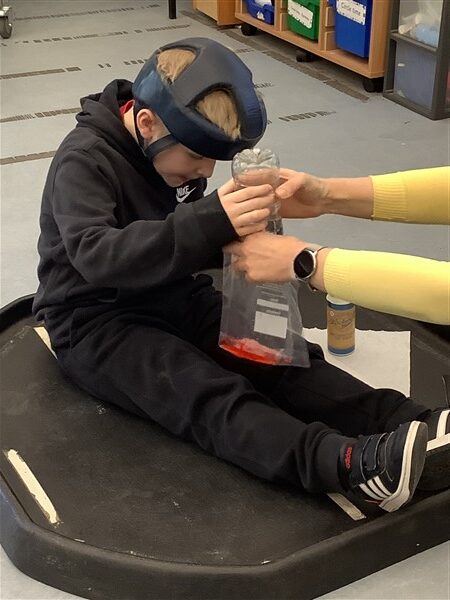
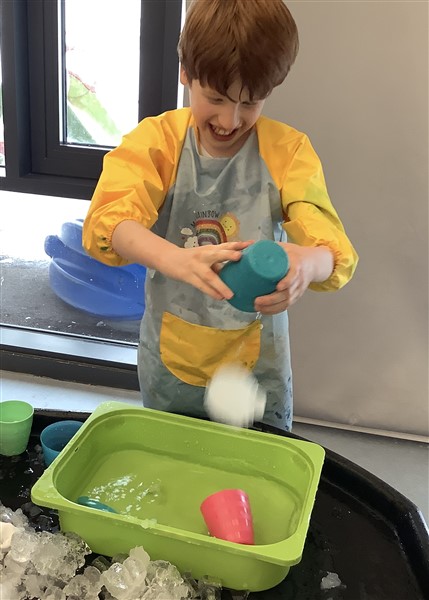
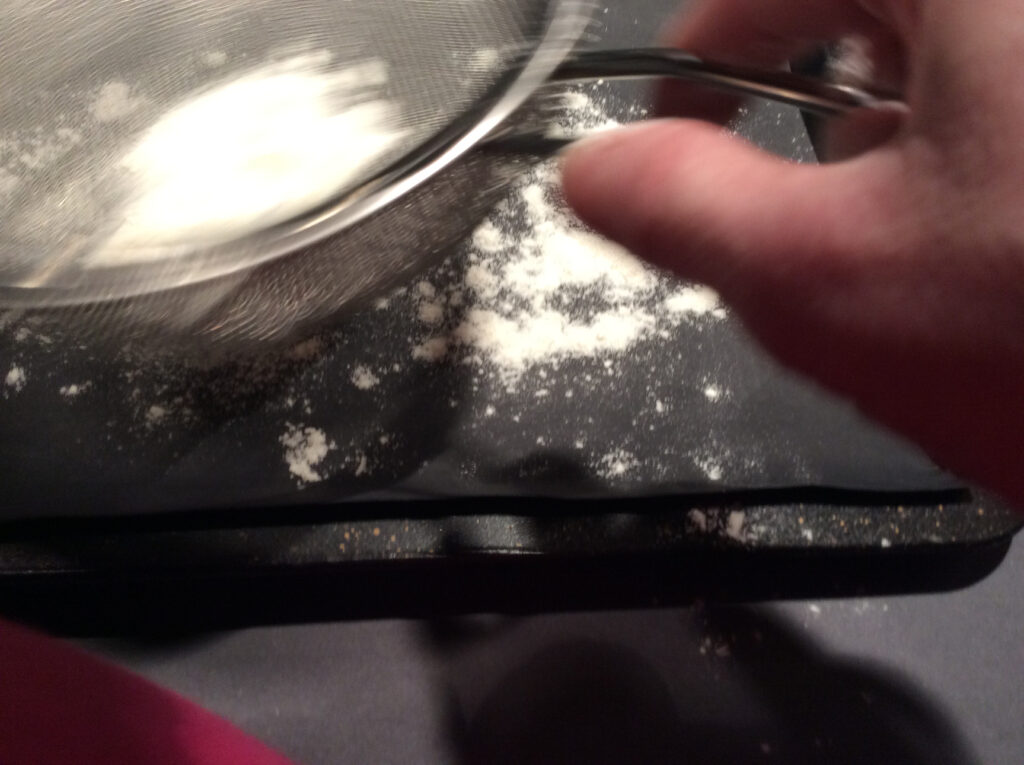
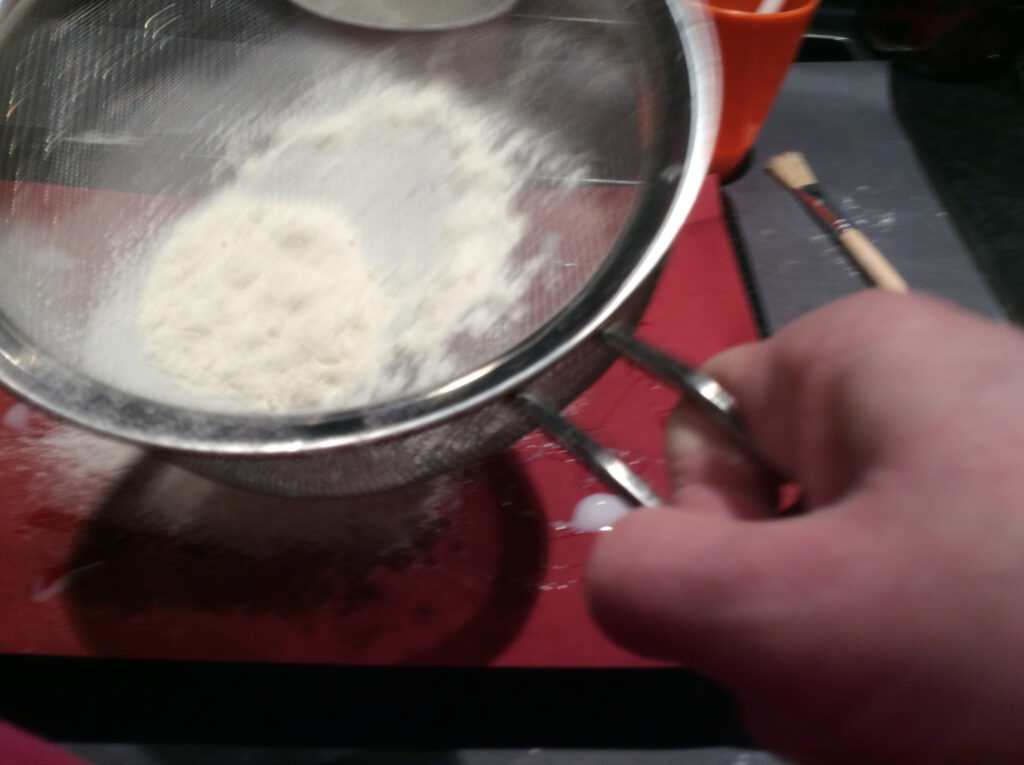
Stage 1: At this stage we are looking for the pupils to show a simple response or reaction as the explore flour art. With hand over hand support from an adult, explore the flour and how it falls as it is sprinkled onto a surface. Try sprinkling it in different ways, such as with your hands, a sieve or a spoon. How do you have to move your hands to sprinkle the flour? Does it work best if you move from side to side or up and down? Get creative and see if you can find the best way to sprinkle flour and even if there are any other objects to sprinkle with!
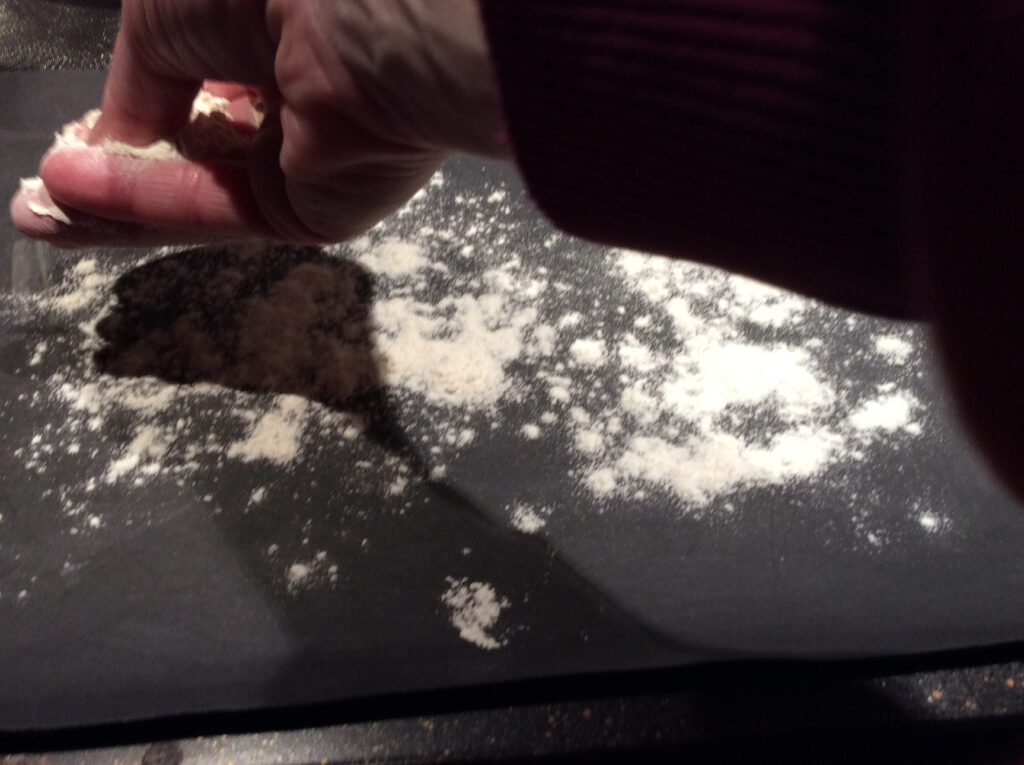
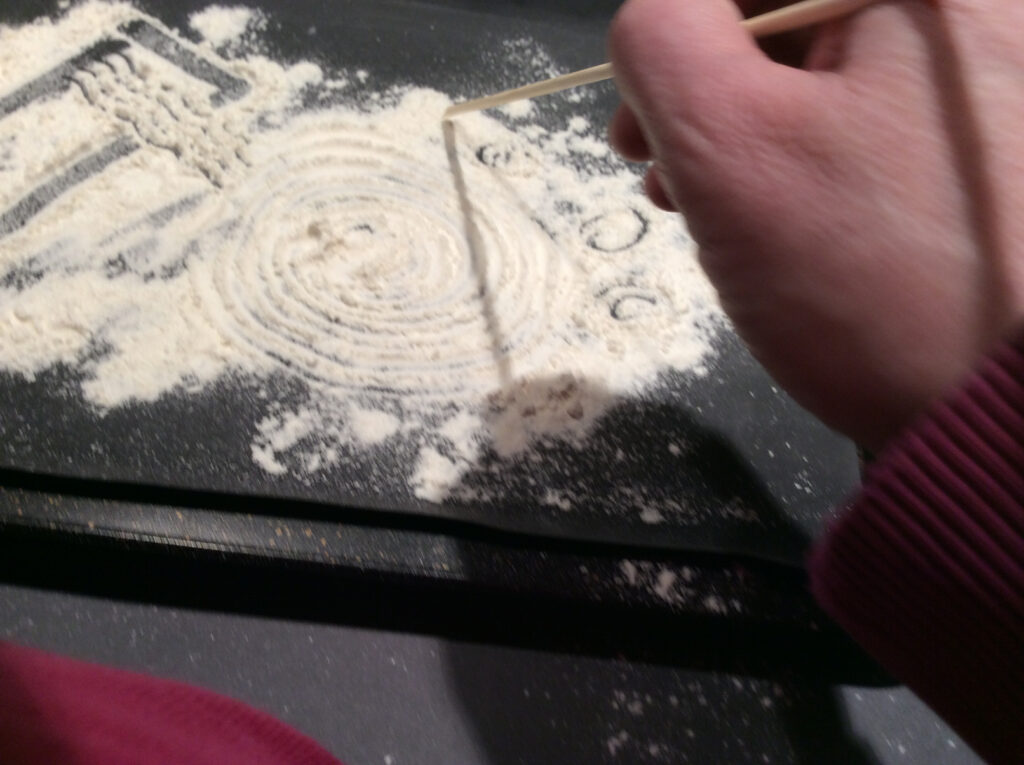
Stage 2: With appropriate support, sprinkle the flour onto a suitable surface – it doesn’t have to be inside, maybe you can find somewhere outside that works well for you. Once you have sprinkled your flour onto the surface, make a simple pattern in the flour. You could use your hands or other objects to make your pattern. You can even get creative and try sprinkling the flour into a pattern!
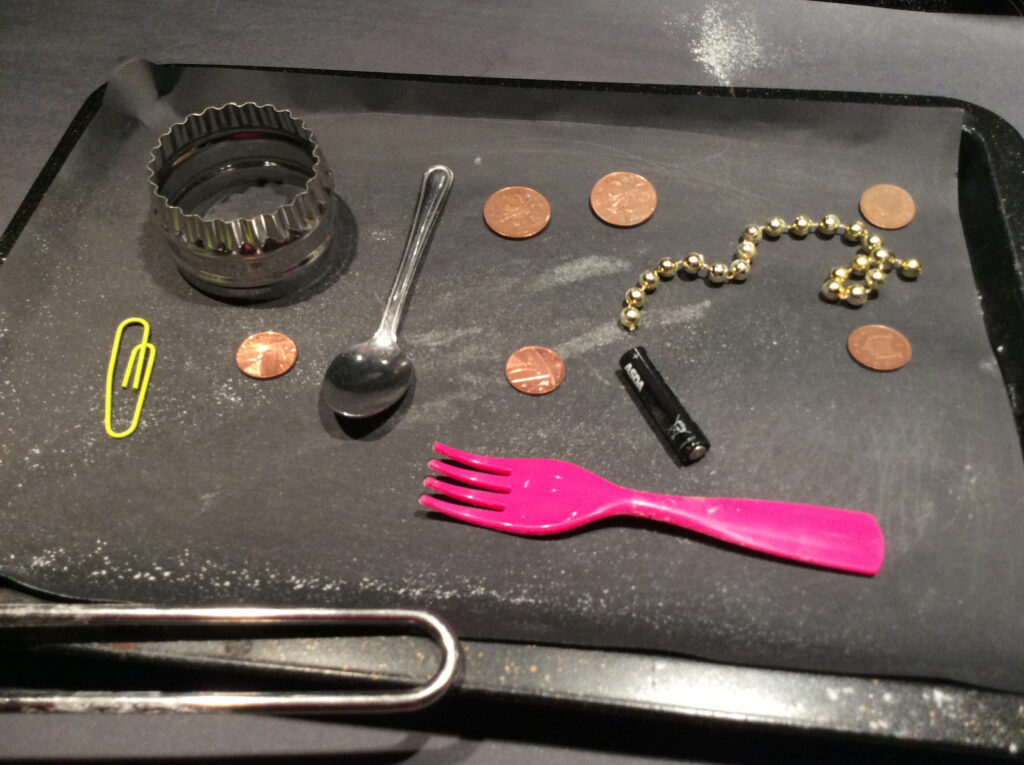
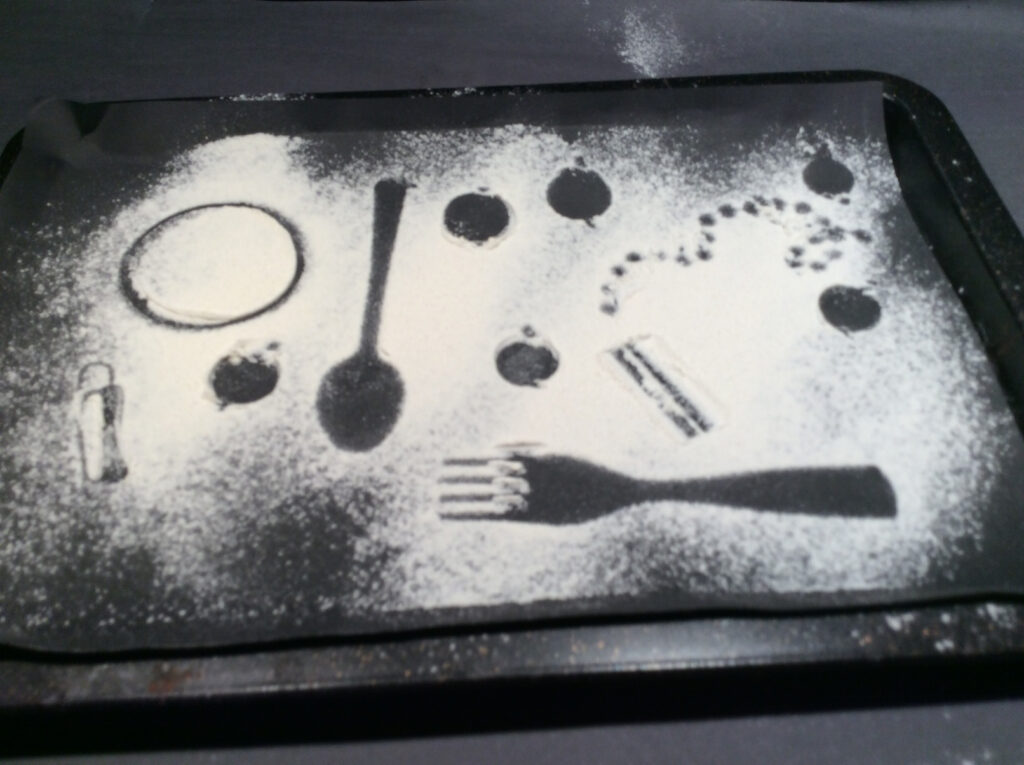
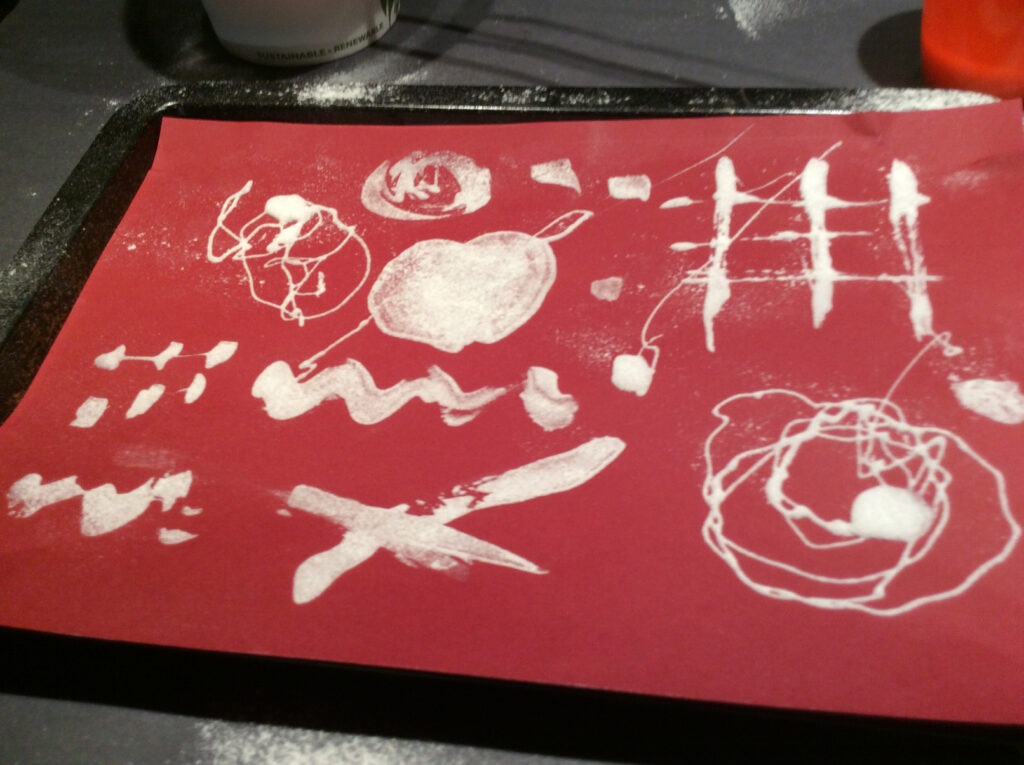
Stage 3: For this stage you will need a clean surface and a variety of different objects. You could try kitchen utensils, things you have found in nature, toys or even just odds and ends such as string.
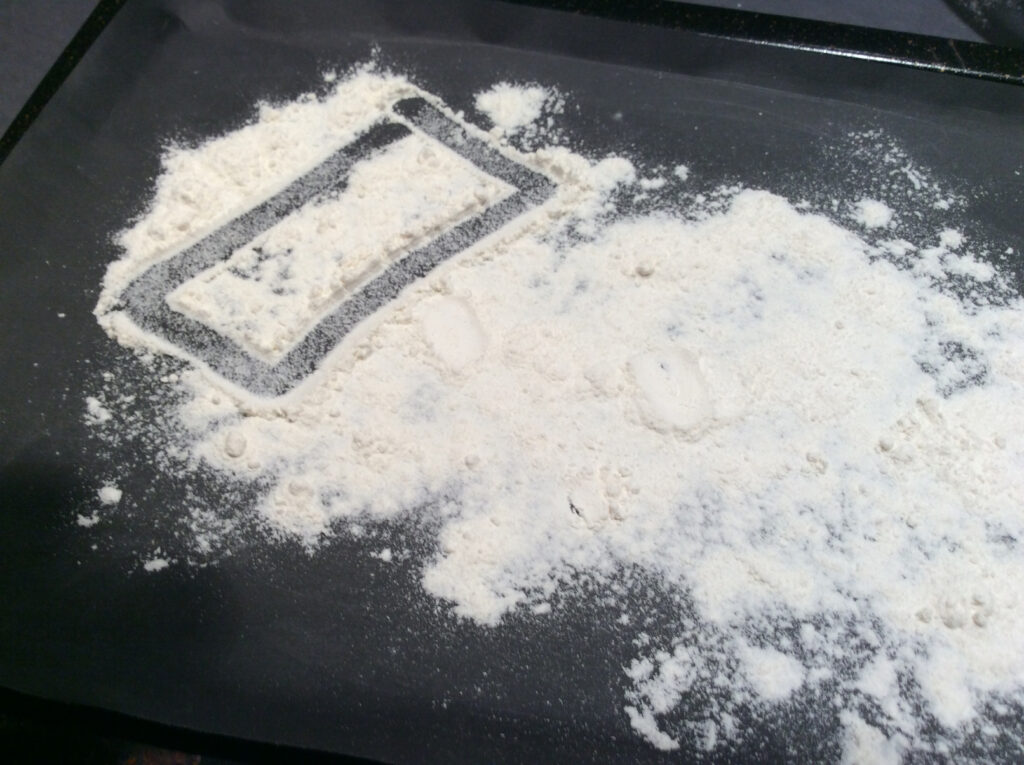
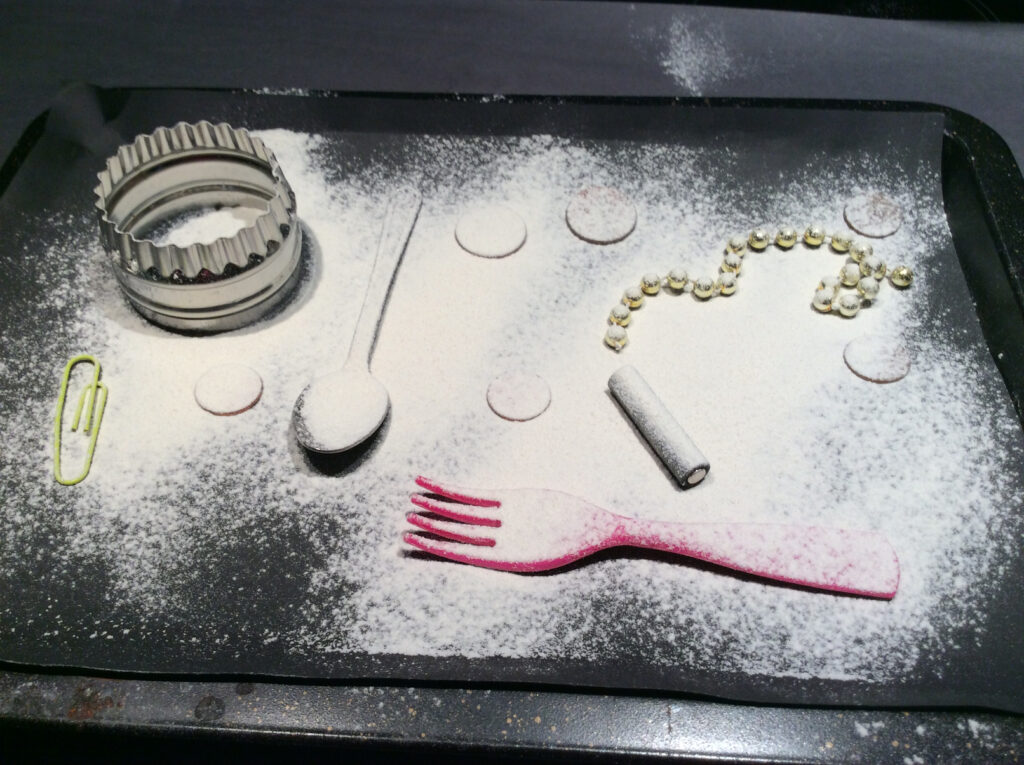
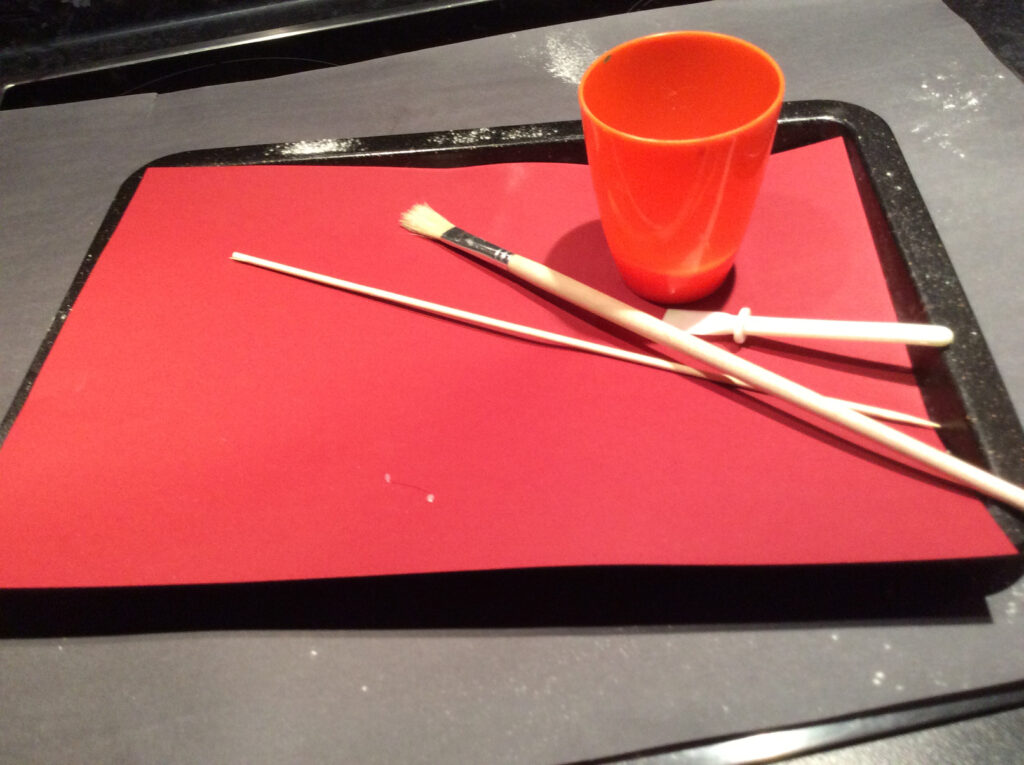
First you will need to make sure that your workspace in clean. This activity works really well with contrasting colours so think about using dark coloured paper or even a baking tray for your surface. Arrange some objects onto your surface to create a picture or pattern. Once you are happy with your layout, you can sprinkle your flour over the objects using a sieve, a spoon or even your hands. Carefully remove the objects from your surface to see the contrast and the pattern you have created!
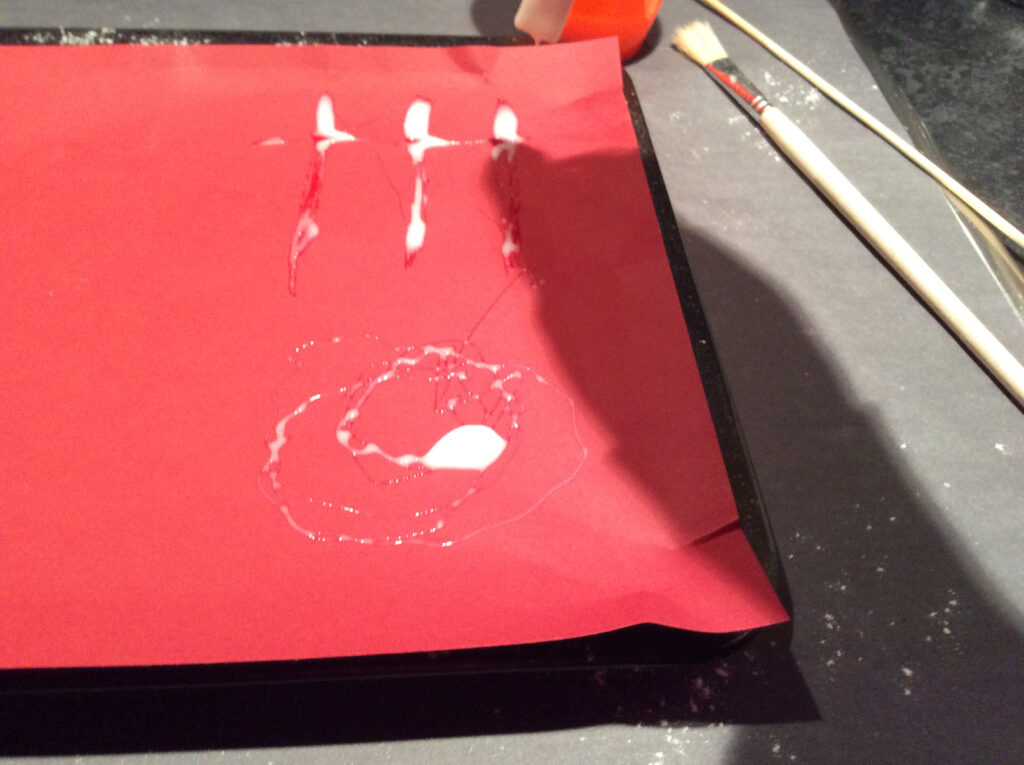
As an alternative or extension activity, you could use glue to create a picture or pattern on paper and sprinkle with flour. Again, think about using contrasting colours for your background to make your flour pattern stand out.
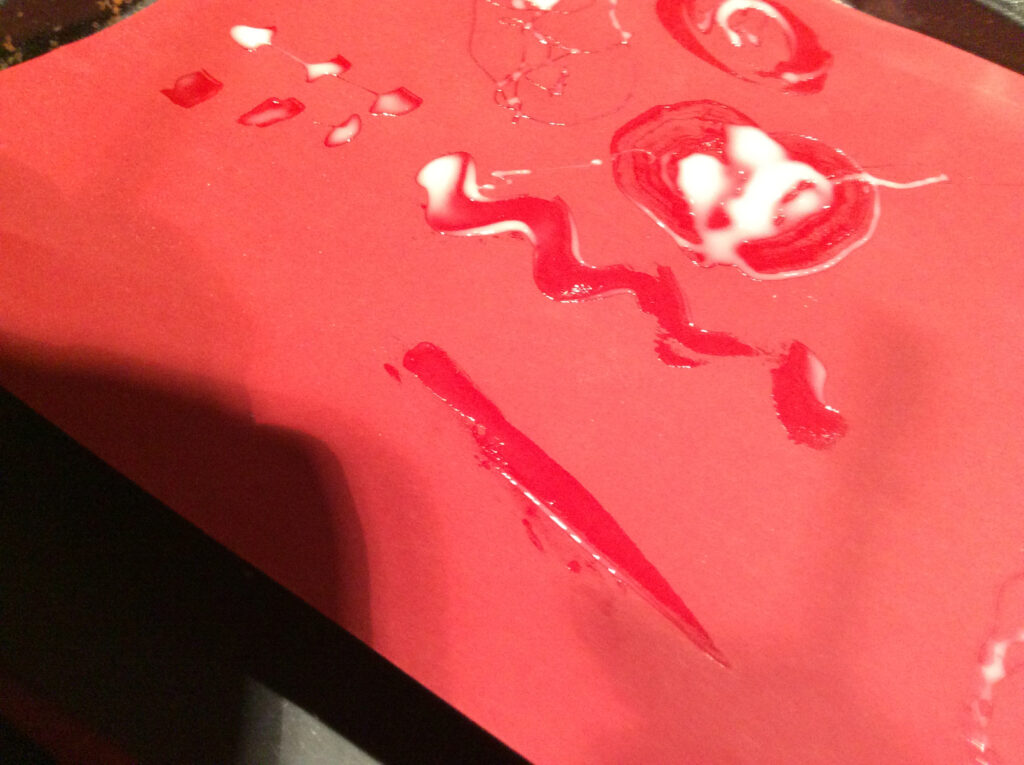
If you can take some pictures of your floury explorations to share that would be wonderful so please feel free to share any photos or videos via your child’s teacher, through Google Classroom, or email Amy Dunnett (Principal Teacher Primary) adunnett@aberdeencity.gov.uk.